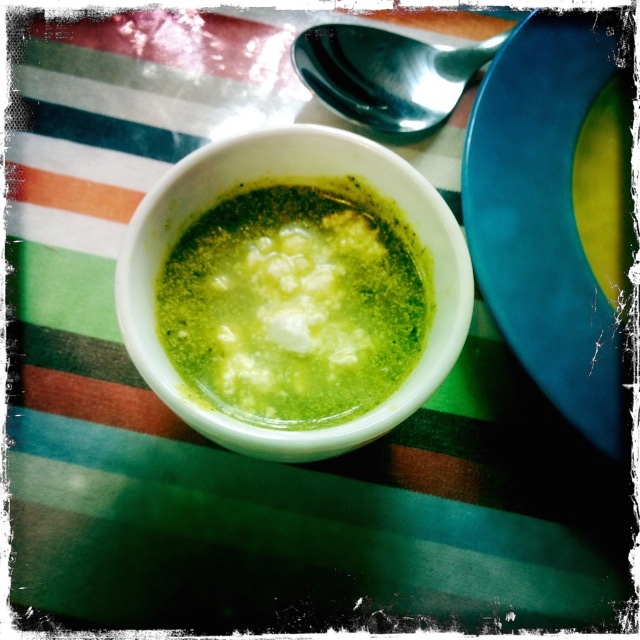
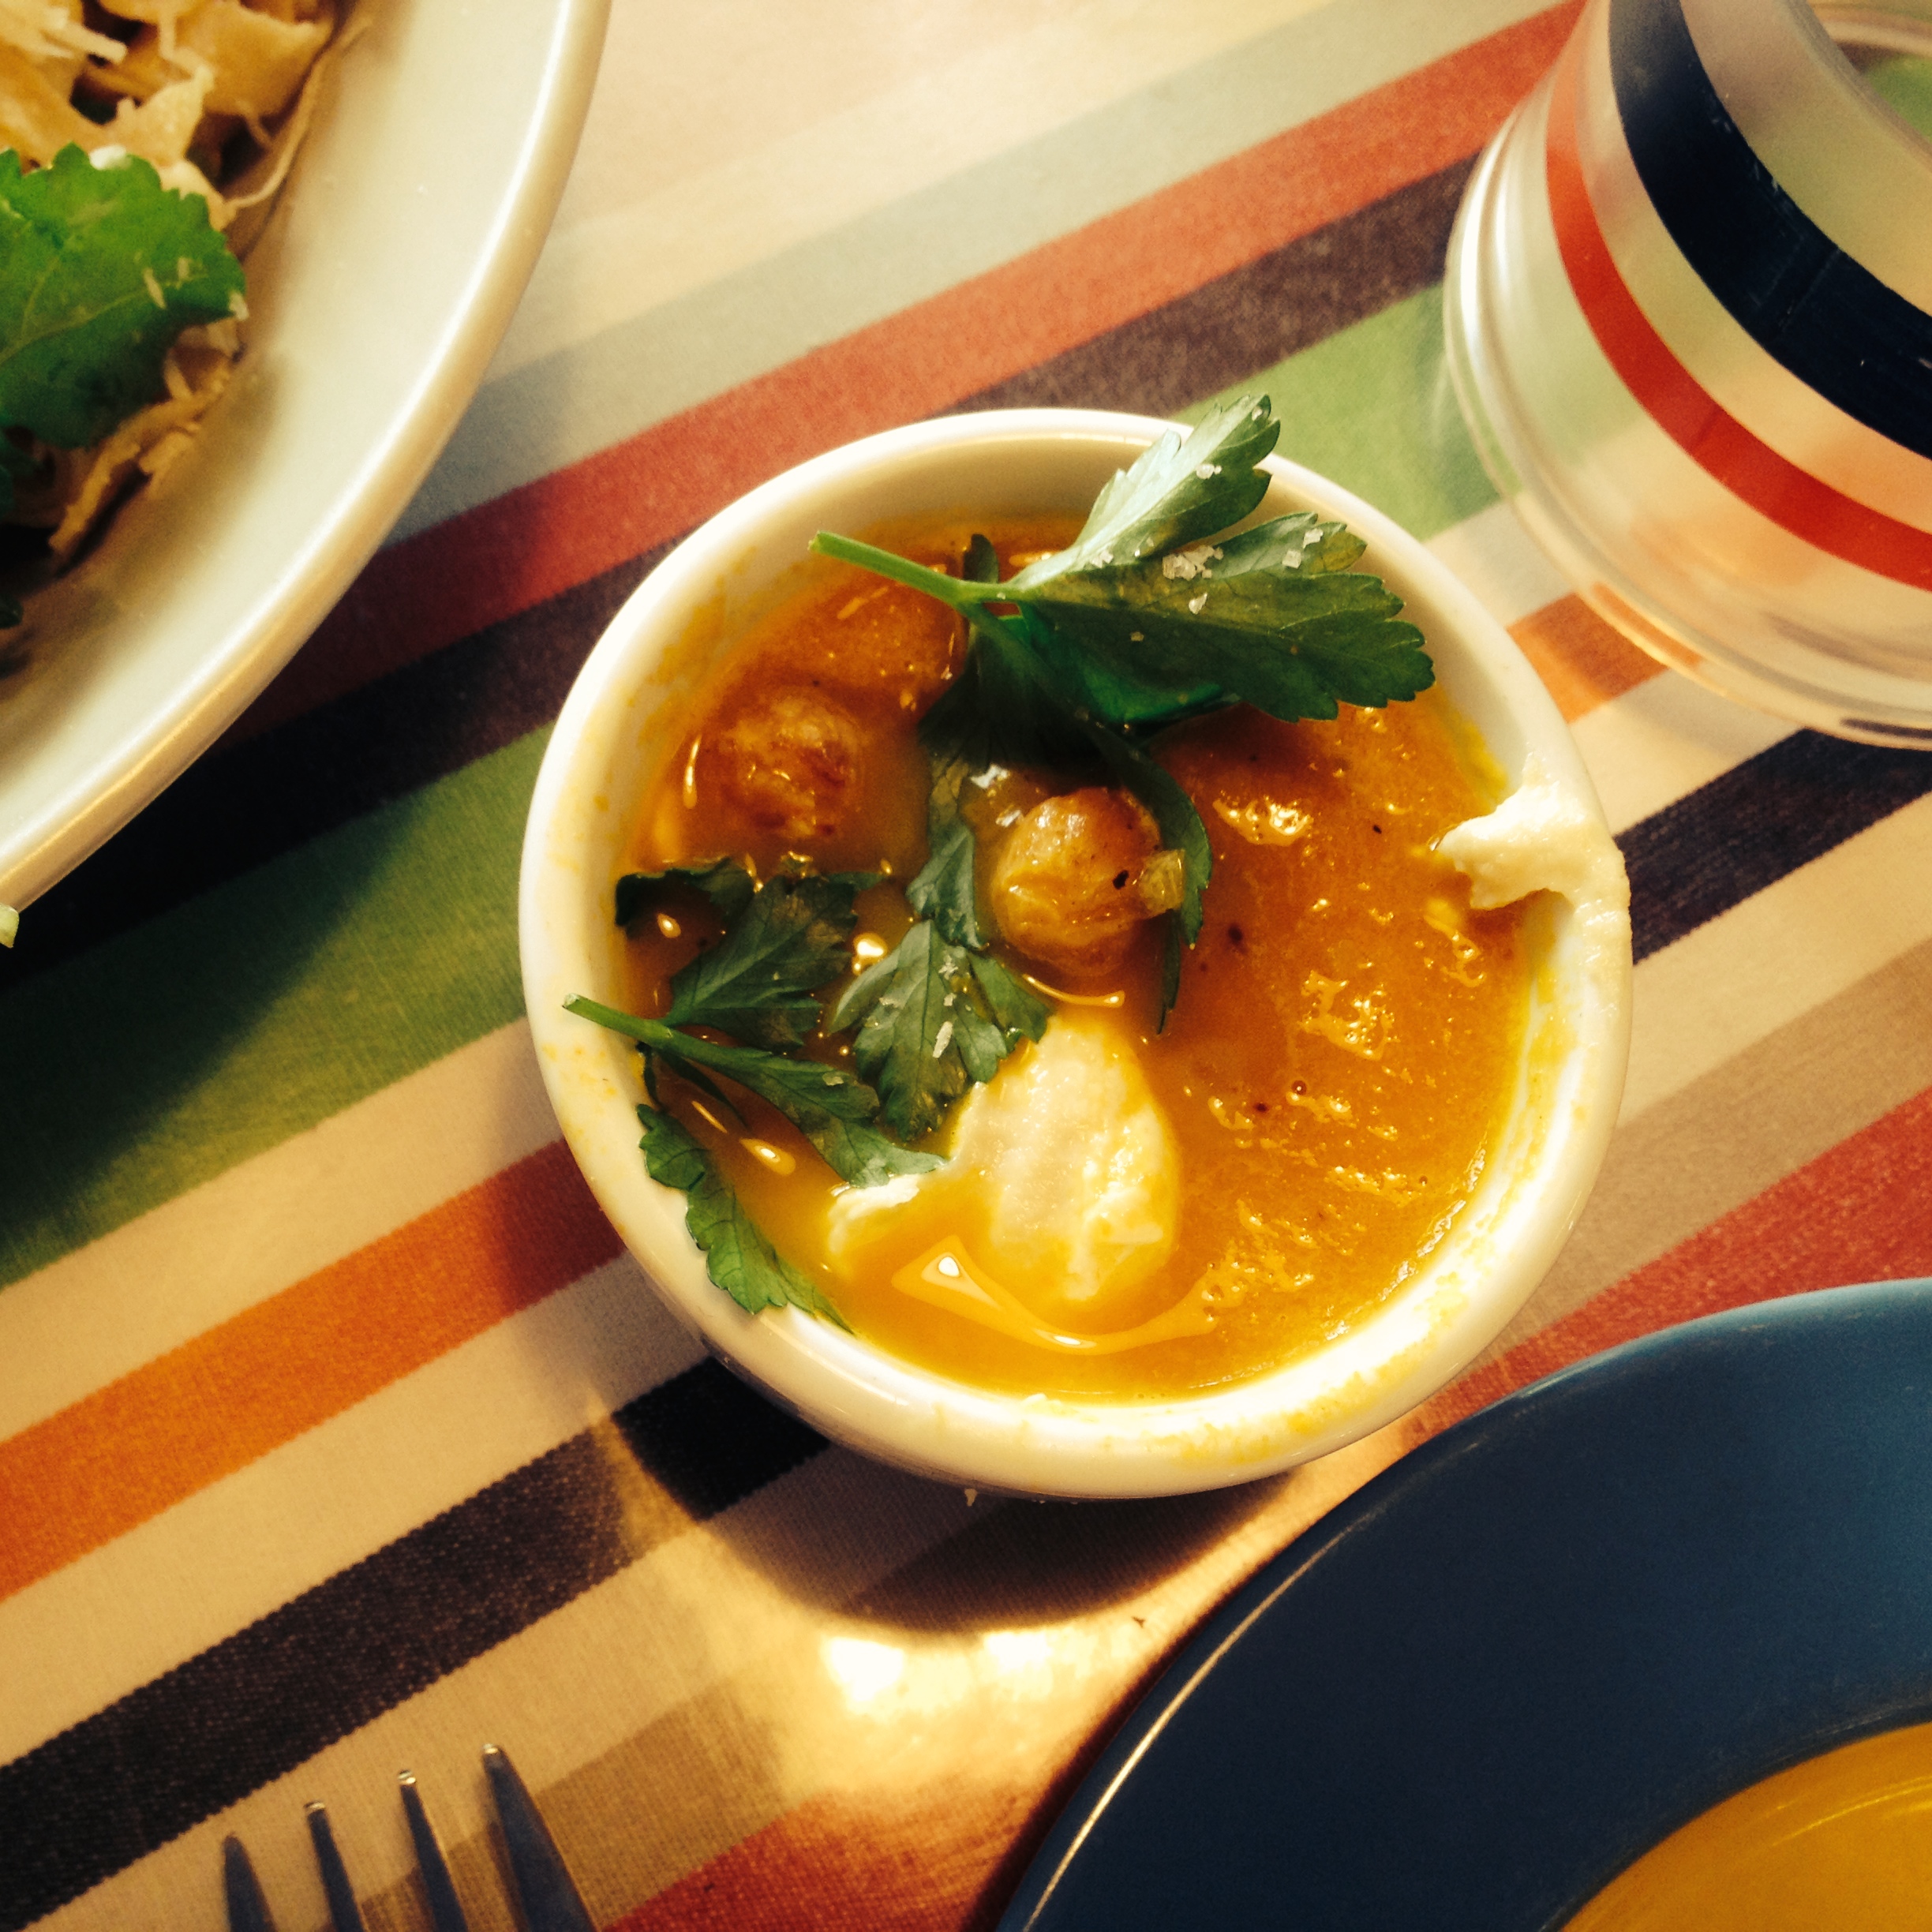
Yotam says, “Herbs are too often the side show, a garnish for the main event. It’s time to put them centre stage. Soft herbs don’t always have to be treated as a garnish – whole bunches of the stuff go into this winning soup.” We say, ” WOW! All this texture and minty flavour in a SOUP?! We love it, even if it does taste a bit freaky!”
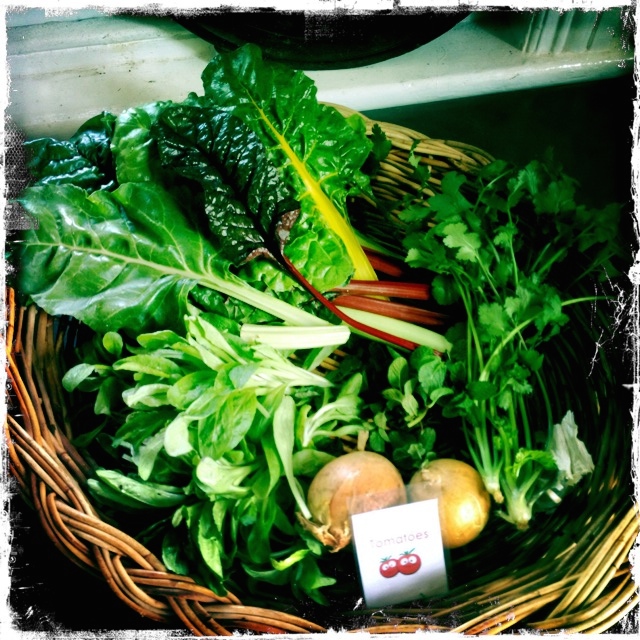
Fresh from the garden: parsley, coriander, mint, baby spinach, silverbeet, onion, garlic
Recipe source: adapted from Yotam Ottolenghi’s recipe in The Guardian
Equipment:
|
Ingredients:
To serve
|
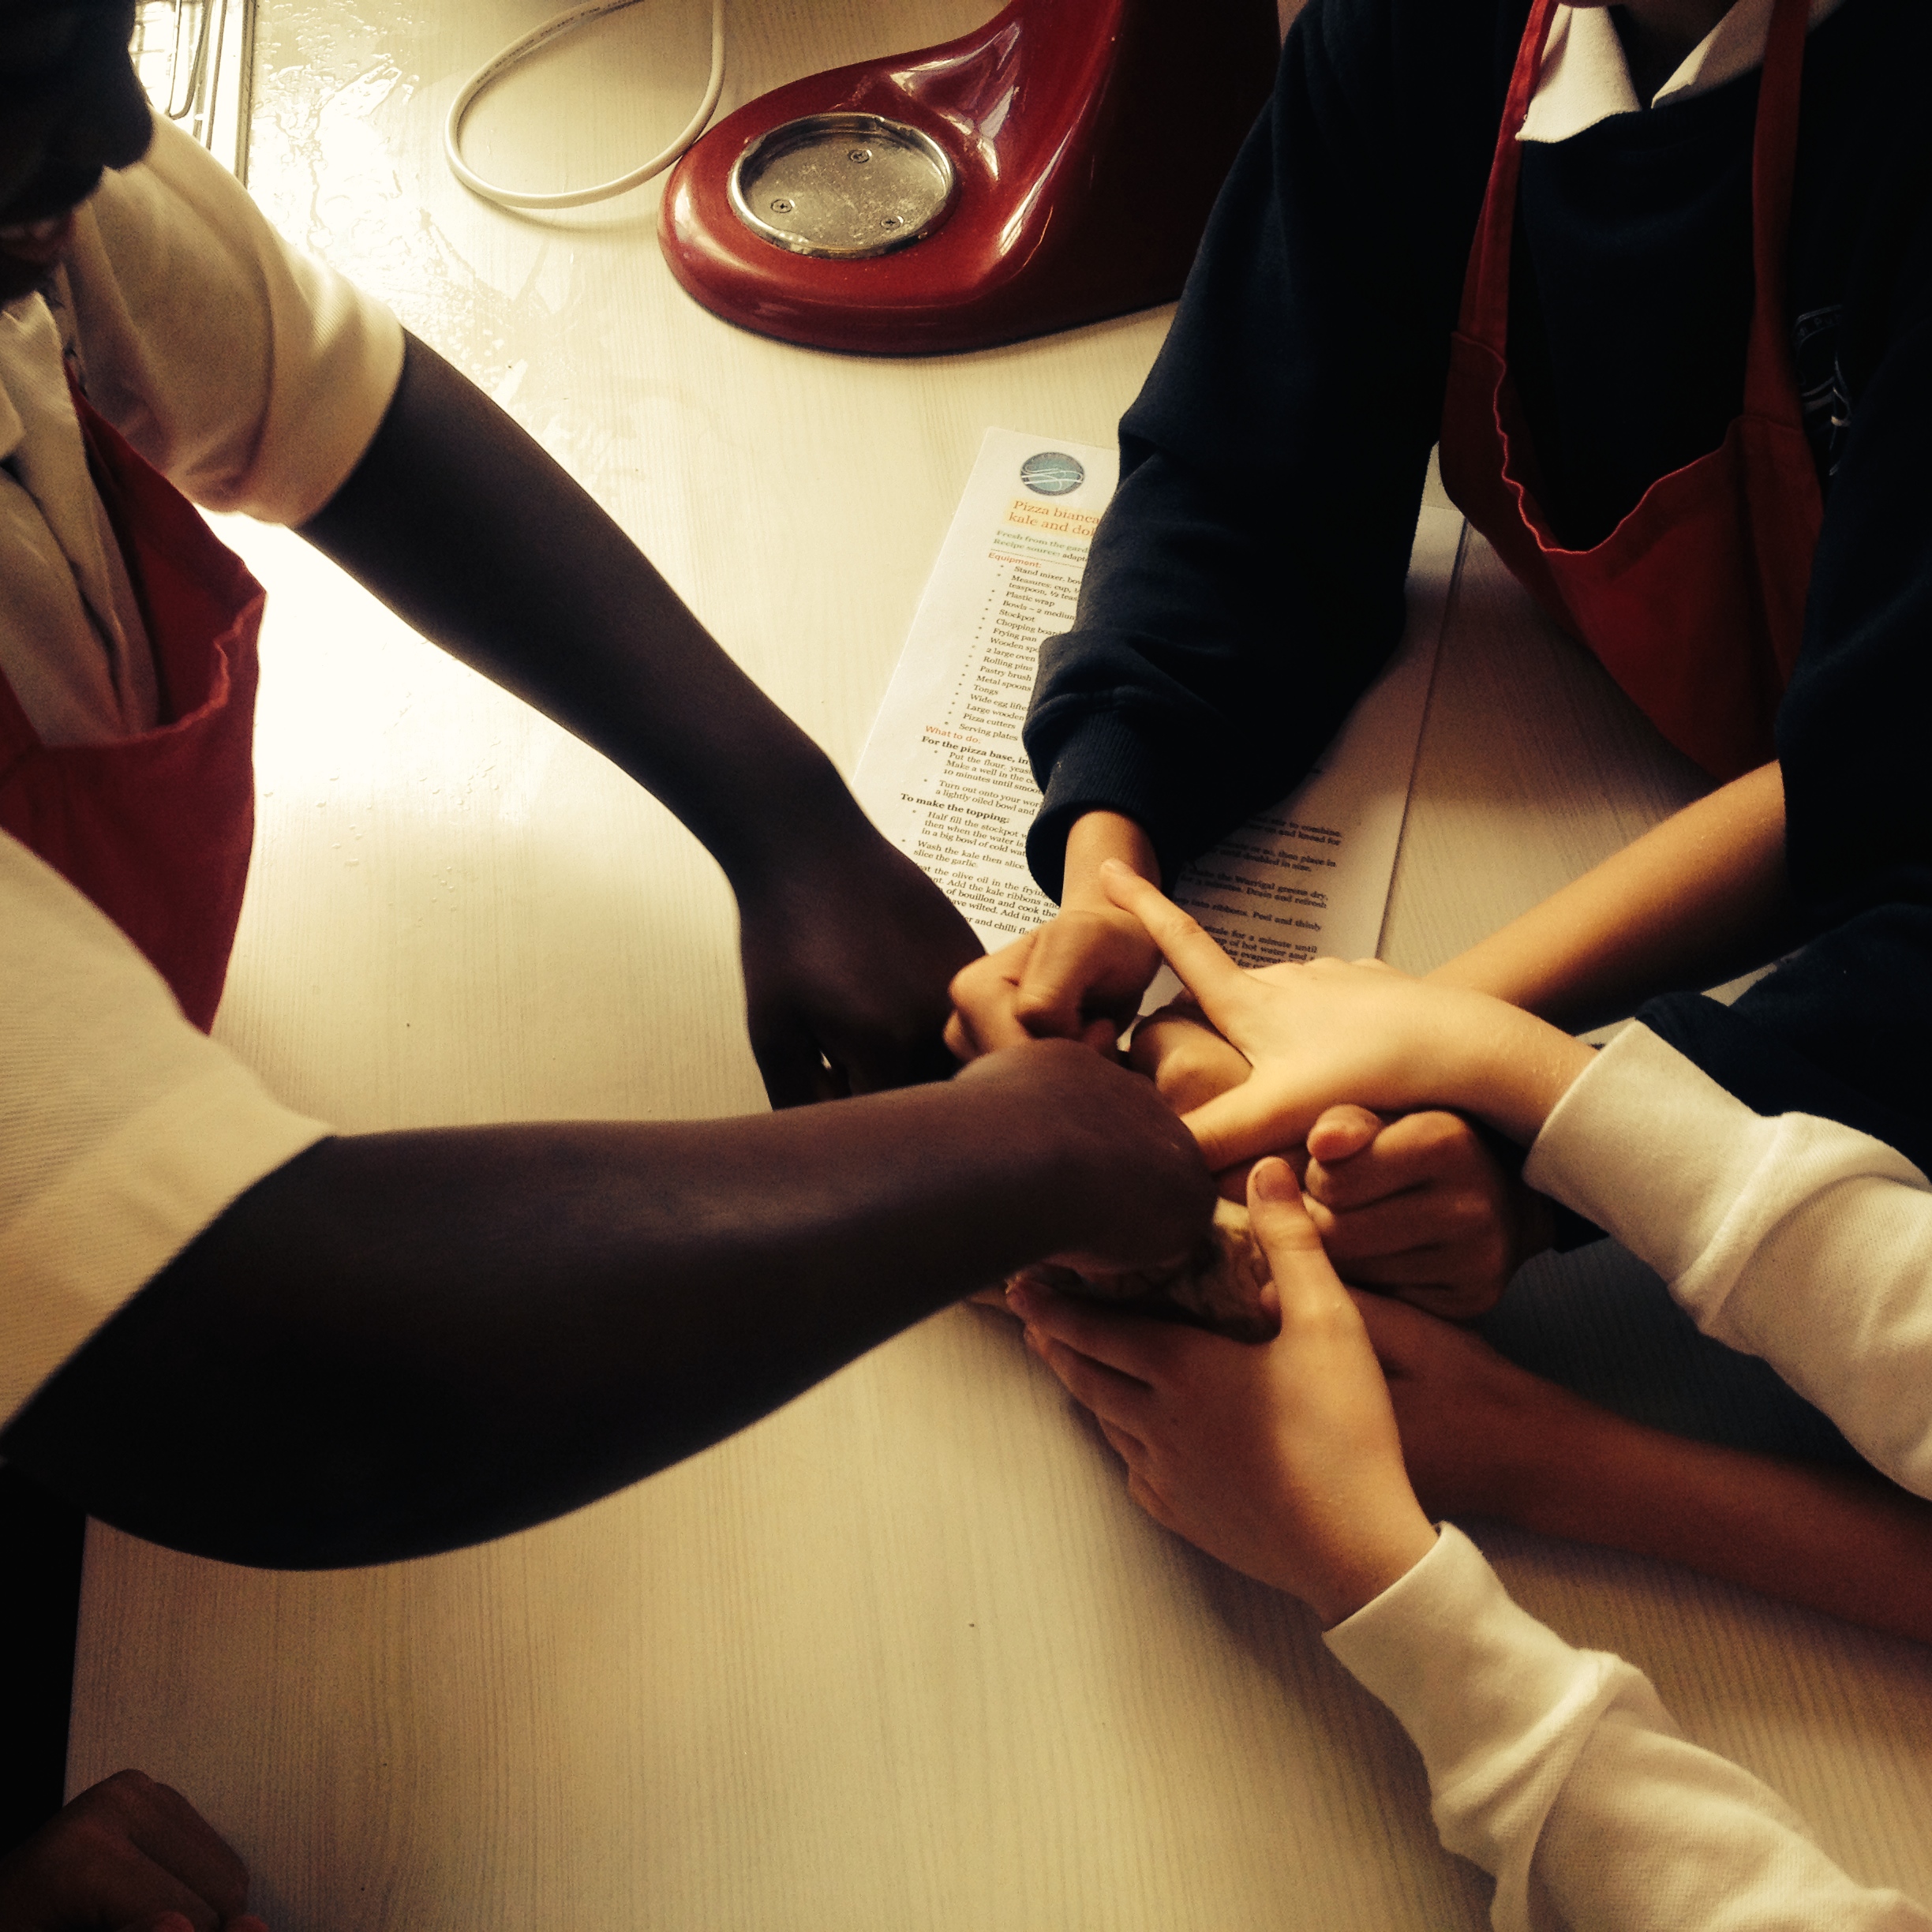
What to do:
- Fill the kettle to 1200ml and set to boil.
- Peel and roughly chop the onions. Peel and crush the garlic cloves.
- Grate the nutmeg to yield 1 teaspoon.
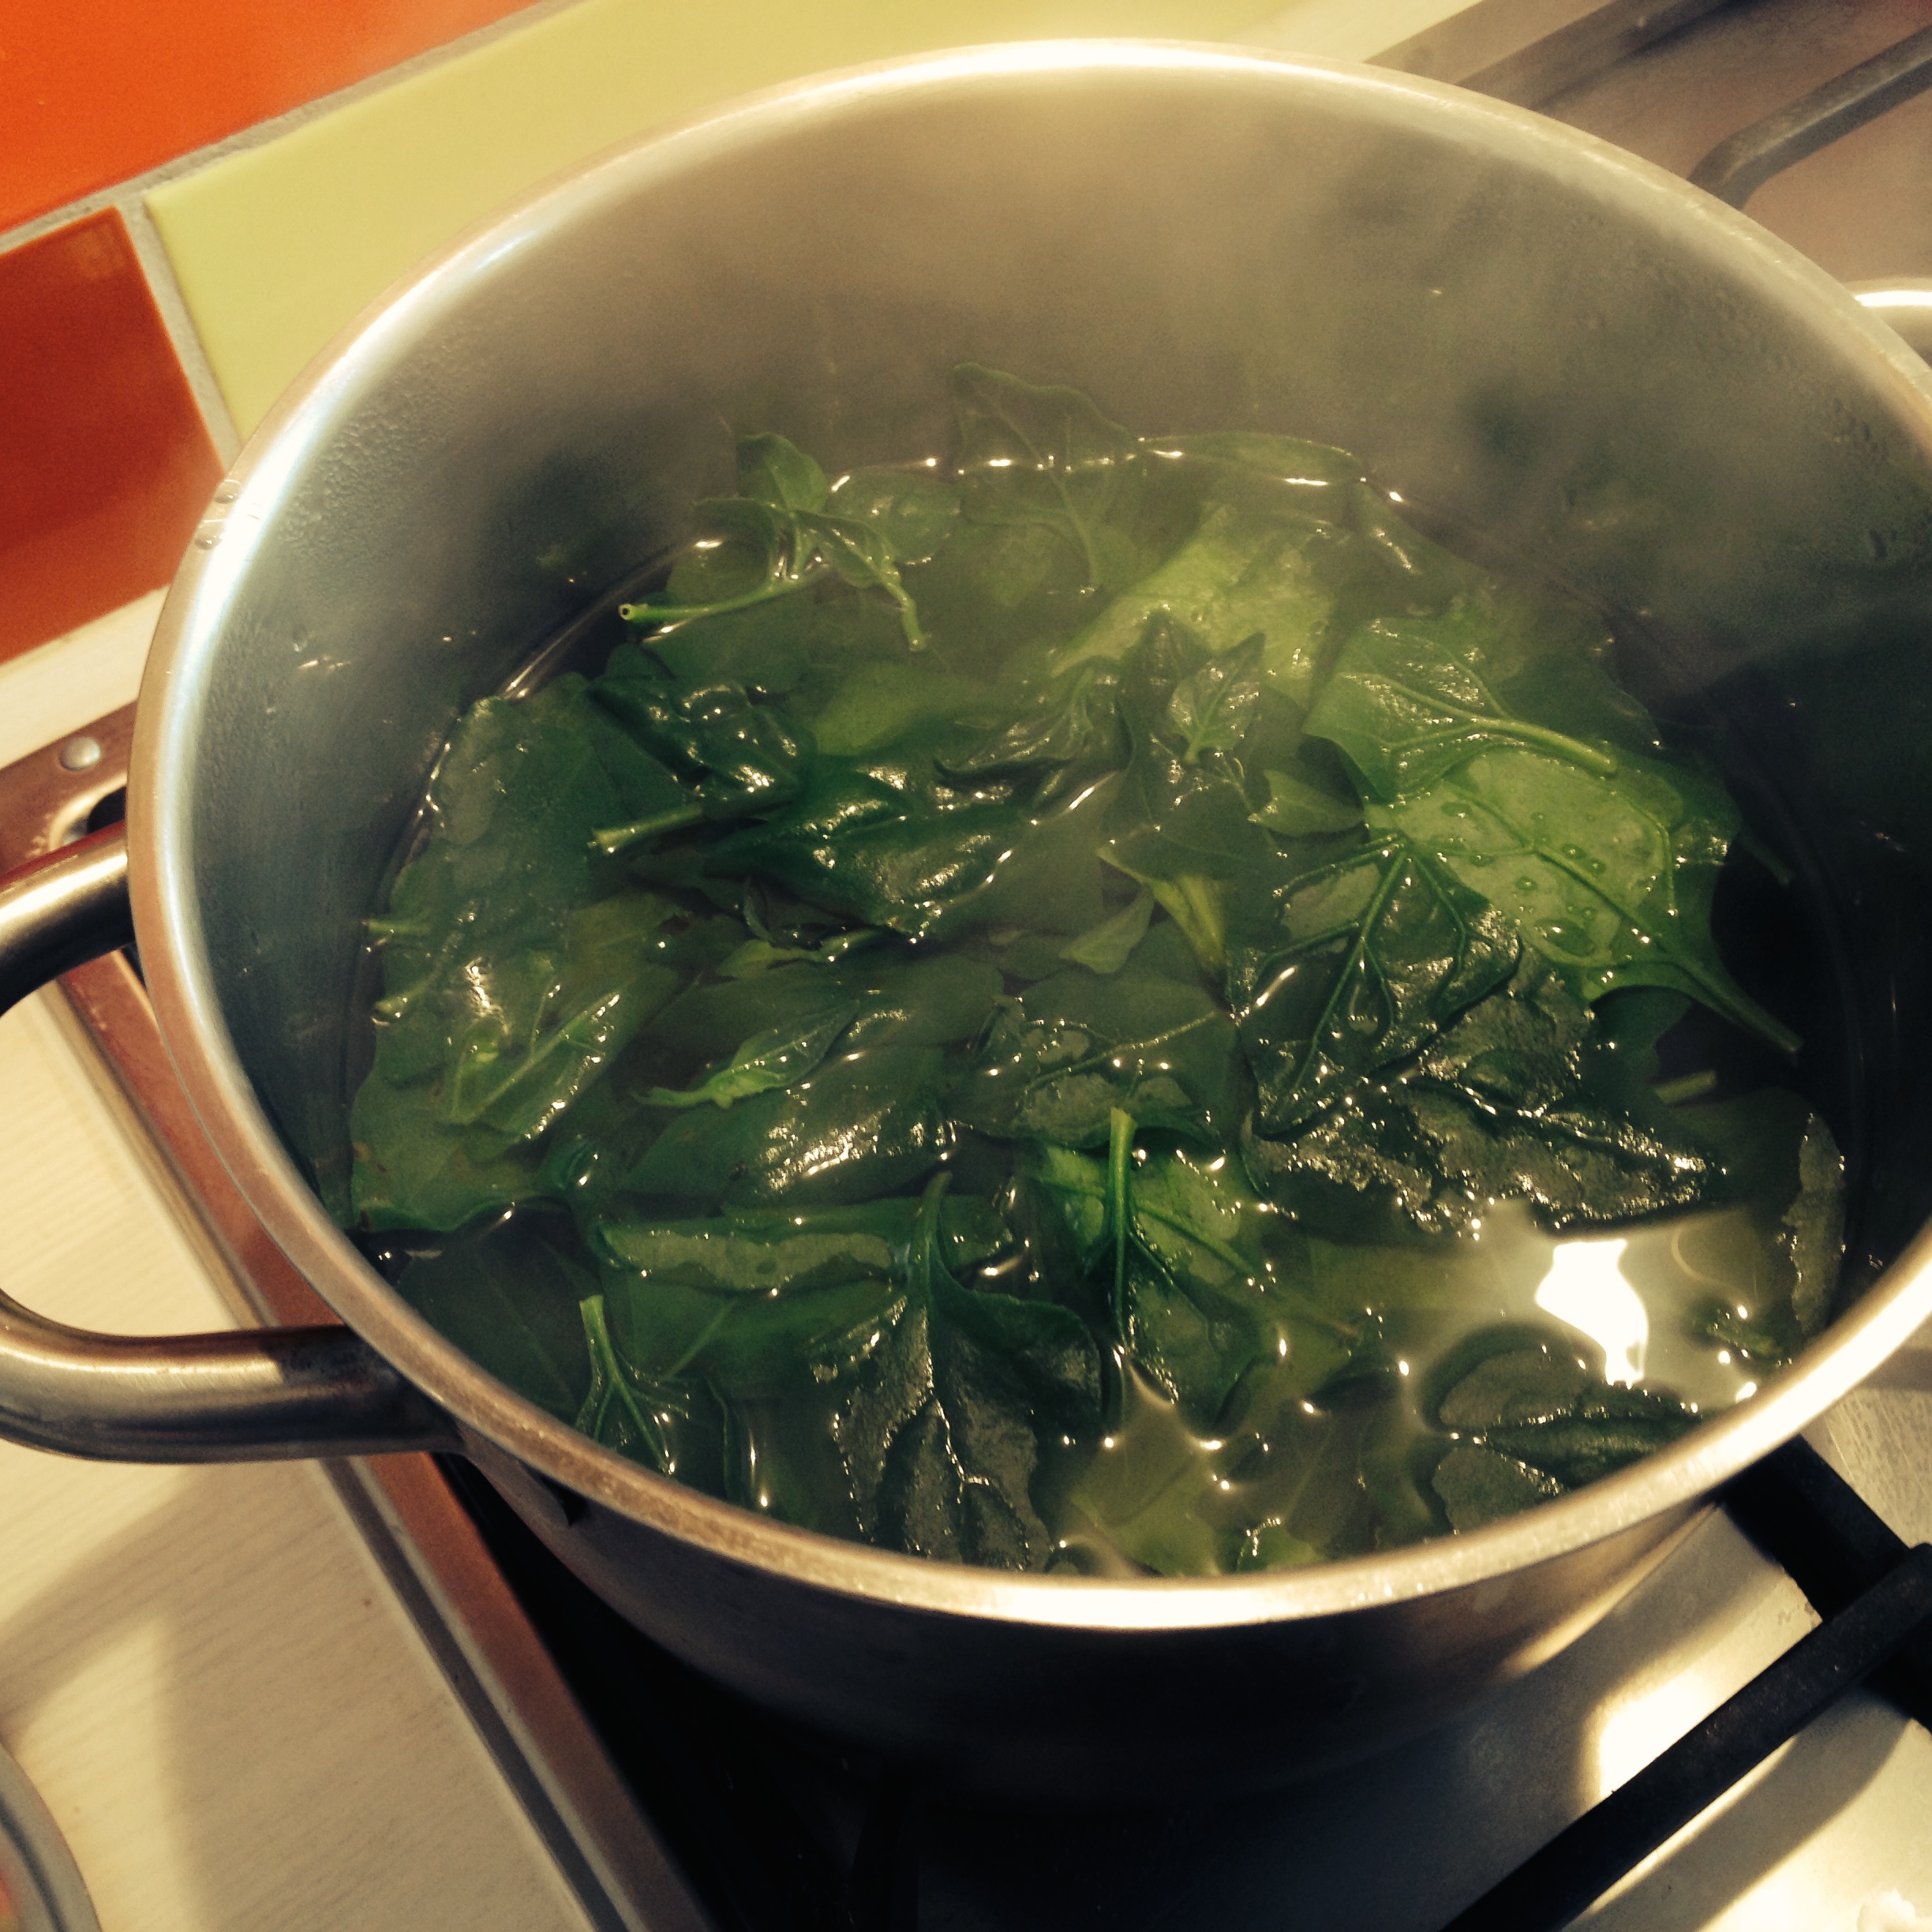
- Wash the baby spinach, silverbeet leaves & main herbs in several changes of water in large bowls & then carefully dry using the salad spinner.
- Roughly chop the silverbeet leaves, rolling them up like a cigar and slicing. Finely chop the stalks.
- Heat two tablespoons of the olive oil in the stockpot. Add the onion and sauté GENTLY for around five minutes, or until translucent and soft.
- Stir in the turmeric, garlic and nutmeg, fry for a minute, then add the dried mint, spinach, silverbeet leaves, the whole parsley and coriander leaves and stalks, and stock.
- Bring to a simmer and cook for 10 minutes. Season, then blitz the soup with the stick blender until smooth.
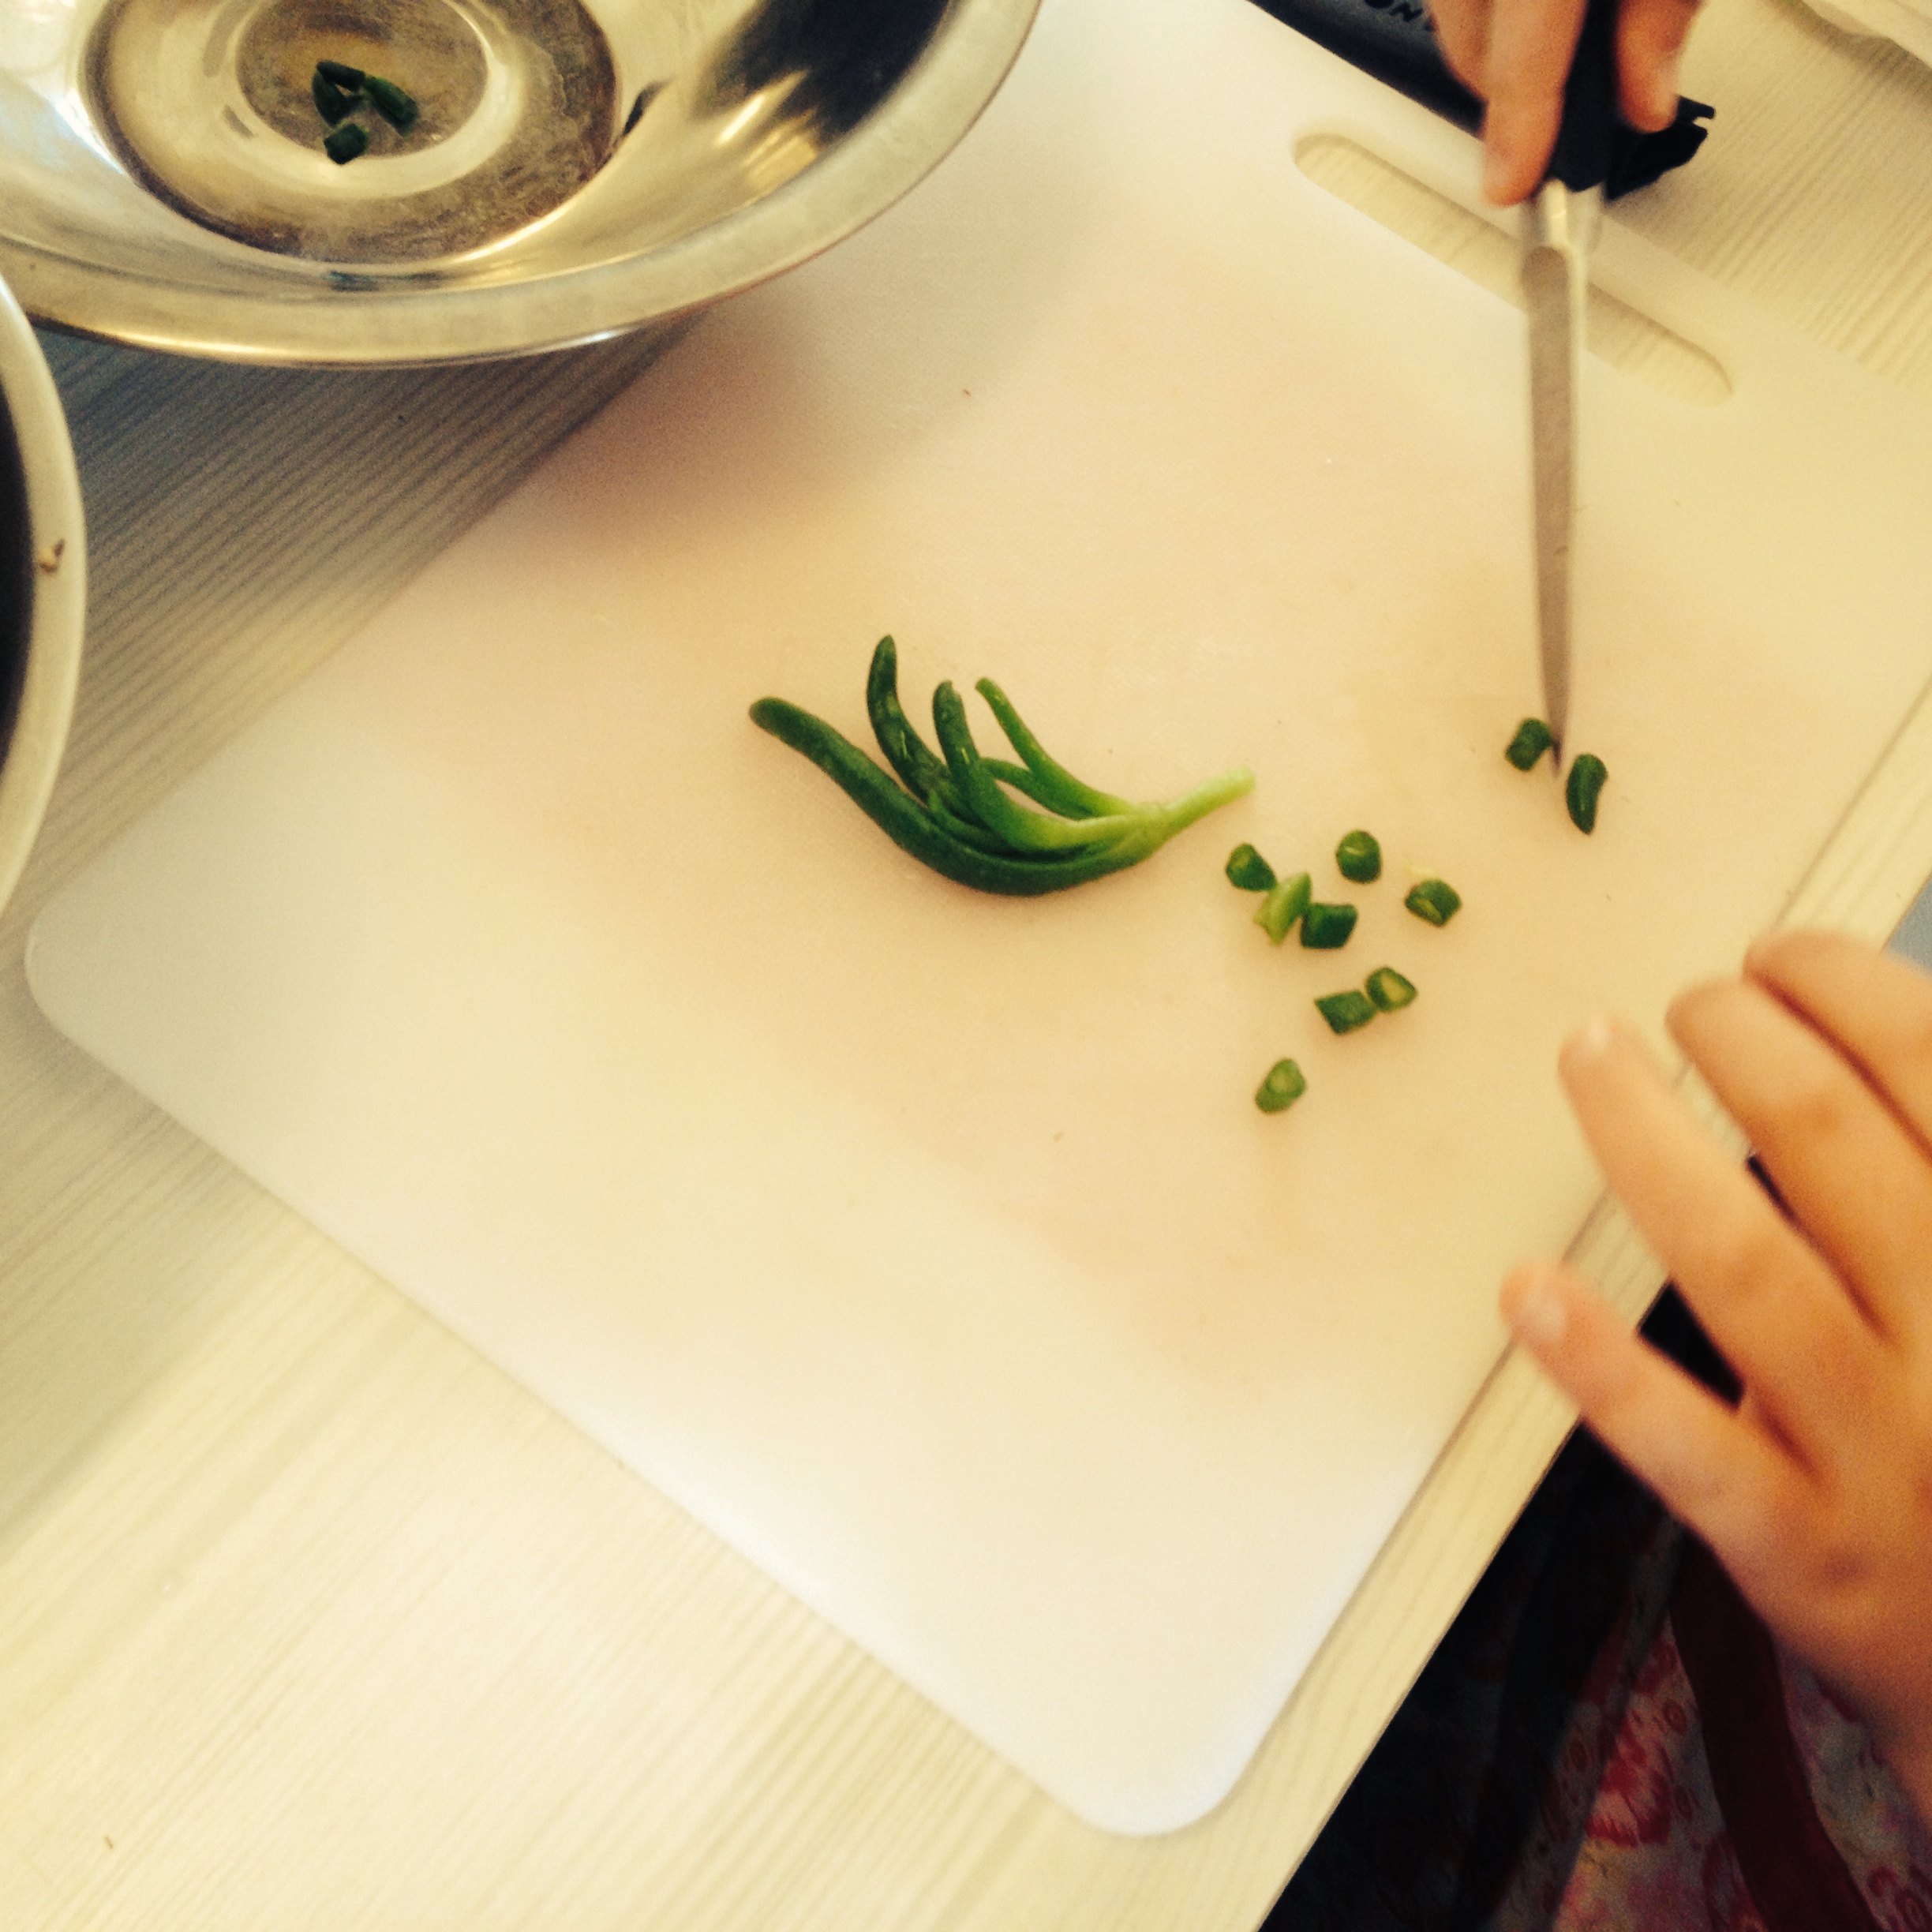
- Meanwhile wash, carefully dry and then finely chop the ‘To Serve’ herbs.
- Pour the yoghurt into the medium bowl. Whisk a ladleful of hot soup into the yoghurt, stirring constantly, and repeat with a couple more ladles of hot soup, then tip the yoghurt mix into the soup and whisk in.
- Stir through the chopped herbs and crumble in half of the feta, reserving some leaves and cheese to garnish. Adjust the seasoning to taste.
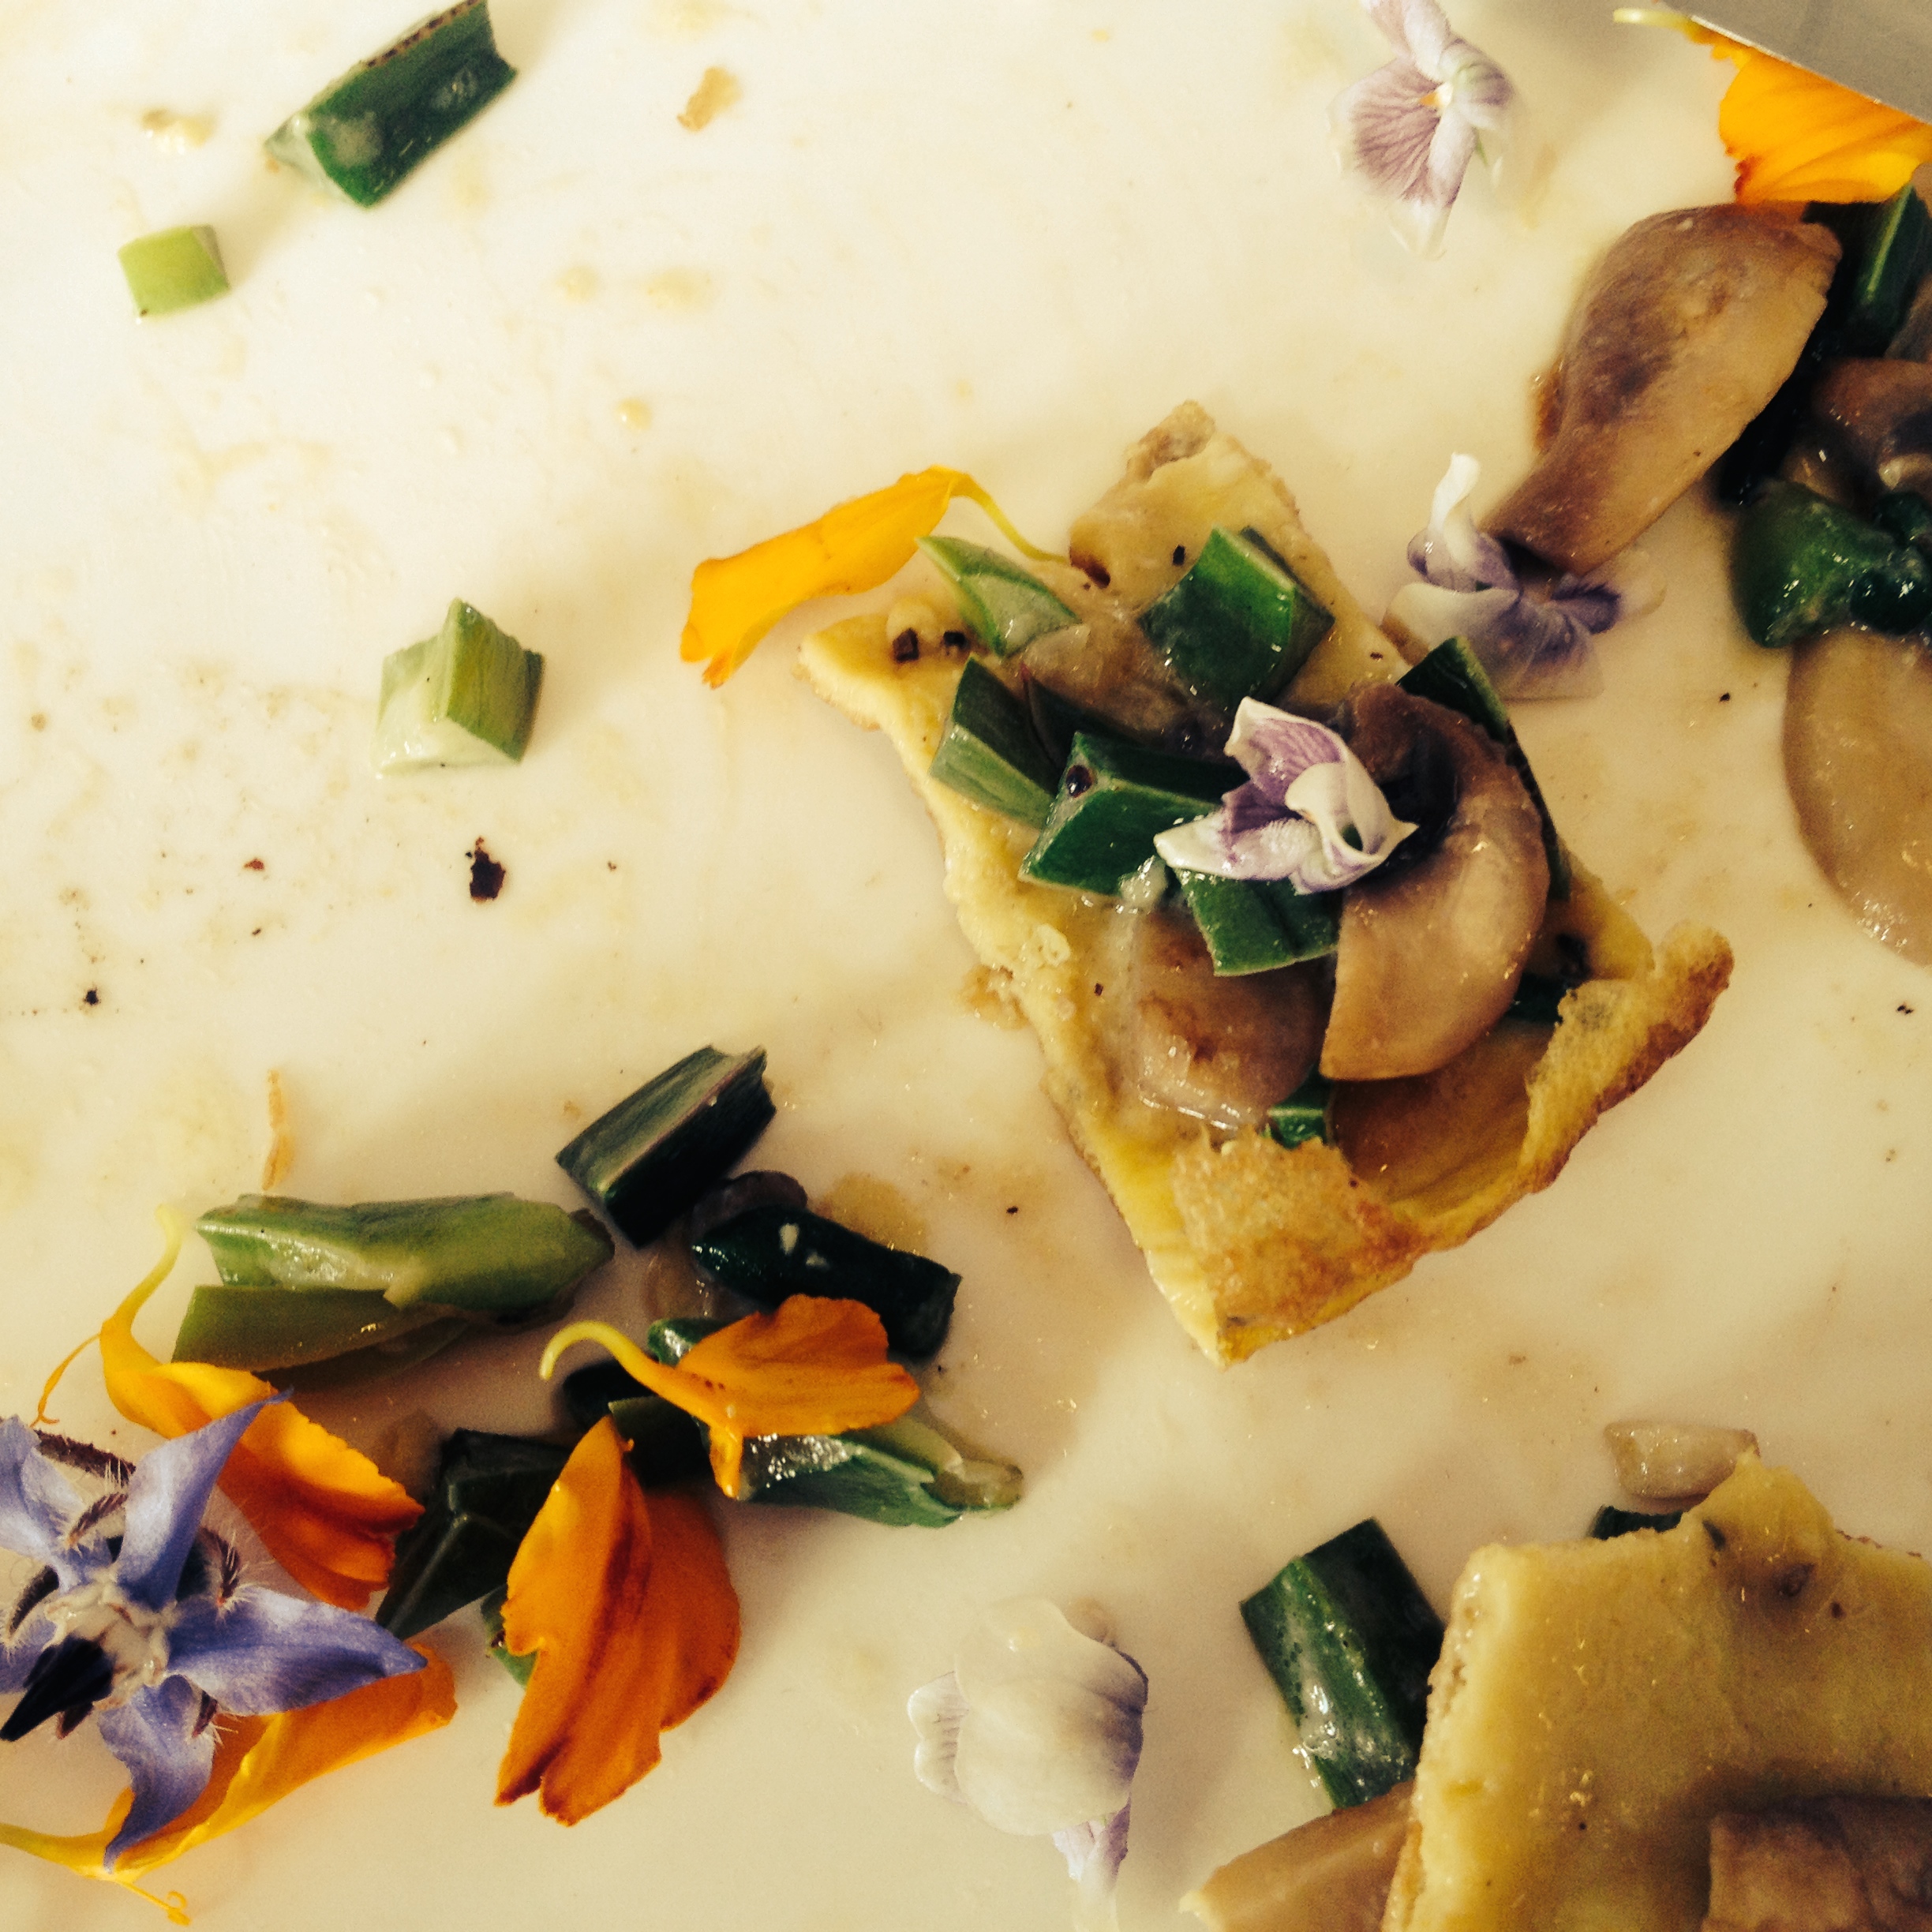
- Pour into soup bowls, sprinkle over the herbs and remaining feta, and finish with a little drizzle of olive oil.
Notes: How many herbs can you think of? What is feta? What does nutmeg small like? What was turmeric used for historically? What is silverbeet also known as?