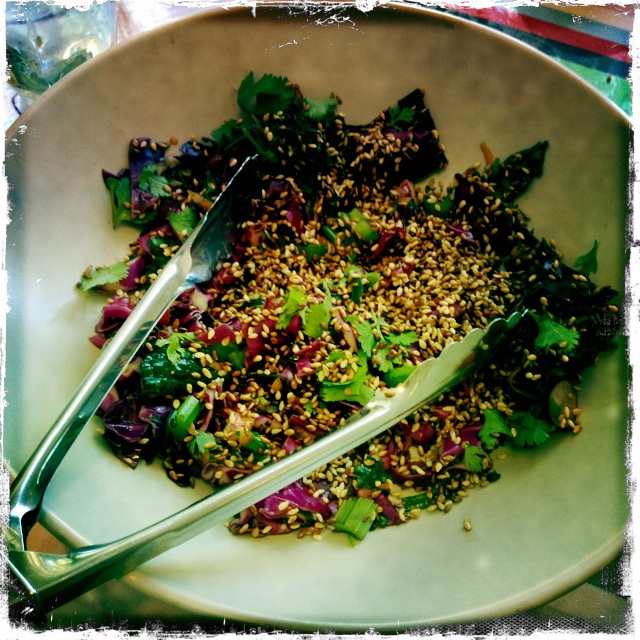
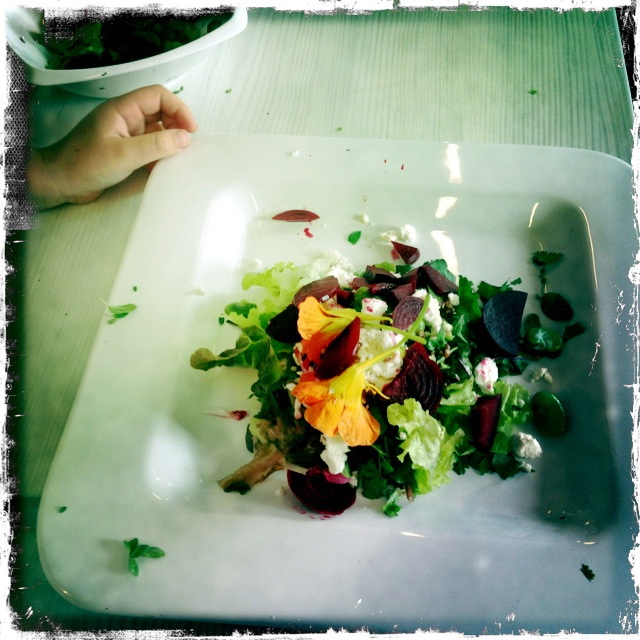
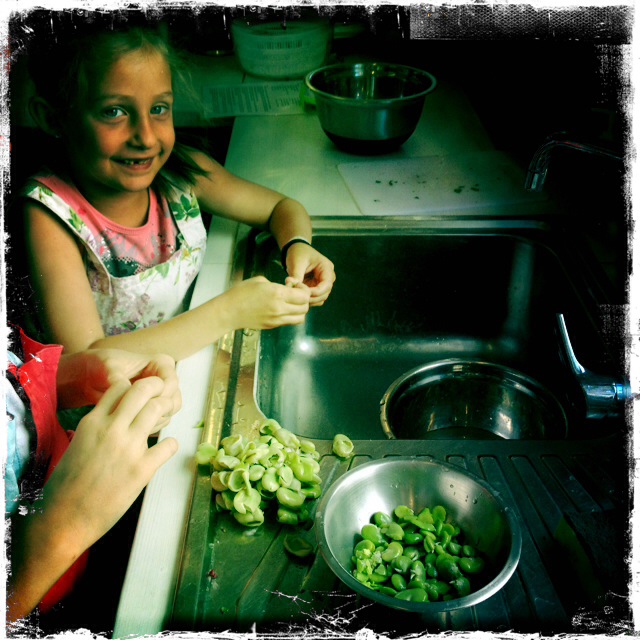
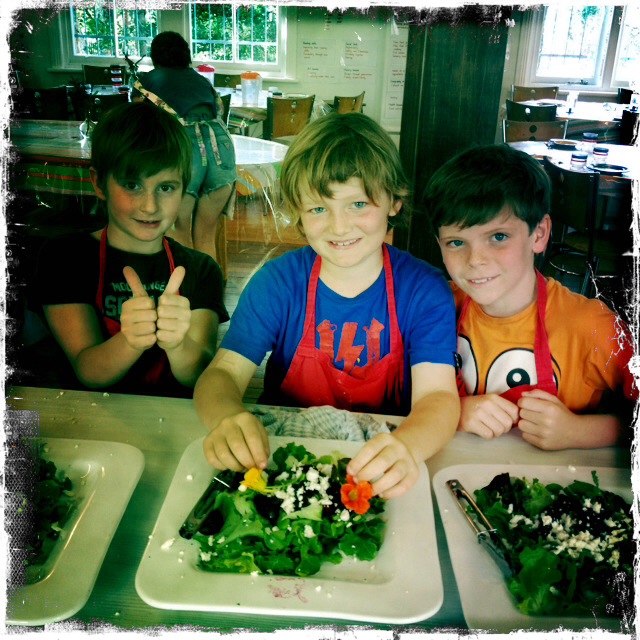
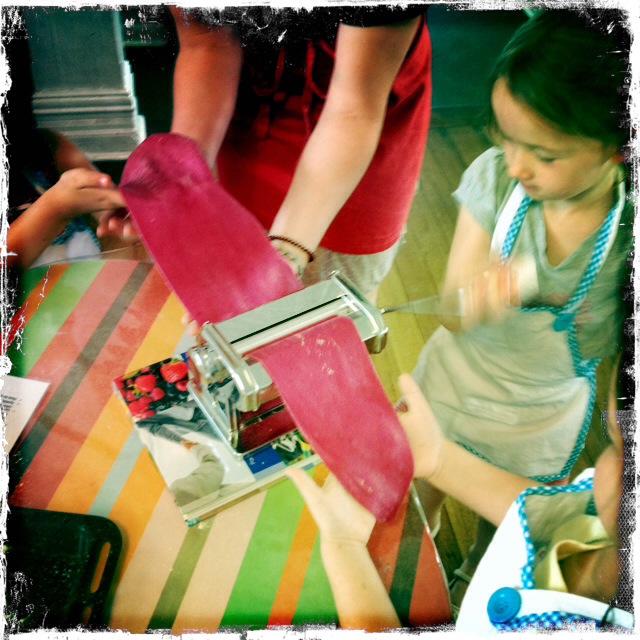
So the little ones worked at the low tables and each of the four groups rolled out linguine, podded broad beans, squeezed lemon juice, prepared herbs and grated parmesan – and then made the pasta for the next class, before clearing and setting the tables and the eating it all up! Deelicious! They also shared a little simple salad too: a perfect holiday lunch!
Beetroot linguine with broad beans, lemon and garden herbs
Our Kitchen Garden students love making pasta – and this recipe sings of spring! It includes the dough mixture as well as instructions on how to use a pasta machine.

Fresh from the garden: eggs, beetroot, lemon, marjoram, parsley, thyme
Recipe source: Melissa
Serves: 4 at home or 12 tastes
Equipment:
- Salad spinner
- Pasta machine
- Scales, garlic press
- Measures – teaspoon
- Food processor
- Plastic wrap
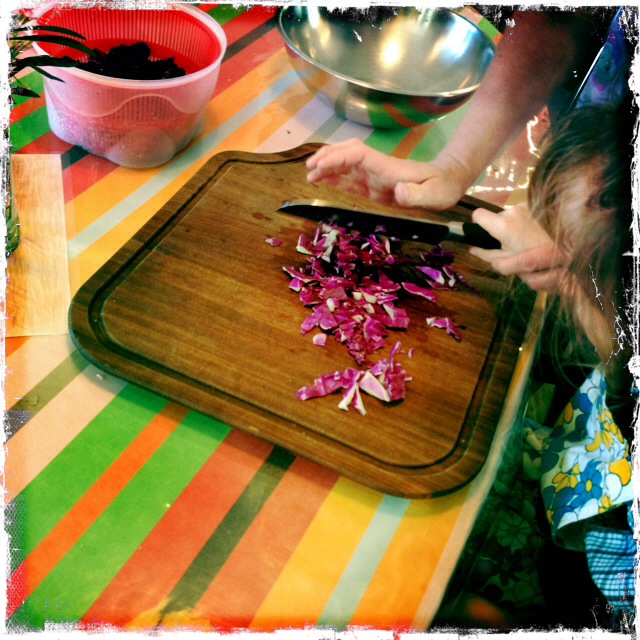
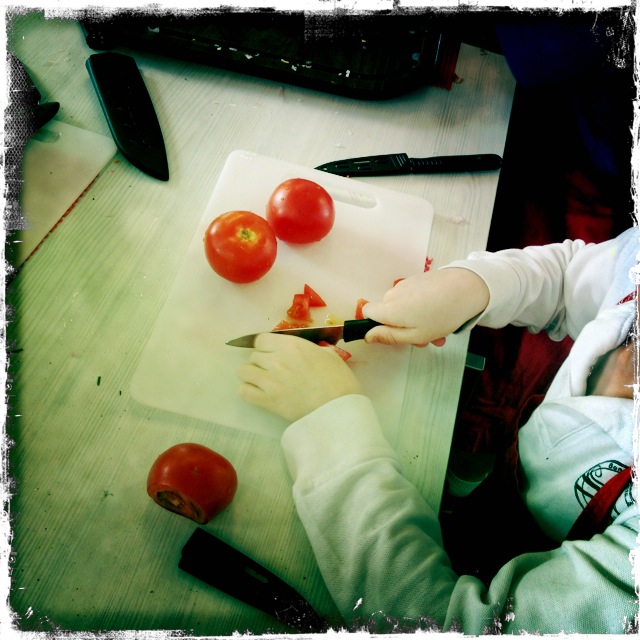
- Chopping board & knife
- Pastry brush, grater
- Large stock pot & saucepan
- Tongs, large & small bowls
- Serving bowls
|
Ingredients:
- 250g typo ‘00’ flour
- 2 free-range eggs
- 50g pureed beetroot (see below)
- A handful of broad beans
- A handful of freshly picked herbs
- Extra-virgin olive oil
- Half a lemon
- A garlic clove
- Flaked salt & black pepper
- 20g parmesan
|
What to do:
To make the beetroot puree:
- Scrub a large beetroot under running water, then pop in a saucepan, fill with cold water and then heat to boil for about an hour.
- Insert a skewer to check if the beet is cooked and soft, then drain, rinse under cold water, and then when cool to handle, slip off the skin with your fingers.
- Place cooked beetroot in the food processor and blitz until blended to a puree consistency. Freeze the remaining beetroot puree.
To make the pasta:
- Place the large bowl on the scales, reset to zero then measure the flour in to it. Add the beetroot.
- Crack the eggs carefully into the small bowl, discarding any shell, then add them to the flour. Mix thoroughly with the wooden spoon, then tip the dough onto a clean, dry workbench.
- Knead the dough for a few minutes, then wrap it in plastic film and let it rest for 1 hour at room temperature.
_____________________________________________________________________________________________
- Fill the large stockpot and the saucepan with water and set to boil on high with the lids on.
- Fix the pasta machine to a suitable bench or table – if the surface is not thick enough you may need to place a thick book under the machine. Screw the clamp very tightly.
- Clear a large space on the workbench alongside the pasta machine. All surfaces must be clean and dry. Press or roll the dough into a rectangle about 8 cm wide.
- Set the rollers on the pasta machine to the widest setting and pass the dough through. The dough will probably look quite ragged at this stage. Fold it in 3, turn it 90 degrees and roll it through again. Go to the next-thickest setting and pass the dough through 3-4 times.
- Continue in this manner (changing the settings and passing the dough through) until the dough has passed through the second thinnest setting. Don’t use the very thinnest setting, as the dough gets too fine and is hard to manage. If the dough gets too long to handle comfortably, cut it into 2-3 pieces using the large knife, and roll each piece separately.
- Lay the pasta strips on a lightly floured surface & dust with a little more flour. Attach the pasta cutter to the machine and pass through the largest rollers, draping it in your hands to catch.
- Carefully separate each strip and hang over a pole to dry.
- Clean the pasta machine by brushing it with a dry, wide pastry brush & putting back in its box.

To finish the dish:
- Check that the stockpot & saucepan have been filled with water and are set on high to boil.
- Pod the broad beans, discarding the outer shell into the compost and add beans to the boiling water. Fill a large bowl with cold water and have ready.
- Boil the broad beans for 3 minutes, drain and then immediately refresh in the bowl of cold water. Drain again and double-pod by slipping the outer shell off into the compost. Put the beans into the big bowl.
- Wash and dry the lemon and zest it. Cut the lemon in half and squeeze its juice into the big bowl too.
- Peel the garlic clove and squeeze it through the garlic press into the bowl too.
- Wash and spin dry the herbs and strip their leaves, chopping with the mezzaluna, then add them into the garlicky broad bean bowl.
- Measure 2 tablespoons of olive oil into the bowl and sprinkle on a few pinches of flaked salt and toss to incorporate.
- Measure the parmesan and grate what you need.
- When the stockpot has started a fast boil, carefully gather your drying pasta on a large baking tray. Add a tablespoon of cooking salt and then the pasta to the pot, stir once and quickly put the lid back on.
- As soon as the pot begins to boil again, take the lid off. The pasta should only take 1 or 2 minutes to cook from boiling. Taste to check – it’s important that the pasta remains al dente and is not overcooked!
- Using tongs, carefully pull the pasta (and some of its cooking liquid) out and into the big lemony bowl, sprinkle half the parmesan on and toss thoroughly to incorporate.
- Divide into serving bowls, sprinkle the remaining parmesan on and eat immediately!
Notes: Never wash the pasta machine – it will rust! Just brush down with a strong brush to remove the leftover dough.