Kitchen Garden

Easy potato salad with tomatoes, basil and rocket

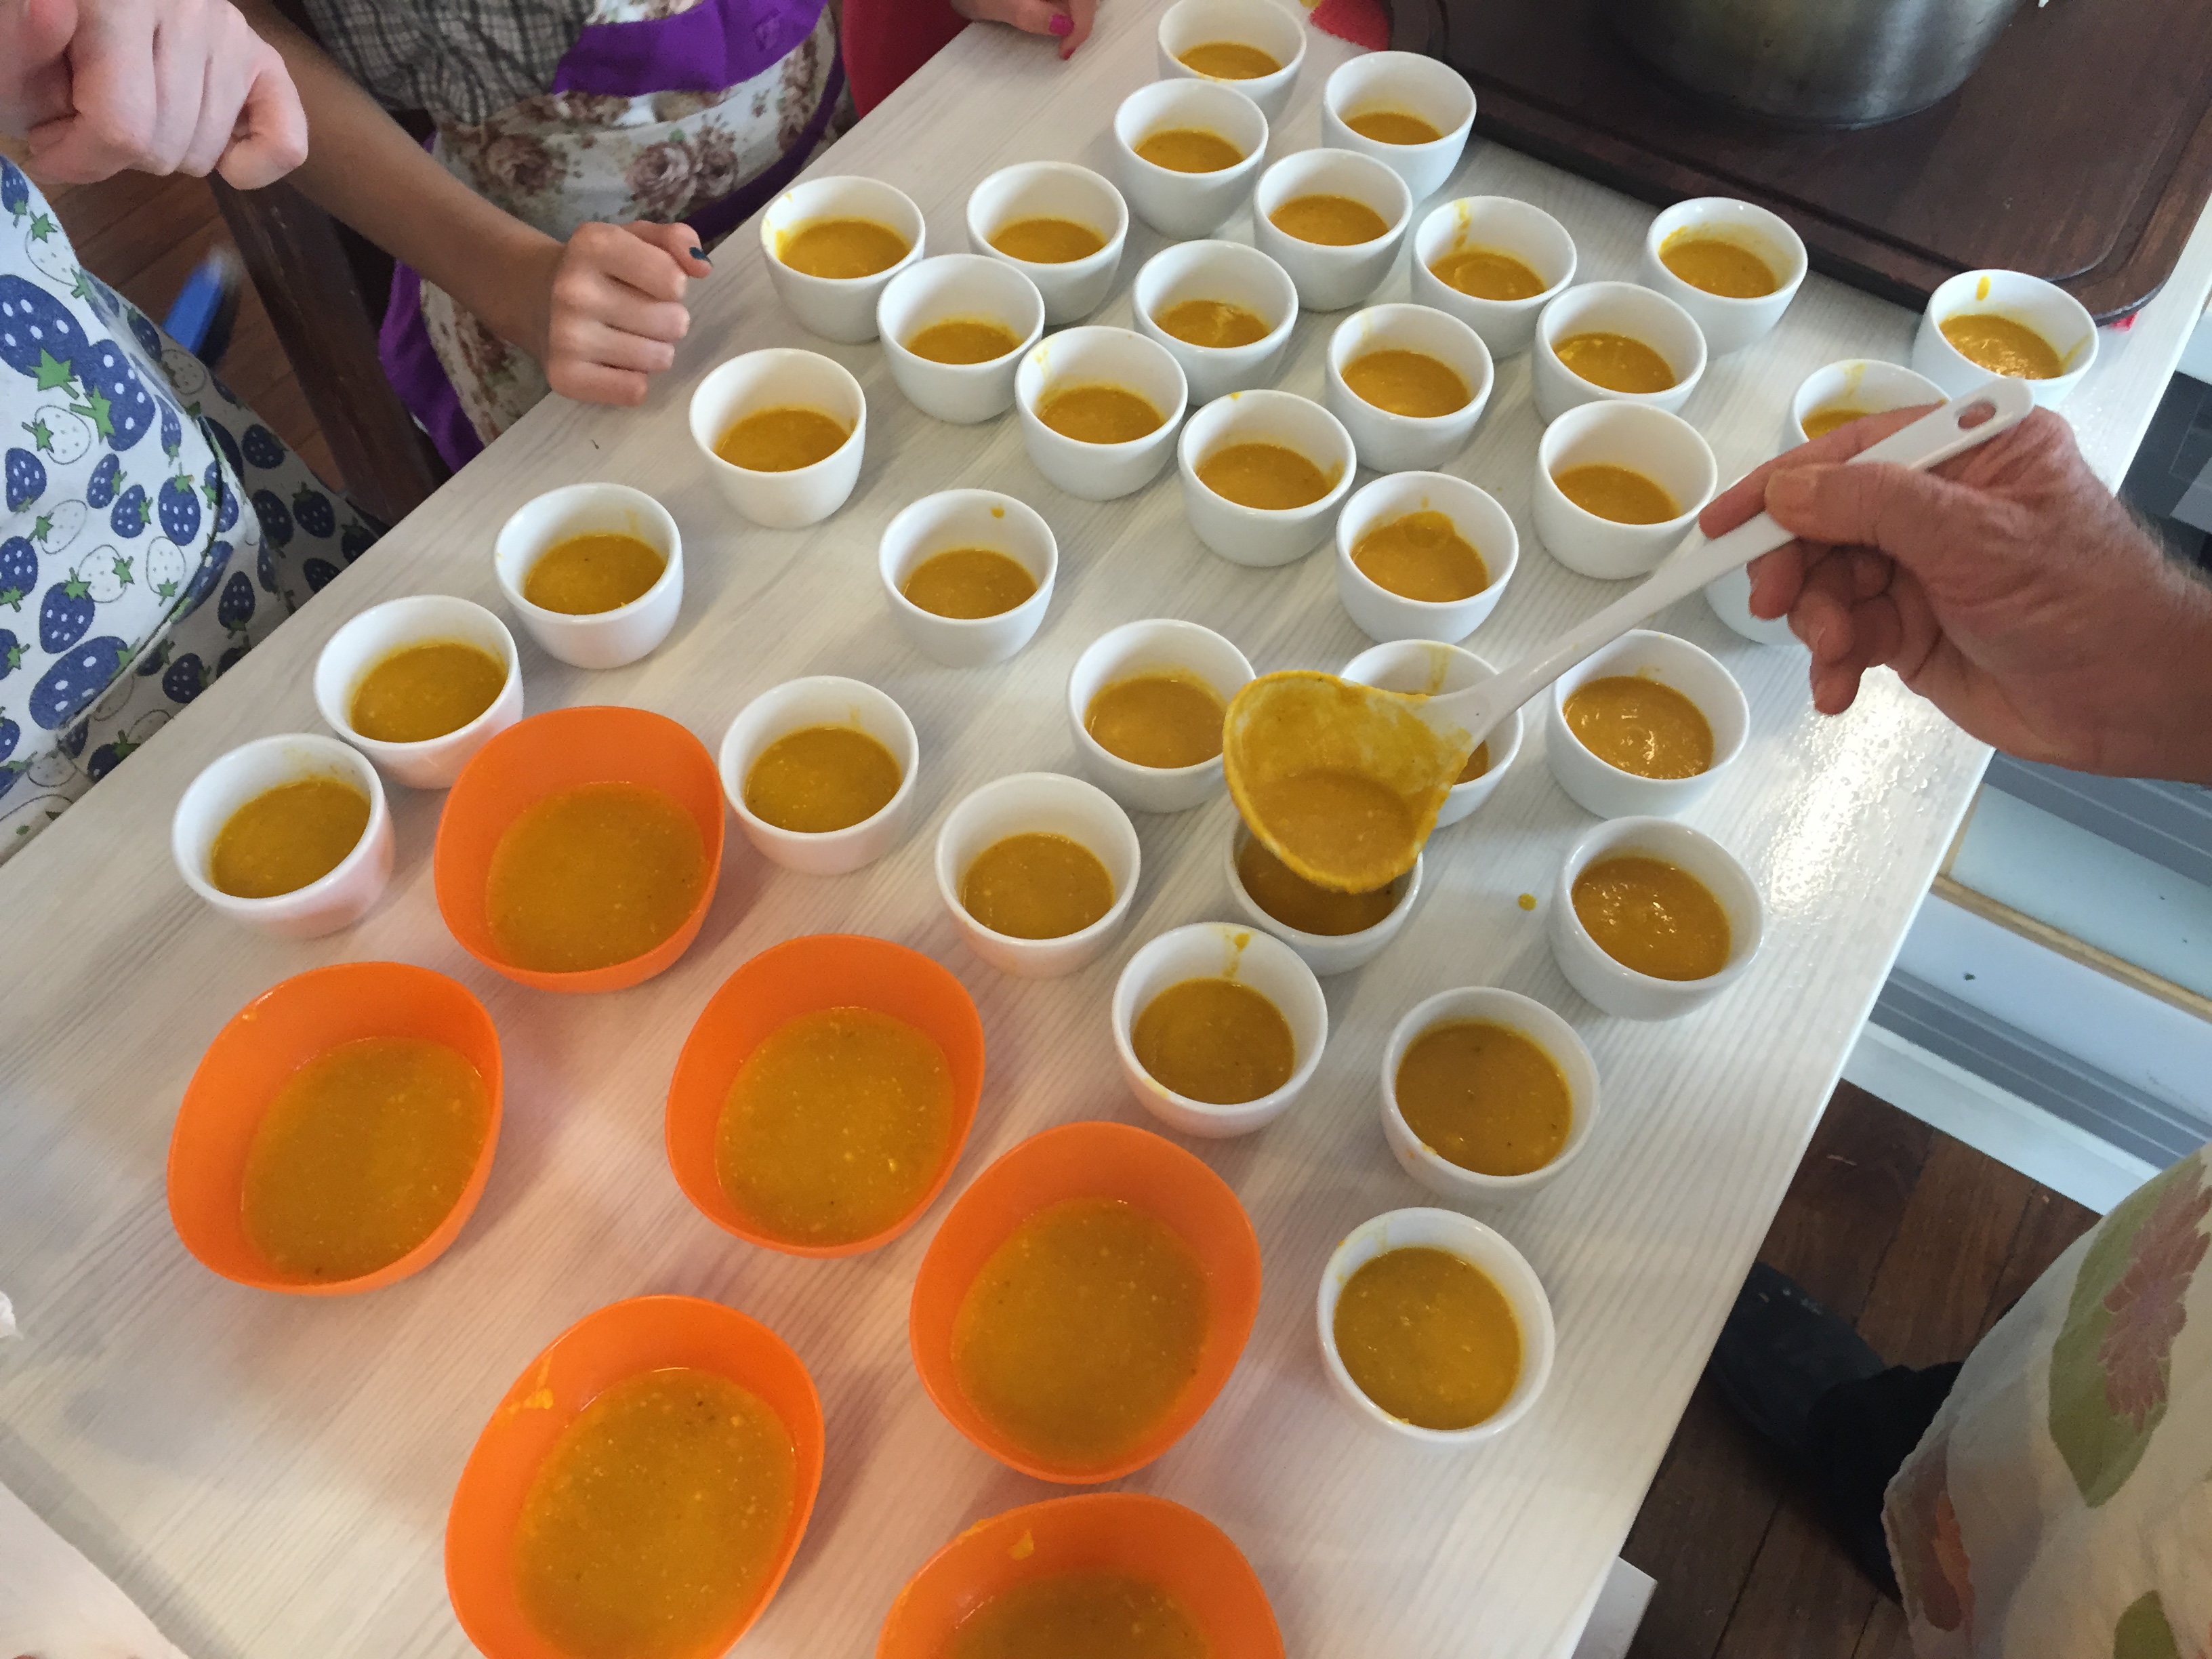
Whether in the park, or at home with a BBQ this salad is always a winner – especially with this simple but delicious dressing.

ourkitchengarden.net

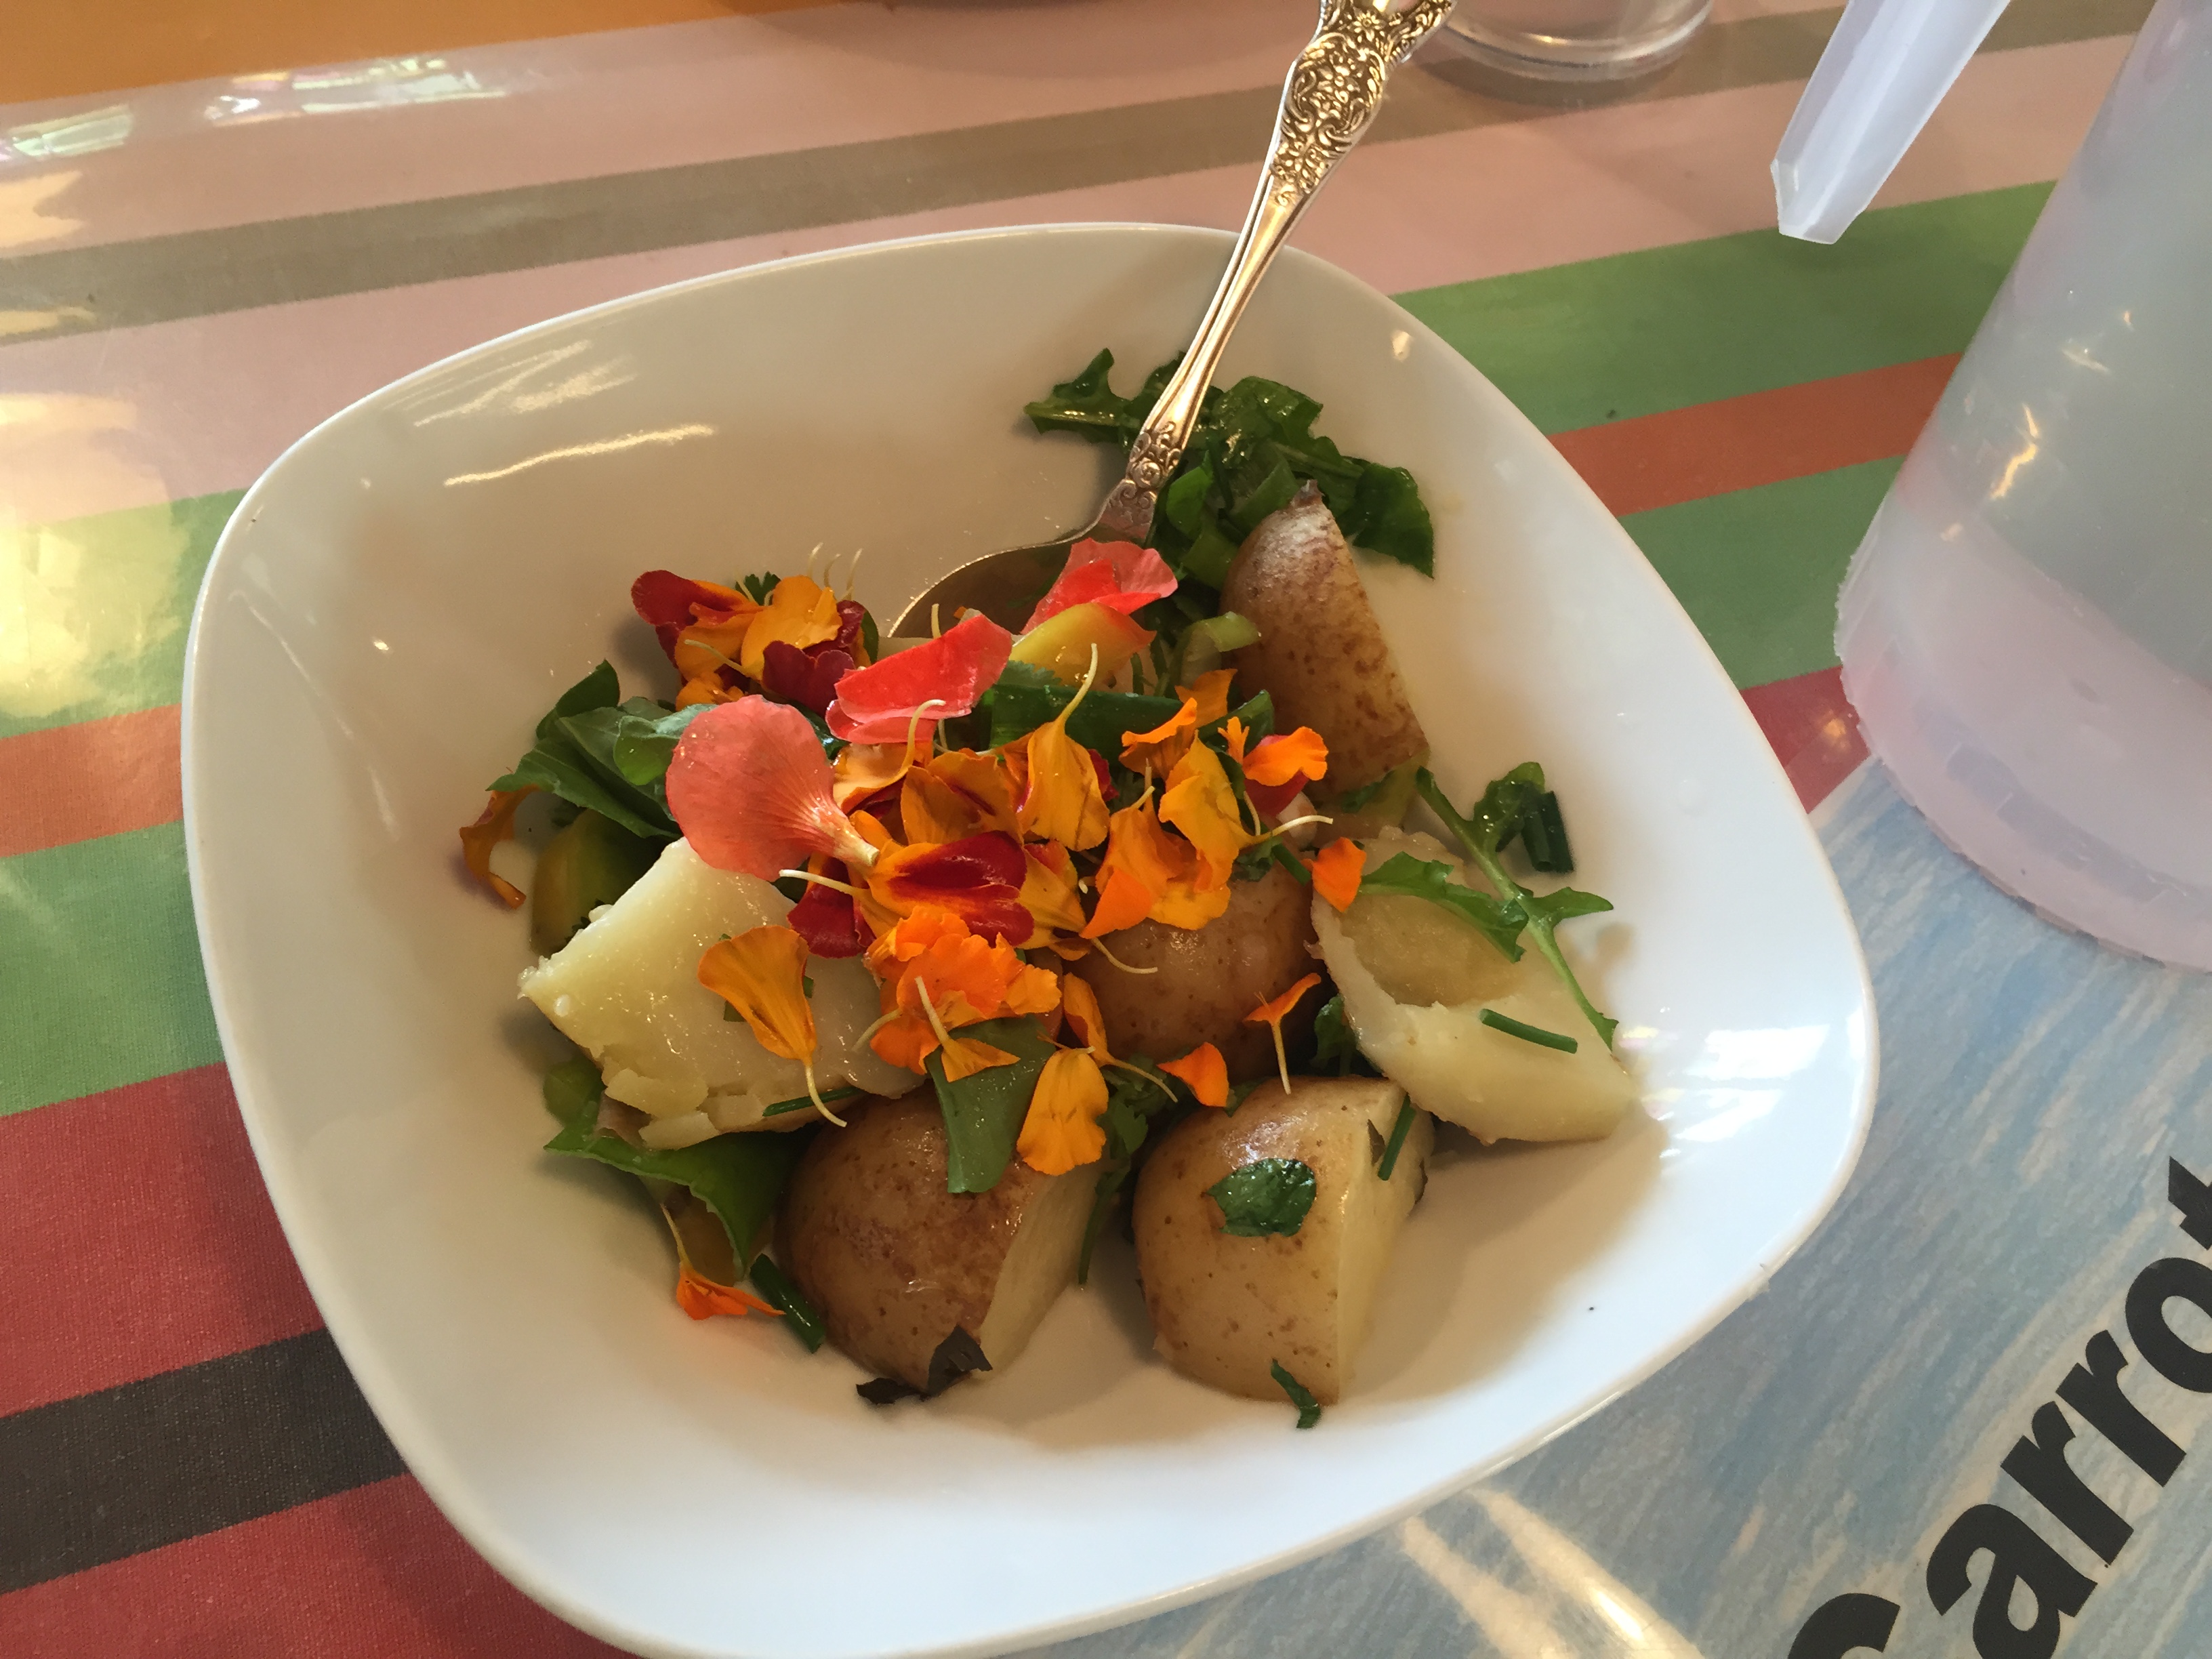
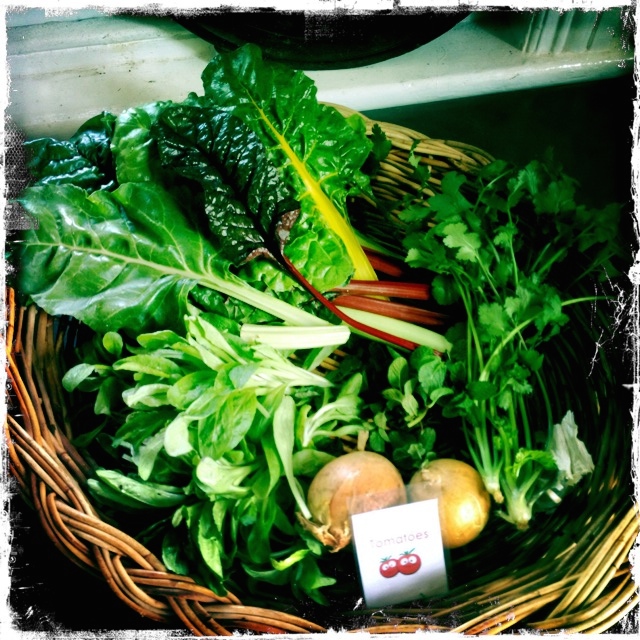
Fresh from the garden: potatoes, tomatoes, rocket, chives, coriander, mint, spring onions
Recipe source: Melissa
Serves: 6 or 24 tastes

Equipment:

  •       Scrubby brush
  •       Large saucepan
  •       Chopping board & knife
  •       Measures: ¼ cup
  •       Salad spinner, paper towel
  •       Mixing bowls – large, medium
  •       Garlic press
  •       Tea towel
  •       Colander
  •       Metal spoon
  •       Serving bowls
Ingredients:

  •       1kg potatoes
  •       A small handful mint
  •       A small handful tomatoes
  •       4 spring onions
  •       A small handful parsley
  •       A small handful chives
  •       A small handful coriander
  •       Flaked salt

Dressing

  •       1 garlic clove
  •       1/3 cup extra virgin olive oil
  •       Flaked salt & black pepper
  •       A sprig of basil

What to do:

  • Wash the potatoes well, scrubbing with a brush if needed, and cut any large ones in half or quarter. Put them all into the large saucepan, cover with cold water and set to boil.
  • Wash the mint and add to the potatoes with a tablespoon of cooking salt. Once the water is boiling, check to see if tender after about 15 minutes.
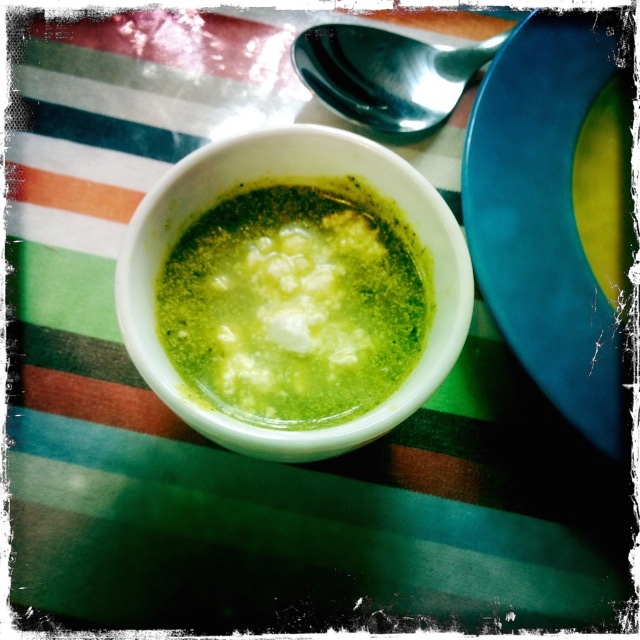
  • To make the dressing: Peel and squeeze the garlic through the press into a medium bowl. Measure in the olive oil with a pinch of salt and grind of pepper. Wash the basil, pick the leaves and spin them dry in the salad spinner. Tear into pieces with your fingers and add to the oil.
  • Wash the remaining herbs and spring onions and dry well. Pick the herbs and finely chop; remove the outer layer of spring onion (discarding it) and chop into slices about half the size of the nail on your little finger.
  • Wash the tomatoes and carefully slice into small chunks. Wash the rocket in several changes of water and spin dry. Slice into thin ribbons.
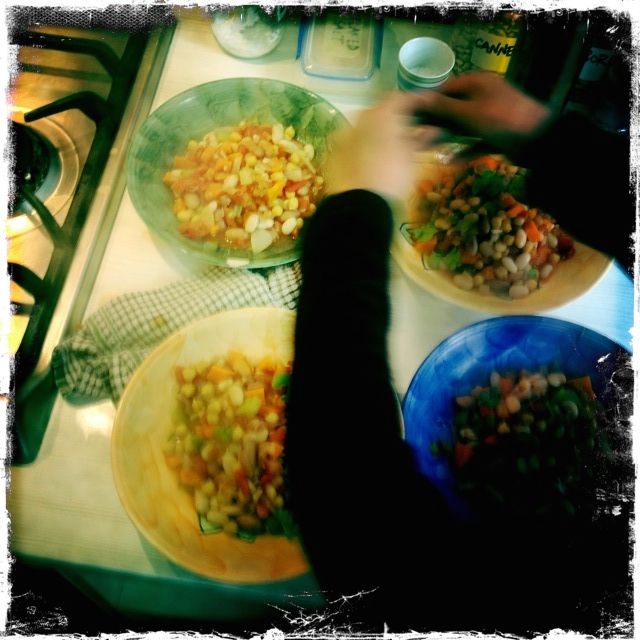
  • When the potatoes are tender, pour out into a colander and drain. Shake to remove excess water and turn back into the warm saucepan, immediately adding the dressing, spring onions, tomato chunks and rocket. Using the metal spoon, carefully turn the warm mixture so that all is covered. Taste for seasoning and add if needed.
  • Just before serving, sprinkle over the chopped herbs and turn out into serving bowls. 

Notes: Why do we start cooking the potatoes in cold water? What is a thin ribbon?

Categories: Kitchen Garden, Recipe | Tags: , , , , , , , , | Leave a comment

Curried carrot soup with yoghurt and coriander

Curried carrot! The 70’s called and want their recipe back. But just see here how delicious it is…!

ourkitchengarden.net

Fresh from the garden: carrots, onion, garlic, coriander
Recipe source: Melissa
Serves: 6 or 24 tastes

Equipment:

  • Stick blender & bowl attachment
  • Measures: tablespoons, teaspoons, ¼ teaspoon
  • Kettle
  • Mixing bowls, large, med, small
  • Chopping boards and knives
  • Peelers
  • Graters
  • Stockpot, wooden spoon
  • Scales
  • Ladle
  • Paper towel
  • Scissors
  • Serving bowls
  • Teaspoons


Ingredients:

  • 2 tablespoons olive oil
  • 2 onions
  • 4 cloves of garlic
  • Coarse salt and ground pepper
  • 1 litre boiling water
  • 1 tablespoon bouillon
  • 1kg carrots
  • A small handful coriander
  • 100g Greek yoghurt

Curry Powder

  • 2 teaspoons ground cumin
  • 2 teaspoons ground coriander
  • 1 teaspoon ground turmeric
  • 1/4 teaspoon cayenne pepper
  • 1/4 teaspoon mustard seeds
  • 1/4 teaspoon ground ginger

What to do:

  • To make the curry powder: Measure the spices into the small bowl of the stick blender and process to a fine powder.
  • Fill the kettle to the litre mark and set it to boil.
  • Peel and finely chop the onions. Peel and finely chop the garlic cloves.
  • Wash and peel the carrots, then grate them all and reserve in a large bowl.
  • Heat the oil in the large stockpot over medium heat. Add onion, 2 teaspoons of the curry powder blend and a grind of pepper. Cook stirring occasionally until the onion is soft for about 5 minutes. Add in the grated carrots and garlic, stir in and then sweat for 1 few minutes with the lid on and the heat low.
  • Carefully add the boiling water and bouillon and bring to a boil. Reduce heat, cover and simmer for 10 minutes until the carrots are tender.
  • Meanwhile wash the coriander and pat it dry. Finely snip and reserve in a little bowl.
  • Puree the soup using the stick blender until super smooth and then check the seasoning. Weigh the yoghurt and then stir into the soup, creating a big whirl.
  • Ladle into soup bowls and serve garnished with the coriander.

Notes: What do the individual spices of the curry powder smell like? And then how do they smell when they’re all combined?

ourkitchengarden.net

Categories: Kitchen Garden, Recipe | Tags: , , , , , , , | Leave a comment

Kitchen news 11th February 2015

ourkitchengarden.net

With the Swimming Carnival swum, Meet the Teacher met, Kindergarten children tendered to, Chinese New Year paraded and general start-of-school-year business accomplished we are Back In Business in the SAKGP 2015!

First up is a big Bondi welcome to our new Garden Specialists: Byron and Grant, who bring an amazing amount of horticultural knowledge to our garden beds and a wonderful presence in our garden lessons. Welcome!

And then with the Chinese New Year we present the CNY Banquet Menu, always the first off the board: Vegetable spring rolls with homemade sweet chilli sauce, the very soft, chocolatey and velvety Shanghai-style eggplant served with ‘perfect’ saucepan-made Steamed rice and a quick-whisked Stir-fried eggs with tomatoes, Tokyo Bekana cabbage and chilli soy.

We also gobbled up Chicken and shiitake dumplings (or a carrot & tatsoi alternative) with chilli and black vinegar sauce, and finished it with Chilled cucumber salad & a small Chinese cup of Jasmine tea.

Super-delicious, and wonderful to see the new Year 3s stepping up to the cooking challenges alongside the Year 4s, 5s and 6s… Bravo! And how fab are all the classes? You’re all so clever!

And of course, a big thanks to all the volunteers that have made these two weeks such a smooth transition, we are so grateful! But we need MORE of you please… We have changed to a new online system at VolunteerSpot so please enrol if you can help us with Kitchen Garden classes or even looking after the chooks on the weekends (opening up & feeding / closing up later)? Minimal time and maximum kid happiness… The link is below.

Thanks xx

To pledge help: click on VolunteerSpot at http://vols.pt/8qCfEY

ourkitchengarden.net

Teamwork!

Categories: Kitchen Garden, News | Tags: , | Leave a comment

Chicken and shiitake mushroom dumplings

Jill says, “Black-rice vinegar and chilli oil are sold at Asian food stores (Lee Kum Kee’s Chiu Chow chilli oil is very good). Wonton wrappers are often called gow gee wrappers.”

ourkitchengarden.net

Fresh from the garden: spring onions, ginger, garlic, chilli, egg

Recipe source: adapted from a recipe by Jill Dupleix on goodfood.com.au

Makes: 40 dumplings

Equipment:

  • Stockpot and lid
  • Bowls – large, small
  • Chopping boards and knives
  • Microplane grater, peeler
  • Measures – jug, tablespoon, teaspoon
  • Scales
  • Fork or whisk
  • Tea towels
  • Slotted spoon
  • Serving plates
Ingredients:

·       6 dried shiitake mushrooms

·       200g minced chicken

·       2 spring onions

·       1 mild chilli

·       A thumb-sized knob of ginger

·       1 egg

·       150ml soy sauce

·       1 teaspoon sesame oil

·       Sea salt and pepper

·       40 small wonton wrappers

·       1 teaspoon chilli oil

·       2 garlic cloves

·       2 tablespoons black-rice vinegar

What to do:

  • Soak the mushrooms in hot water for at least 30 minutes.
  • Set a large pot of water to boil & then turn it down to simmer.
  • Drain the mushrooms, discard stalks and finely dice.
  • To make the dumplings: Peel and microplane the ginger to yield 2 tablespoons. Wash and trim spring onions. Chop 2 finely and julienne the remaining spring onion.
  • Carefully slice the chilli in half, scrape out the seeds and membrane and julienne. Reserve the julienned chilli and spring onion for the garnish.
  • Combine chicken, mushrooms, chopped spring onion, ginger, one tablespoon soy sauce, sesame oil, salt and pepper in a bowl, then beat the egg and mix and mulch it in well into the chicken mixture with your hands until combined.
  • Clean down and dry your work space. Lay one wonton wrapper down per person, then place a teaspoon of filling in the centre of each wrapper (don’t overfill!) and brush edges with a clean finger dipped in a bowl of cold water.
  • Bring three sides of each wrapper up to meet the centre, then press together to seal the edges to form a tricorne. Press again at the ends of each point and in the centre. Continue until you finish the dumplings.
  • To make the dressing: peel and finely grate the garlic. Whisk the chilli oil, garlic, remaining soy sauce and black-rice vinegar in a medium bowl.
  • Cook dumplings a batch at a time for about two minutes in simmering water until they float to the surface.
  • Drain and divide among the serving plates. Spoon the dressing generously on top, scatter with the reserved chilli and spring onions and serve.

ourkitchengarden.net

Categories: Kitchen Garden, Recipe | Tags: , , , , | Leave a comment

Stir-fried eggs with Tokyo Bekana, tomatoes and chilli soy

Jill says, ‘This is a simple dish of Chinese ‘scrambled’ eggs that tastes fresh, clean and light. Serve with rice and Asian greens to max it up into a bigger meal.’ We’ve added the exotically-named Tokyo Bekana cabbage in as well.

Note: for a gluten-free version look for tamari instead of soy, or a gluten-free version of soy sauce as normal soy has wheat.

ourkitchengarden.net

Tokyo Bekana Cabbage

Fresh from the garden: tomatoes, Tokyo Bekana, coriander, eggs, chilli, spring onions

Recipe source: adapted from a recipe by Jill Dupleix

Serves: 4 or 24 tastes

Equipment:

  • Chopping boards and knives
  • Salad spinner
  • Measures – 1/2 cup, tablespoons, teaspoons
  • Bowls – large, medium, small
  • Fork or whisk
  • 2 woks
  • Serving plates & small sauce bowls
Ingredients:

·       2 large or 6 cherry tomatoes

·       A few leaves Tokyo Bekana cabbage

·       A small bunch of coriander

·       1 long red chilli (or green if you don’t want too much heat!)

·       1/2 cup light soy sauce

·       6 eggs

·       2 teaspoons sesame oil

·       4 spring onions

·       Flaked salt & black pepper

·       2 tablespoons Rice Bran oil

What to do:

  • To make the sauce: Slice the chilli in half lengthways and remove the seeds out by scraping each half. Slice the flesh really thinly and then mix the sliced chilli and soy sauce into 4 small sauce bowls. Set aside.
  • For the stir-fry: Wash the Tokyo Bekana cabbage leaves, shake dry and slice finely. Cut the tomatoes in half, scoop out and discard the seeds and juice, then finely chop the flesh. Set aside.
  • Wash and strip the first layer of skin from the spring onions and then thinly slice them. Crack 3 eggs each into both bowls, and then lightly beat each bowl. Add a teaspoon of sesame oil into each bowl, most of the spring onion, and some salt and pepper and combine.
  • Heat the 2 woks over high heat until hot, then add the Rice Bran oil. Once the oil is hot, add the sliced cabbage and a sprinkle of salt and toss for 2 minutes. Remove and then add a bowl of egg mixture into each of the woks and leave for 10 seconds, then use a wooden paddle or spatula to slowly draw the outside of the egg mixture into the centre, allowing the uncooked egg to cook. Cook for 2-3 minutes until the egg is almost set, then scatter with the tomato and cooked cabbage. Toss for a minute to warm through. (It’s important not to allow the tomato to cook for too long, or it will make the eggs too watery.)
  • For the garnish: Wash and spin dry the coriander and pick out some juicy sprigs.
  • To finish: Divide the wok mixtures between 4 serving plates. Scatter with the remaining spring onion and the coriander sprigs, then spoon over some chilli soy sauce and serve immediately.

Caution:

  • Wash your hands thoroughly after coming in contact with chilli, as the capsaicin (the oil within the chilli) burns when it comes in contact with your eyes or sensitive skin.

Notes: What is Tokyo Bekana? Why do we need to use caution around chilli?

Categories: Kitchen Garden, Recipe | Tags: , , , , , | Leave a comment

Ottolenghi’s herb soup

Yotam says, “Herbs are too often the side show, a garnish for the main event. It’s time to put them centre stage. Soft herbs don’t always have to be treated as a garnish – whole bunches of the stuff go into this winning soup.” We say, ” WOW! All this texture and minty flavour in a SOUP?! We love it, even if it does taste a bit freaky!”

ourkitchengarden.net

Fresh from the garden: parsley, coriander, mint, baby spinach, silverbeet, onion, garlic
Recipe source: adapted from Yotam Ottolenghi’s recipe in The Guardian

Equipment:

  • Chopping boards & knives
  • Garlic press
  • Microplane
  • Scales
  • Salad spinner
  • Large stockpot
  • Wooden spoon
  • Handheld (stick) blender
  • Measuring jug
  • Selection of mixing bowls
  • Ladle
  • Bowls to serve


Ingredients:

  • 5 tablespoons olive oil
  • 2 medium onions
  • 2 garlic cloves
  • 2 teaspoons ground turmeric
  • 1 nutmeg
  • 1 tablespoon dried mint
  • 250g baby spinach (we used lambs’ lettuce)
  • 250g silverbeet leaves
  • 25g parsley (leaves and stalks)
  • 25g coriander (leaves and stalks)
  • 1200ml hot water and a large tablespoon of bouillon (or vegetable stock)

To serve

  • 200g Greek yoghurt
  • 10g coriander leaves
  • 10g mint leaves
  • 5g parsley leaves
  • 200g feta
  • Flaked salt and black pepper

What to do:

  • Fill the kettle to 1200ml and set to boil.
  • Peel and roughly chop the onions. Peel and crush the garlic cloves.
  • Grate the nutmeg to yield 1 teaspoon.
  • Wash the baby spinach, silverbeet leaves & main herbs in several changes of water in large bowls & then carefully dry using the salad spinner.
  • Roughly chop the silverbeet leaves, rolling them up like a cigar and slicing. Finely chop the stalks.
  • Heat two tablespoons of the olive oil in the stockpot. Add the onion and sauté GENTLY for around five minutes, or until translucent and soft.
  • Stir in the turmeric, garlic and nutmeg, fry for a minute, then add the dried mint, spinach, silverbeet leaves, the whole parsley and coriander leaves and stalks, and stock.
  • Bring to a simmer and cook for 10 minutes. Season, then blitz the soup with the stick blender until smooth.
  • Meanwhile wash, carefully dry and then finely chop the ‘To Serve’ herbs.
  • Pour the yoghurt into the medium bowl. Whisk a ladleful of hot soup into the yoghurt, stirring constantly, and repeat with a couple more ladles of hot soup, then tip the yoghurt mix into the soup and whisk in.
  • Stir through the chopped herbs and crumble in half of the feta, reserving some leaves and cheese to garnish. Adjust the seasoning to taste.
  • Pour into soup bowls, sprinkle over the herbs and remaining feta, and finish with a little drizzle of olive oil.

Notes: How many herbs can you think of? What is feta? What does nutmeg small like? What was turmeric used for historically? What is silverbeet also known as?

ourkitchengarden.net

Categories: Kitchen Garden, Recipe | Tags: , , , , , , , | 1 Comment

Kitchen news – 28th August 2014

ourkitchengarden.net

We have started our lessons this menu with a little masterclass on dicing and slicing vegetables: how to finely chop an onion easily; the dos and don’ts of carrot division (!); and the simple way to 1cm-dice a potato. Lots of fun – and made me feel rather like a David Jones Saturday demonstration lady… think I’ll stick to this job. The children responded beautifully in class by showing me they had listened and taken in what they had seen, and our veggies were chopped just right!

One group got the lion’s share of knife experience: the Broad Beans, who had the mammoth task of cleaning and chopping mounds of carrots, onions, leeks, fennel, parsley, carrot tops, coriander and sun-dried tomatoes for the vital Bouillon that we use in all our soups, risotto and other dishes needing stock. We have preserved enough to sell at our stalls at Grandparents’ Day and at the Halloween Fete so pop by and pick some up then – you’ll never have to buy stock again!

Also making use of the chopping boards this fortnight were the Artichoke group, making my friend Sharon’s broccoli soup, with the cunning late addition of a spoonful of pesto, made in May this year and frozen for use now to remind us of summer flavours… thick and rich and fragrant. Perfect for this Melburnian weather!

The Olives made Flour tortillas from scratch – so easy to do at home, and free of all the rubbish additives. The gluten free version we made was actually tastier and more pliable than the usual one, using just G-F plain flour from Woolies, and we wrapped these around the Tomato group’s Magic bean stew, burrito-style. At home you could add avocado and a fried egg with some crispy bacon and chipotle sauce for the best brekkie burrito. Just saying.

And the Carrot team made the loveliest Winter salad with roasted bits and poached eggs – the bits: cauliflower florets and Brussels sprout leaves with cumin, coriander, salt, olive oil. And salad leaves, garlicky lemon dressing and wonderful eggs. Congrats to 4W for not breaking a single yolk in the process!

Thanks again for all the jars, especially Georgina for the massive box full of them, and also to Amir for the fab new juicer! Cheers! Mx

Categories: Kitchen Garden, News | Tags: , , | Leave a comment

Winter salad with poached eggs and roasted bits

We tend to veer towards slow-braised soups and stews in the winter, but I also love warm salads, blending crisp and green with warm and comforting, all in the one bowl…

Fresh from the garden: salad leaves, eggs, lemon, parsley, marjoram, thyme, coriander, chives
Recipe source: Melissa
Serves: 6 or 24 at home

Equipment:

  • Mixing bowls
  • Colander
  • Paper towel, tea towel
  • Chopping boards & knives
  • Measures:1/3 cup, tablespoon
  • 2 large baking trays
  • 2 salad spinners
  • Mortar & pestle
  • Citrus juicer
  • Mezzaluna
  • Whisk, tongs
  • Medium frying pan
  • Slotted spoon
  • Serving bowls


Ingredients:

  • A handful Brussels sprouts leaves
  • A handful cauliflower florets
  • A big bunch salad leaves: mache, mizuna, rocket, lettuce
  • A large handful of herbs
  • A few garnishing flowers
  • 4 eggs
  • Ground coriander and cumin

Herby vinaigrette dressing

  • 1 clove garlic
  • Flaked salt & black pepper
  • 1 lemon
  • 1/3 cup extra virgin olive oil
  • A small handful mixed herbs: parsley, marjoram, thyme, coriander, chives

What to do:

  • Preheat the oven the 180C.Wash the Brussels sprout leaves and cauliflower in a bowl of cold water, refilling if needed. Drain and pat dry with paper towel. Strip the leaves from the stalks and cut into ribbons. Cut the cauli into smaller florets. Turn the cauliflower into a clean dry bowl and sprinkle over a tablespoon of olive oil, a sprinkle of salt, ground coriander and ground cumin and mix to combine. Place on the baking tray and then add the Brussels sprout leaves, add another tablespoon of olive oil and sprinkle of salt etc. to the bowl. Lay the leaves out on a separate baking tray.
  • Roast the cauliflower for 20 minutes, then slide the tray of Brussels sprout leaves into the oven and roast for a further 5 to 10 minutes, removing when crispy.
  • Fill up 2 big bowls with cold water & wash the salad leaves in several changes of water. Spin dry and wipe the bowls dry. Lay out the tea towel and line it with kitchen paper. Spread the salad leaves over the paper and roll the whole lot up like a log. Keep the rolled parcel of leaves in the fridge until needed.
  • Fill up a medium bowl with water and wash the herbs and small garnishing leaves. Spin dry and pick leaves, discarding stalks into compost. Pick the petals from the flowers and reserve in a small bowl with the garnishing leaves. Chop the herbs finely and keep separate in their own small bowl.
  • Peel the garlic clove and put it in the mortar with a large pinch of salt. Pound to a paste. Juice the lemon and add the juice to the mortar (without pips) then stir the lot with a teaspoon and scrape it into a clean bowl. Stir in the oil and grind some pepper, then whisk the dressing lightly. Wash and spin dry the herbs, pick off the leaves and chop finely in the mezzaluna. Add to the dressing.
  • Meanwhile, to poach eggs, fill the medium sized frying pan with water and bring to a simmer. Carefully crack each egg into its own small bowl without breaking it and then carefully slide into the water. Let the pan sit for 4 minutes on the barest simmer until done.
  • Carefully remove oven tray of veggies with oven mitts and leave to cool for a few minutes.
  • Unwrap the parcel of salad leaves & tip them into the bowl with the herbs and the dressing. Add in the roasted cauliflower & sprout leaves and gently turn the leaves in the dressing using a clean hand or tongs.
  • Pile up the dressed leaves into the serving bowls, carefully drain an egg using a slotted spoon and place in the centre of each bowl of salad with garnishing petals or leaves and serve immediately.

Notes: What else could you add to a warm winter salad? What is the best way of using a mortar and pestle? What does ground coriander smell like? How is it made?

Categories: Kitchen Garden, Recipe | Tags: , , , , , , , | Leave a comment

Magic bean stew

Why magic? Have you heard the story of Jack and the Beanstalk? These could be the same beans… anyway this stew certainly warms you up magically, and is great wrapped in a flour tortilla, burrito-style – or simply served with a slice of crusty bruschetta on the side.

ourkitchengarden.net

From the garden: garlic, onion, celery, carrots, coriander
Recipe source: Melissa
Serves: 6 or 24 tastes

Equipment:
  • Large glass bowl
  • Scales
  • Measures: tablespoon, teaspoon
  • Colander
  • A medium saucepan & a large heavy-based saucepan
  • Chopping boards & knives
  • Potato peelers
  • Salad spinner
  • Garlic press
  • Wooden spoon
  • Ladle
  • Serving bowls

Ingredients:

  • 100g dried cannellini beans
  • 100g dried borlotti beans
  • 100g black eyed beans
  • 100g dried chickpeas
  • 2 teaspoons bicarbonate of soda
  • 5 garlic cloves
  • 1 red onion
  • Olive oil
  • 2 stalks of celery
  • 2 carrots
  • 1 tin chopped tomatoes
  • 1 bunch coriander
  • Flaked salt & black pepper

What to do:

  • The night before, place your dried beans in the glass bowl and fill the bowl with cold water and the bicarb.
  • The next day, rinse and drain the beans, then put them into the medium saucepan with lots of fresh cold water to cover. Add 3 garlic cloves & grind of pepper. Set on a medium heat and simmer until beans are soft – should be around 20-30 minutes.
  • Meanwhile, peel and finely chop the onions.Wash and shake the celery dry then slice down the stalks, then chop the thin strips and leaves into small dice.
  • Wash and peel the carrots, slice into lengths then chop the lengths into small pieces.
  • Wash and spin dry the coriander and chop finely, keeping the stalks separate from the leaves.
  • Peel and squeeze the remaining garlic cloves through the press.
  • Heat a couple of tablespoons of oil in the large saucepan and fry the onion gently for 2 minutes, then add in the garlic, celery, carrot and chopped coriander stalks (not leaves, keep thewm for later) for about 5 minutes until the flavours combine.
  • Add the tomatoes and continue to cook on a gentle heat for a further 5 minutes, and then scoop out the beans and in to the tomato with a little liquid to moisten. Simmer for another 10 minutes.
  • Add a grind of pepper and a sprinkle of salt and taste to check seasoning.
  • Ladle into serving bowls, sprinkle with chopped coriander leaves and eat!

Notes: Why do we soak the beans overnight? What is another name for stew? What is coriander also known as?

Categories: Kitchen Garden, Recipe | Tags: , , , , , , | Leave a comment

Flour tortillas

These pliable tortillas are great for making burritos, with fillings you wrap up inside. You can also freeze any leftovers, then re-heat in a foil ‘packet’ when you need them. This recipe is also great if you want to use gluten-free plain flour, in fact the tortillas were even better!

ourkitchengarden.net

Recipe source: adapted from a recipe on cooks.com
Makes: 16 tortillas

Equipment:

  • Stand mixer and dough hook
  • Measures: cup, 1/3 cup, teaspoon
  • Spatula
  • Knife and chopping board
  • 2 tea towels
  • Large non-stick frying pan
  • Rolling pins
  • Tongs
  • Serving plates
Ingredients:

  • 3 cups flour
  • 1 teaspoon salt
  • 1 teaspoon baking powder
  • 1/3 cup vegetable or Rice Bran oil
  • 1 cup warm water

What to do:

  • Combine flour, salt and baking powder in the bowl of a stand mixer. With the dough hook attached, mix dry ingredients until well combined. Add oil and water with mixer running at a medium speed. Mix for 1 minute, stopping several times to scrape the sides of the bowl. After about 1 minute, or when mixture comes together and begins to form a ball, decrease mixing speed to low. Continue to mix for 1 minute or until dough is smooth.
  • Transfer from mixing bowl to a well-floured work surface. Divide dough in half, then in half again. Continue until you have 16 fairly equal portions. Form each piece into a ball and flatten with the palm of your hand as much as possible. If dough is sticky, use a bit more flour. Cover flattened balls of dough with a clean tea towel and allow to rest for 15 minutes before proceeding.
  • After rest period, roll each dough piece into a rough circle, about 15-20 cm in diameter, keeping work surface and rolling pins lightly floured. Don’t stack uncooked tortillas on top of each other or they will get soggy.
  • Heat the frying pan over medium-high heat. When pan is very hot, place one dough circle into pan and allow to cook about 1 minute or until bottom surface has a few pale brown spots. The uncooked surface will begin to show a few little bubbles. If tortilla is browning too fast, reduced heat a bit. If it’s taking longer than a minute to see a few pale golden brown spots on underside of tortillas, increase heat a bit. Flip to other side and cook for about 30 seconds. You want the tortilla to be soft but have a few small pale golden brown spots on surface. Remove from pan with tongs and stack, covered with a clean tea towel until all tortillas are cooked. This will keep them soft and pliable.
  • Wipe out the pan in between tortillas (carefully, with a piece of paper towel) if flour is started to accumulate.
  • Divide onto plates and serve warm.

Notes: What would you use as the filling in your burrito? What other sorts of tortillas are there?

ourkitchengarden.net

Categories: Kitchen Garden, Recipe | Tags: , , , , , | Leave a comment

Create a free website or blog at WordPress.com.