Pizza dough is easy and fun to make – and you can always freeze any leftover dough…
Fresh from the garden: olives, rocket, onions, garlic, marjoram, parsley, thyme
Recipe source: Melissa
Serves: 8 or 24 tastes
Equipment:
|
Ingredients:
Tomato sauce:
For the pizza topping:
|
What to do:
For the tomato sauce:
- Peel and finely chop the brown onion and garlic.
- Heat 2 tablespoons of olive oil in the frying pan & gently cook the onion until translucent for a minutes, and then add the garlic.
- Open the tin of tomato and add to the frying pan with a pinch of salt and a grind of pepper.
- Wash, dry and pick the herbs. Roughly chop if needed then add to the tomatoes.
- Simmer gently for 10 minutes, stirring occasionally, until quite reduced.
For the topping:
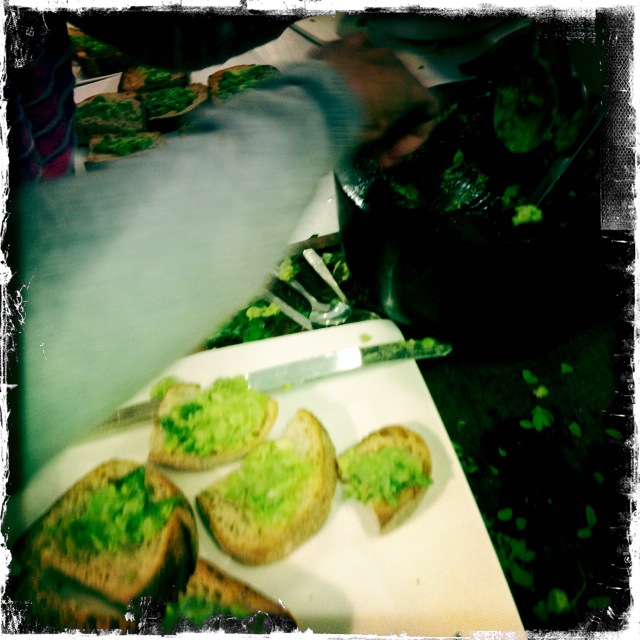
- Placing one olive at a time on the chopping board, smash down on it with the flat base of the smallest bowl to dislodge the pip. Discard the pip into compost and reserve the olives in a small bowl.
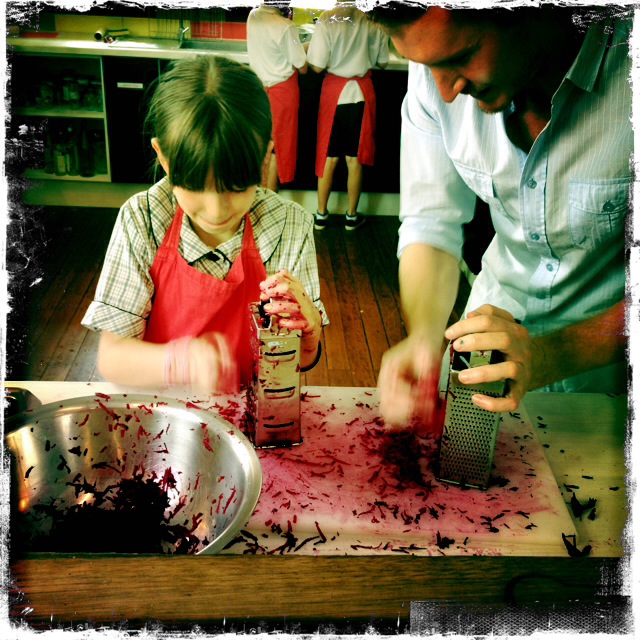
- Open the tub of bocconcini and cut or tear each ball in half. Grate the parmesan.
- Wash and spin the rocket dry and then reserve in another large bowl.
- Peel the red onion and cut it in half, then cut into thin slices. Place in a medium bowl and drizzle with a tablespoon or two of the olive oil from the jar with a few spices.
Assembling the pizza:
- Scatter some flour on the workbench, divide the dough into four and roll to form 4 ovals.
- Once rolled, lightly flour the baking trays and place 2 ovals on each tray, side by side.
- Assemble the pizzas directly onto the trays, flouring the trays first.
- Using the metal spoon, swirl a couple of spoonfuls of tomato sauce onto the pizza bases, spreading so that they become totally covered with a clean border.
- Layer the bocconcini on top, spoon on the smashed olives and the red onion slices, drizzle some extra spiced olive oil if needed, then slide the pizzas into the oven.
- Wash and dry the wooden chopping boards and set them out ready.
Baking the pizza:
- Bake the pizzas for 12 minutes or until the edges are very crusty and the cheese is bubbling.
- Use this time to make the dough for the next class if needed.
- You may want to slip the pizza off the tray onto the rack for the last few minutes, so that you get a really crusty base.
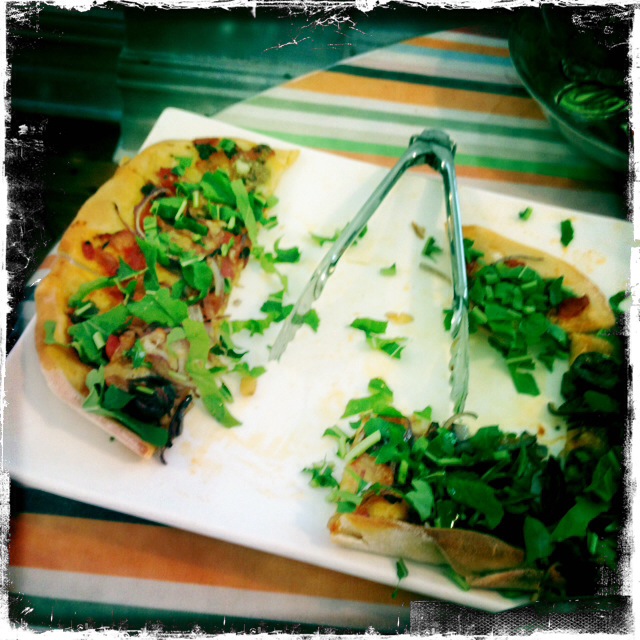
- Once the pizzas are done, transfer them to the wooden boards using the wide egg lifter.
- Cut the pizzas in half first, and then each half into small squares for each plate.
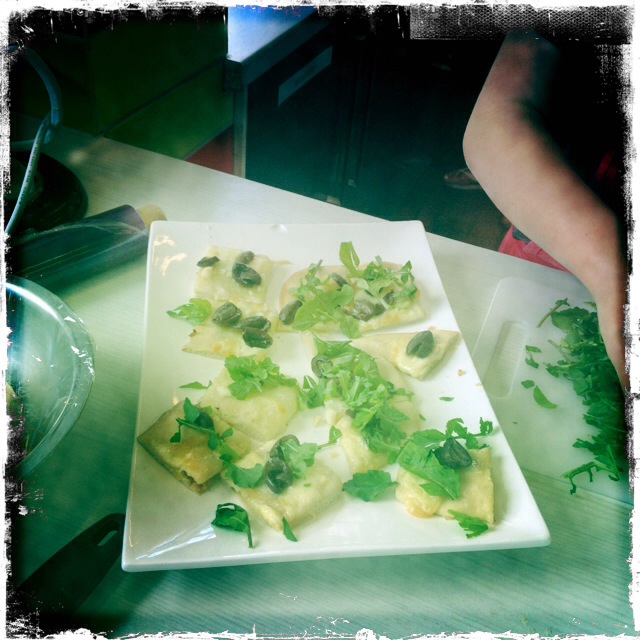
- Lift onto serving plates and sprinkle with the rocket and parmesan.
- Eat!
Notes: Where does pizza come from? What other sort of vegetables could you use in a pizza? What sort of other pizza could we make? What other cheeses could we use?