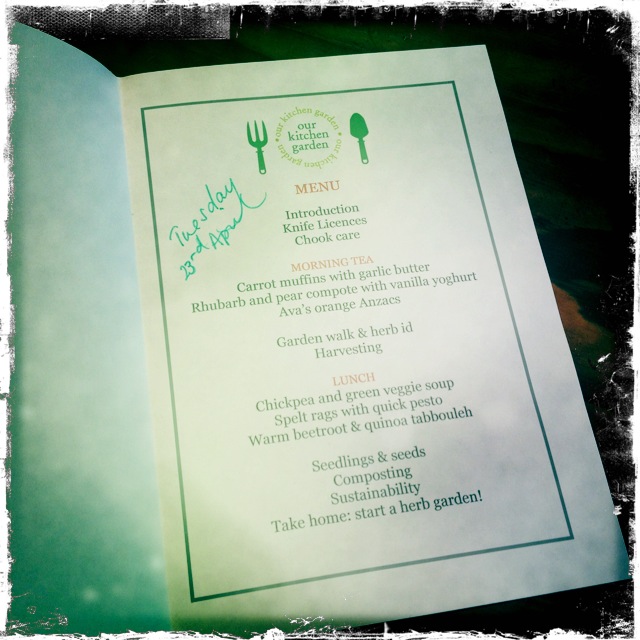
Tuesday’s menu
MENU
Introduction – Knife Licences
MORNING TEA
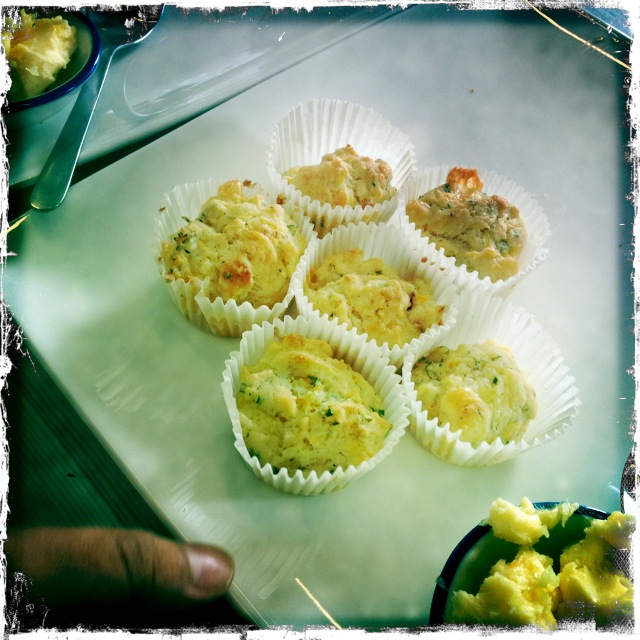
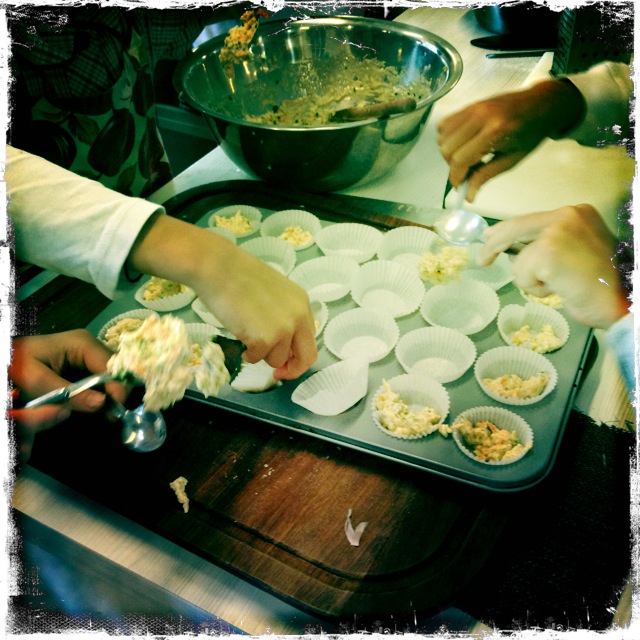
Carrot muffins with garlic butter*
Rhubarb and pear compote with vanilla yoghurt*
Ava’s orange Anzacs*
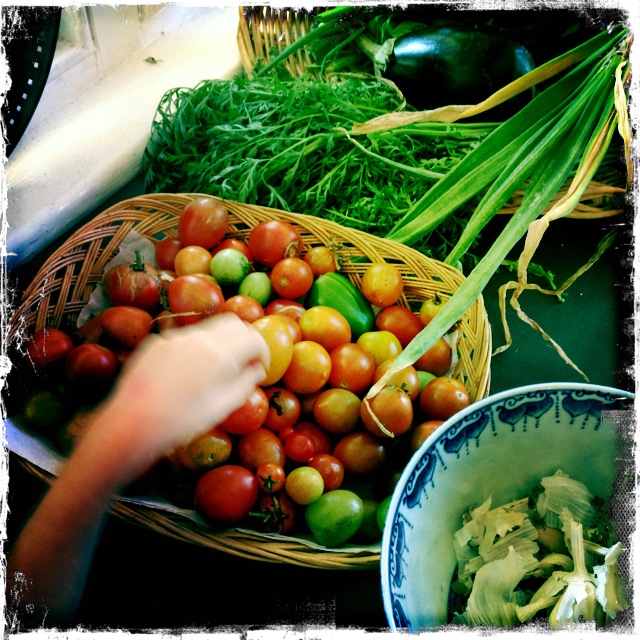
Chook care – Garden Walk – Herb id
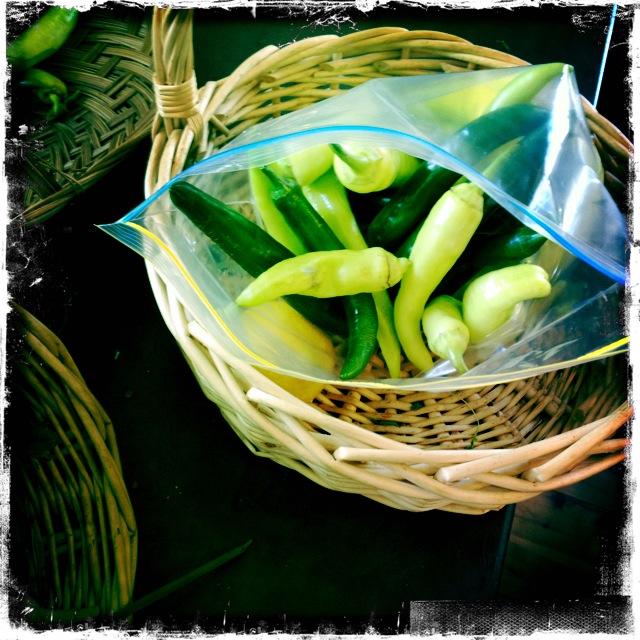
Harvesting
LUNCH
Chickpea and green veggie soup*
Spelt rags* with quick pesto*
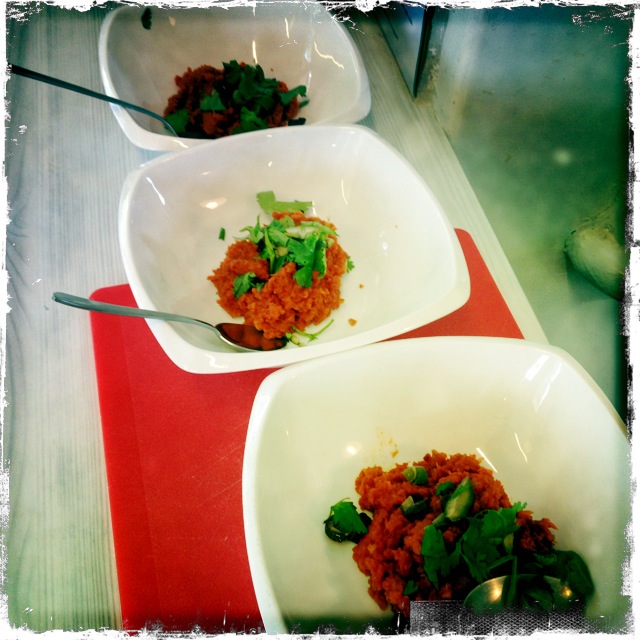
Warm beetroot & quinoa tabbouleh*
Seedlings & seeds
Sustainability
Take home: start a herb garden!

The most perfect cup of chickpea & green veggie soup!
Well! We came, we saw, we conquered! Conquered the peeling, the chopping, the boiling, blending, the baking, the eating – and the washing up! We had such a wonderful time – the children were so helpful and enthusiastic, and made super delicious food. And I think we all learnt something new… Thanks to all the wonderful kids who attended, you are all so inspiring!

Warm beetroot & quinoa tabbouleh
If you’d like to try the recipes at home, click on the asterisked menu listings above to be directed… xx

OKG Knife Licence