Posts Tagged With: vegetables

Kitchen News October 20th 2015

ourkitchengarden.net

Goodness, so much on! A ripper of a GPs Day with all Farmer Rob’s sausages gone, loads of tea towels* sold and most of the jars of pickles, jams and marmalade… Congratulations to all who bought the Honey Pickled Kohlrabi too – please let me know what you do with it and there will be a prize for the best answer! Thanks as always to the small army of wonderful ladies (and grandad Johnny) who gave their valuable time on a hot day to raise funds for the SAKGP, and especially Christina (Maia and Juno) who was with me ALL DAY helping Farmer Rob & Miss Toole, I mean Mrs Lawlor! Thank you!

ourkitchengarden.netouritchengarden.netourkitchengarden.net ourkitchengarden.net ourkitchengarden.net ourkitchengarden.net

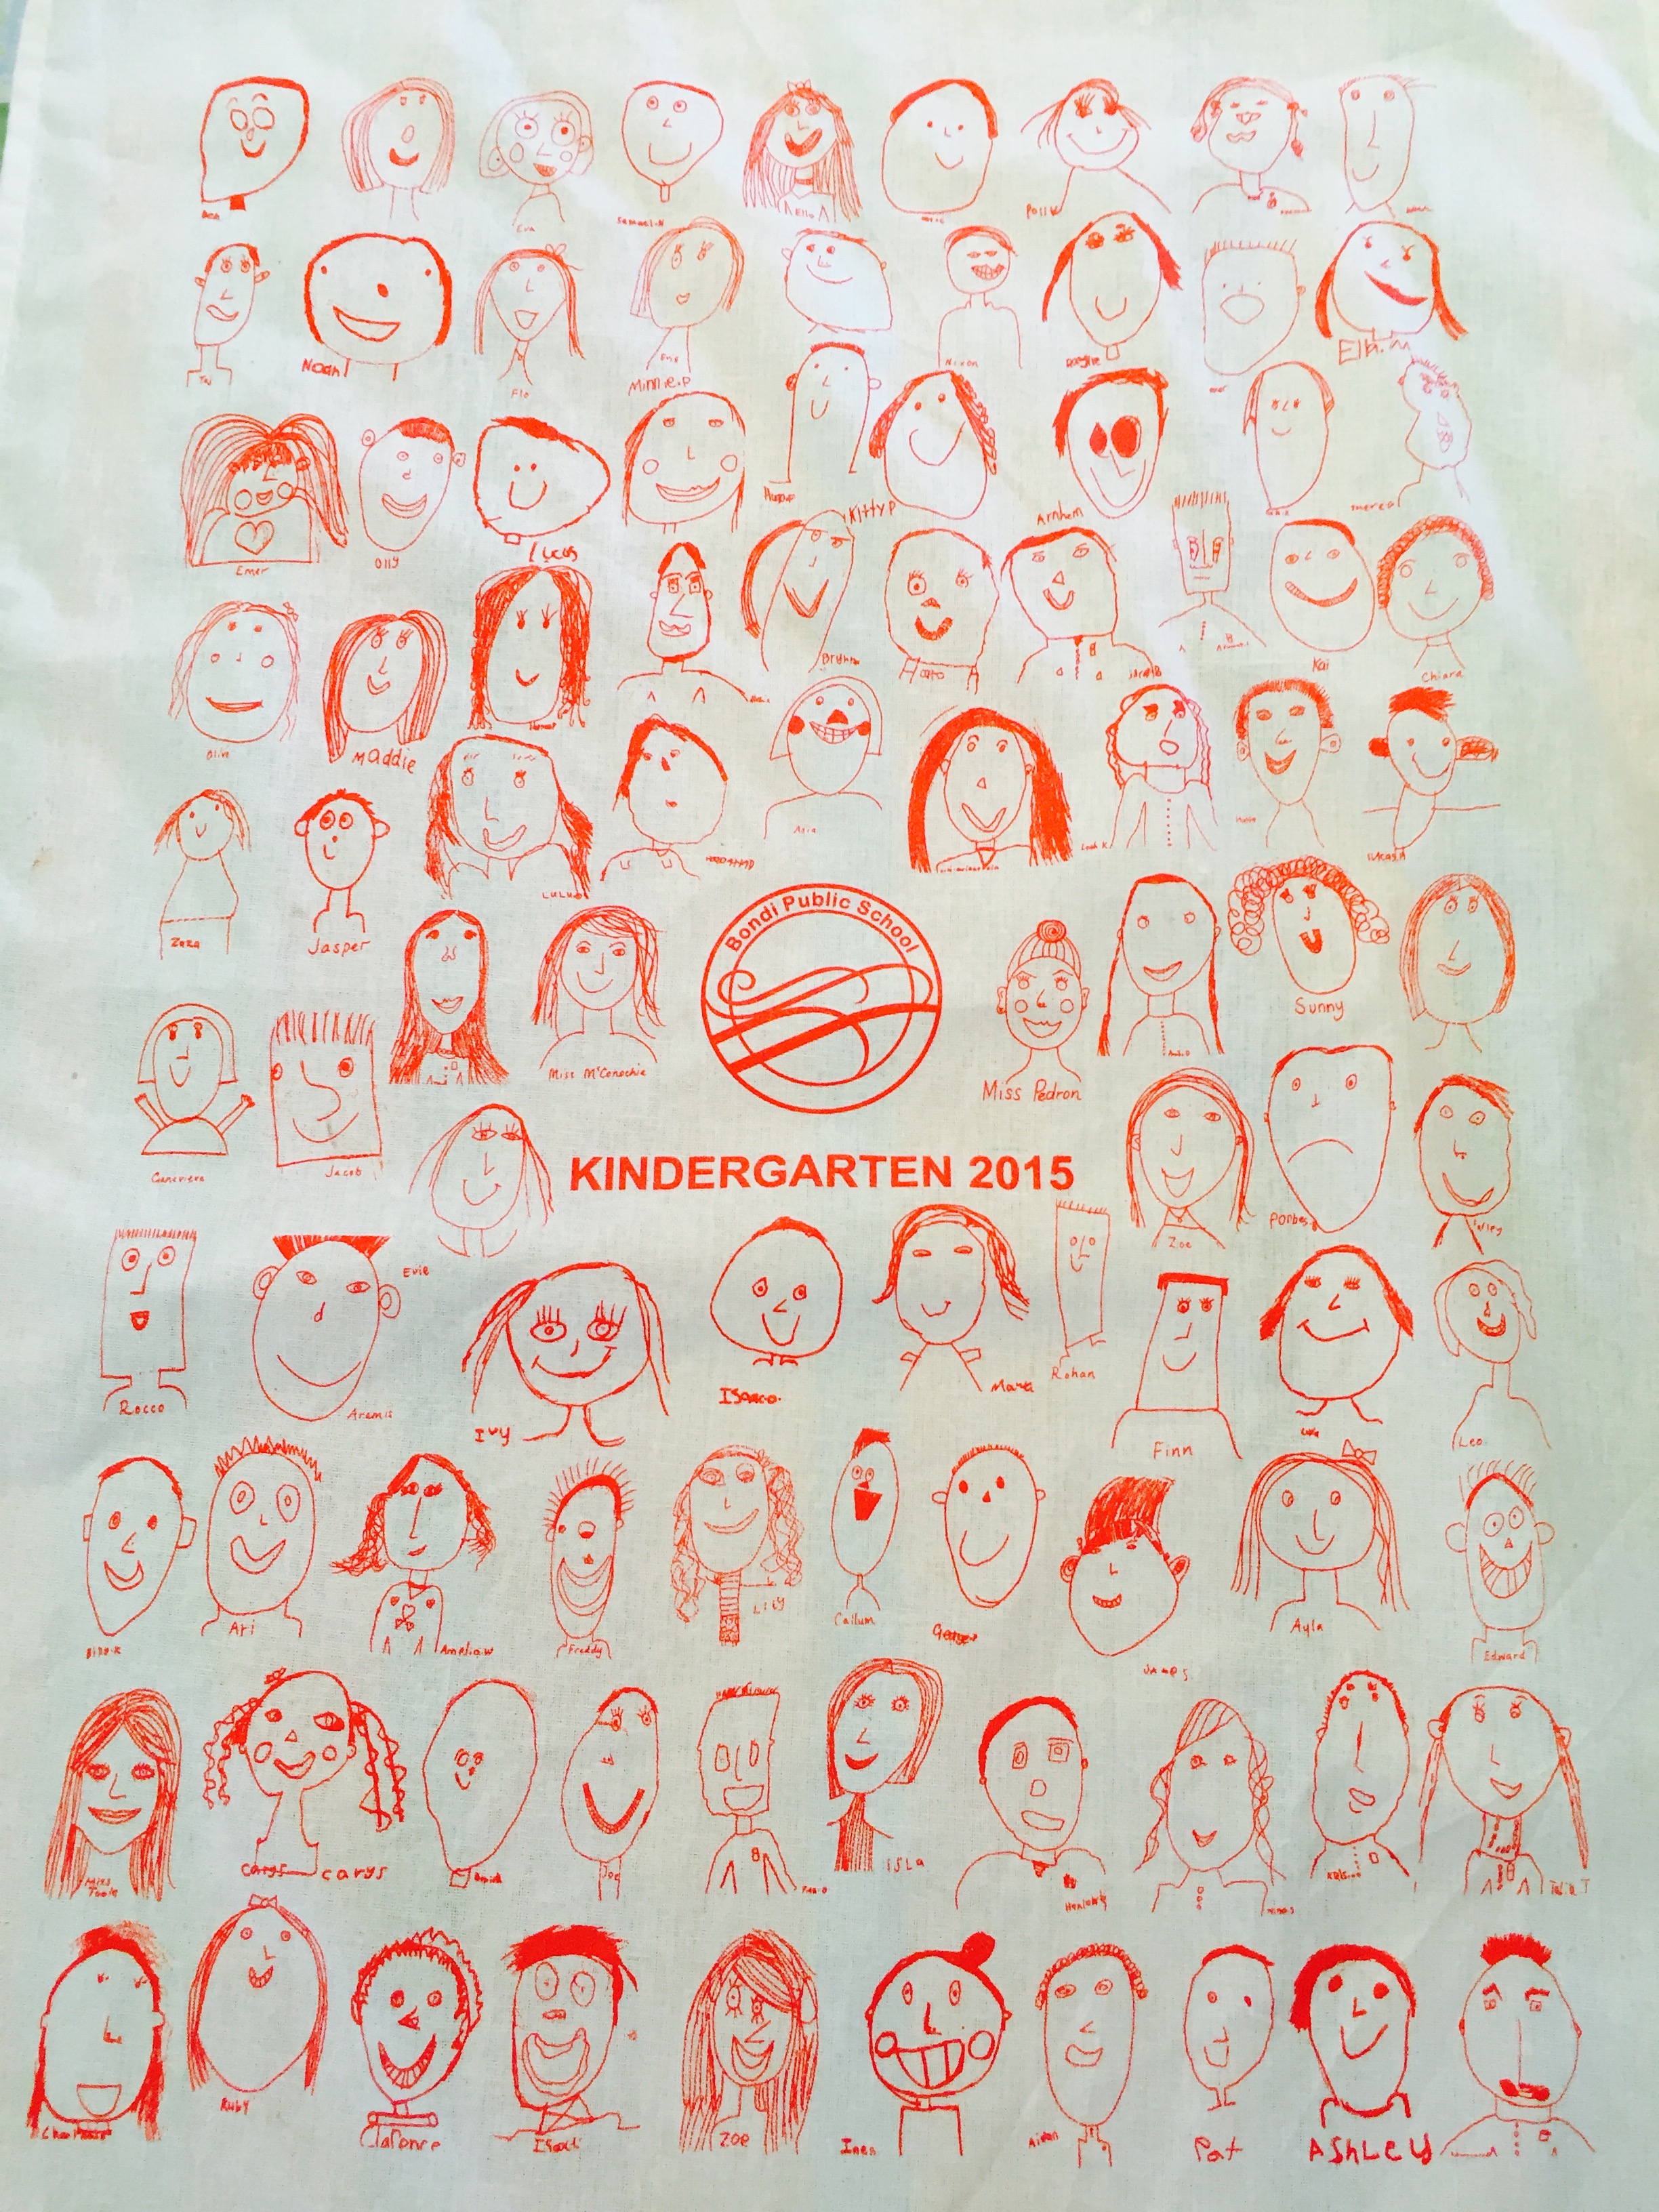
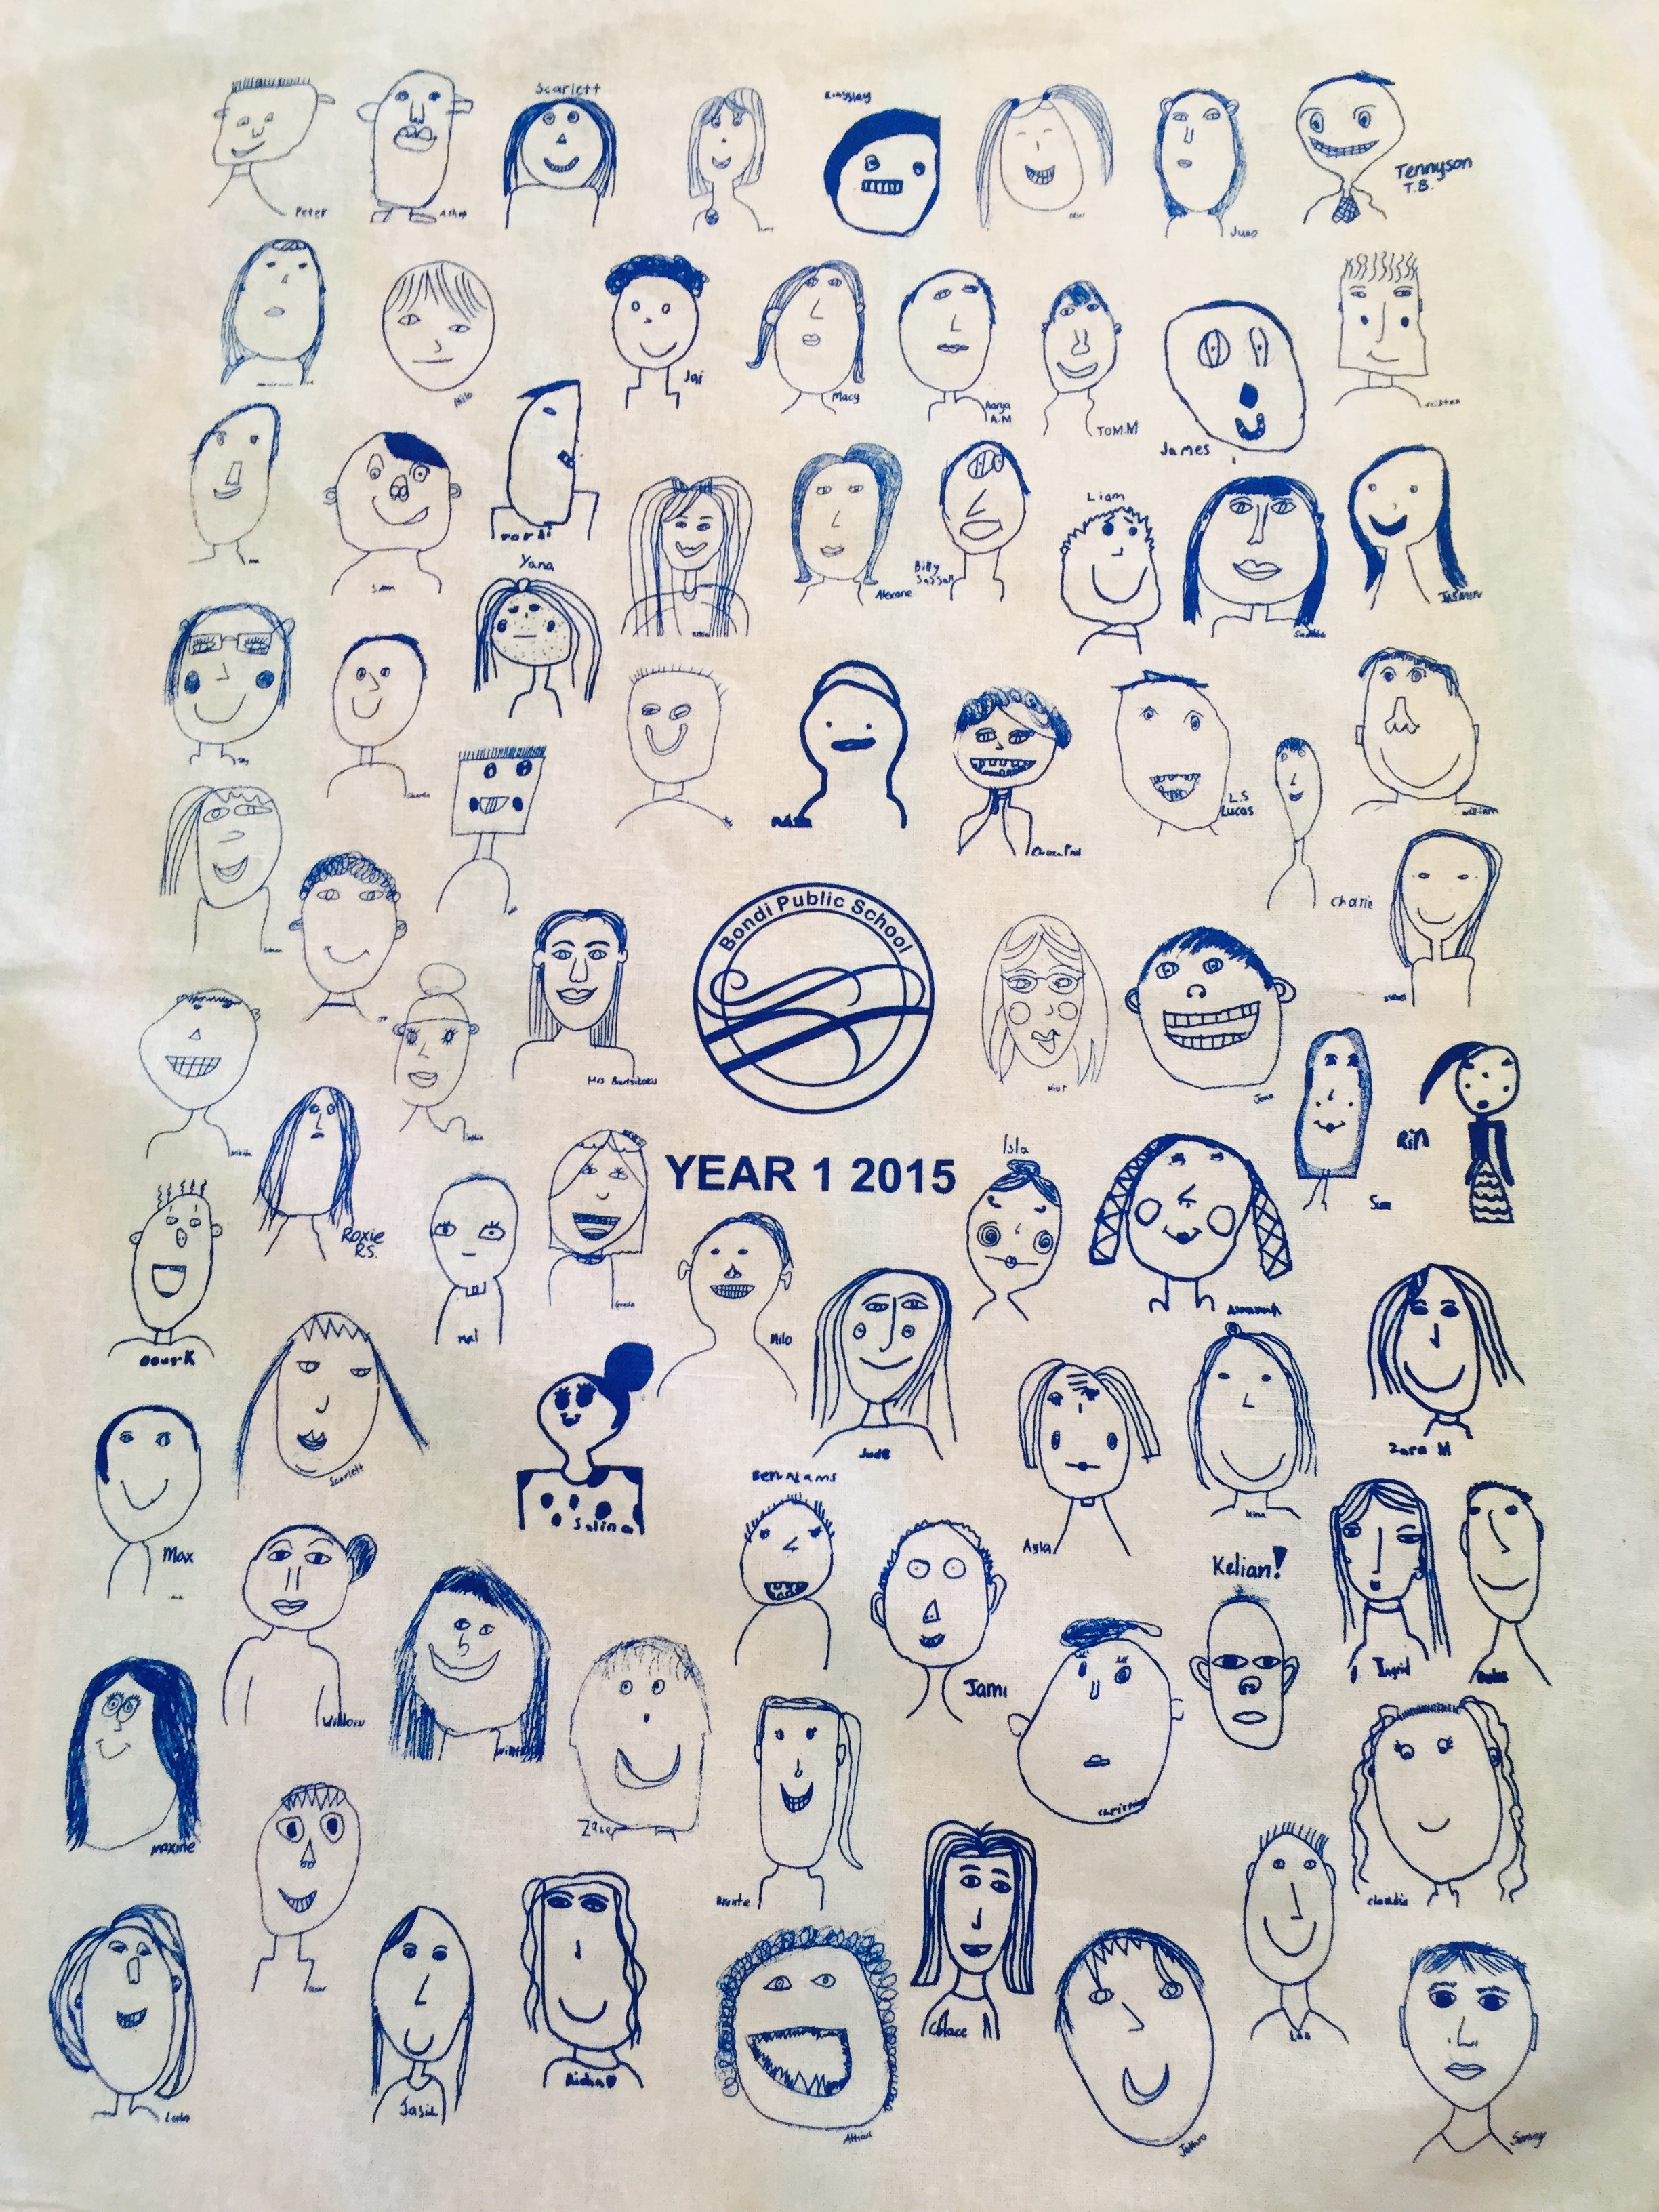
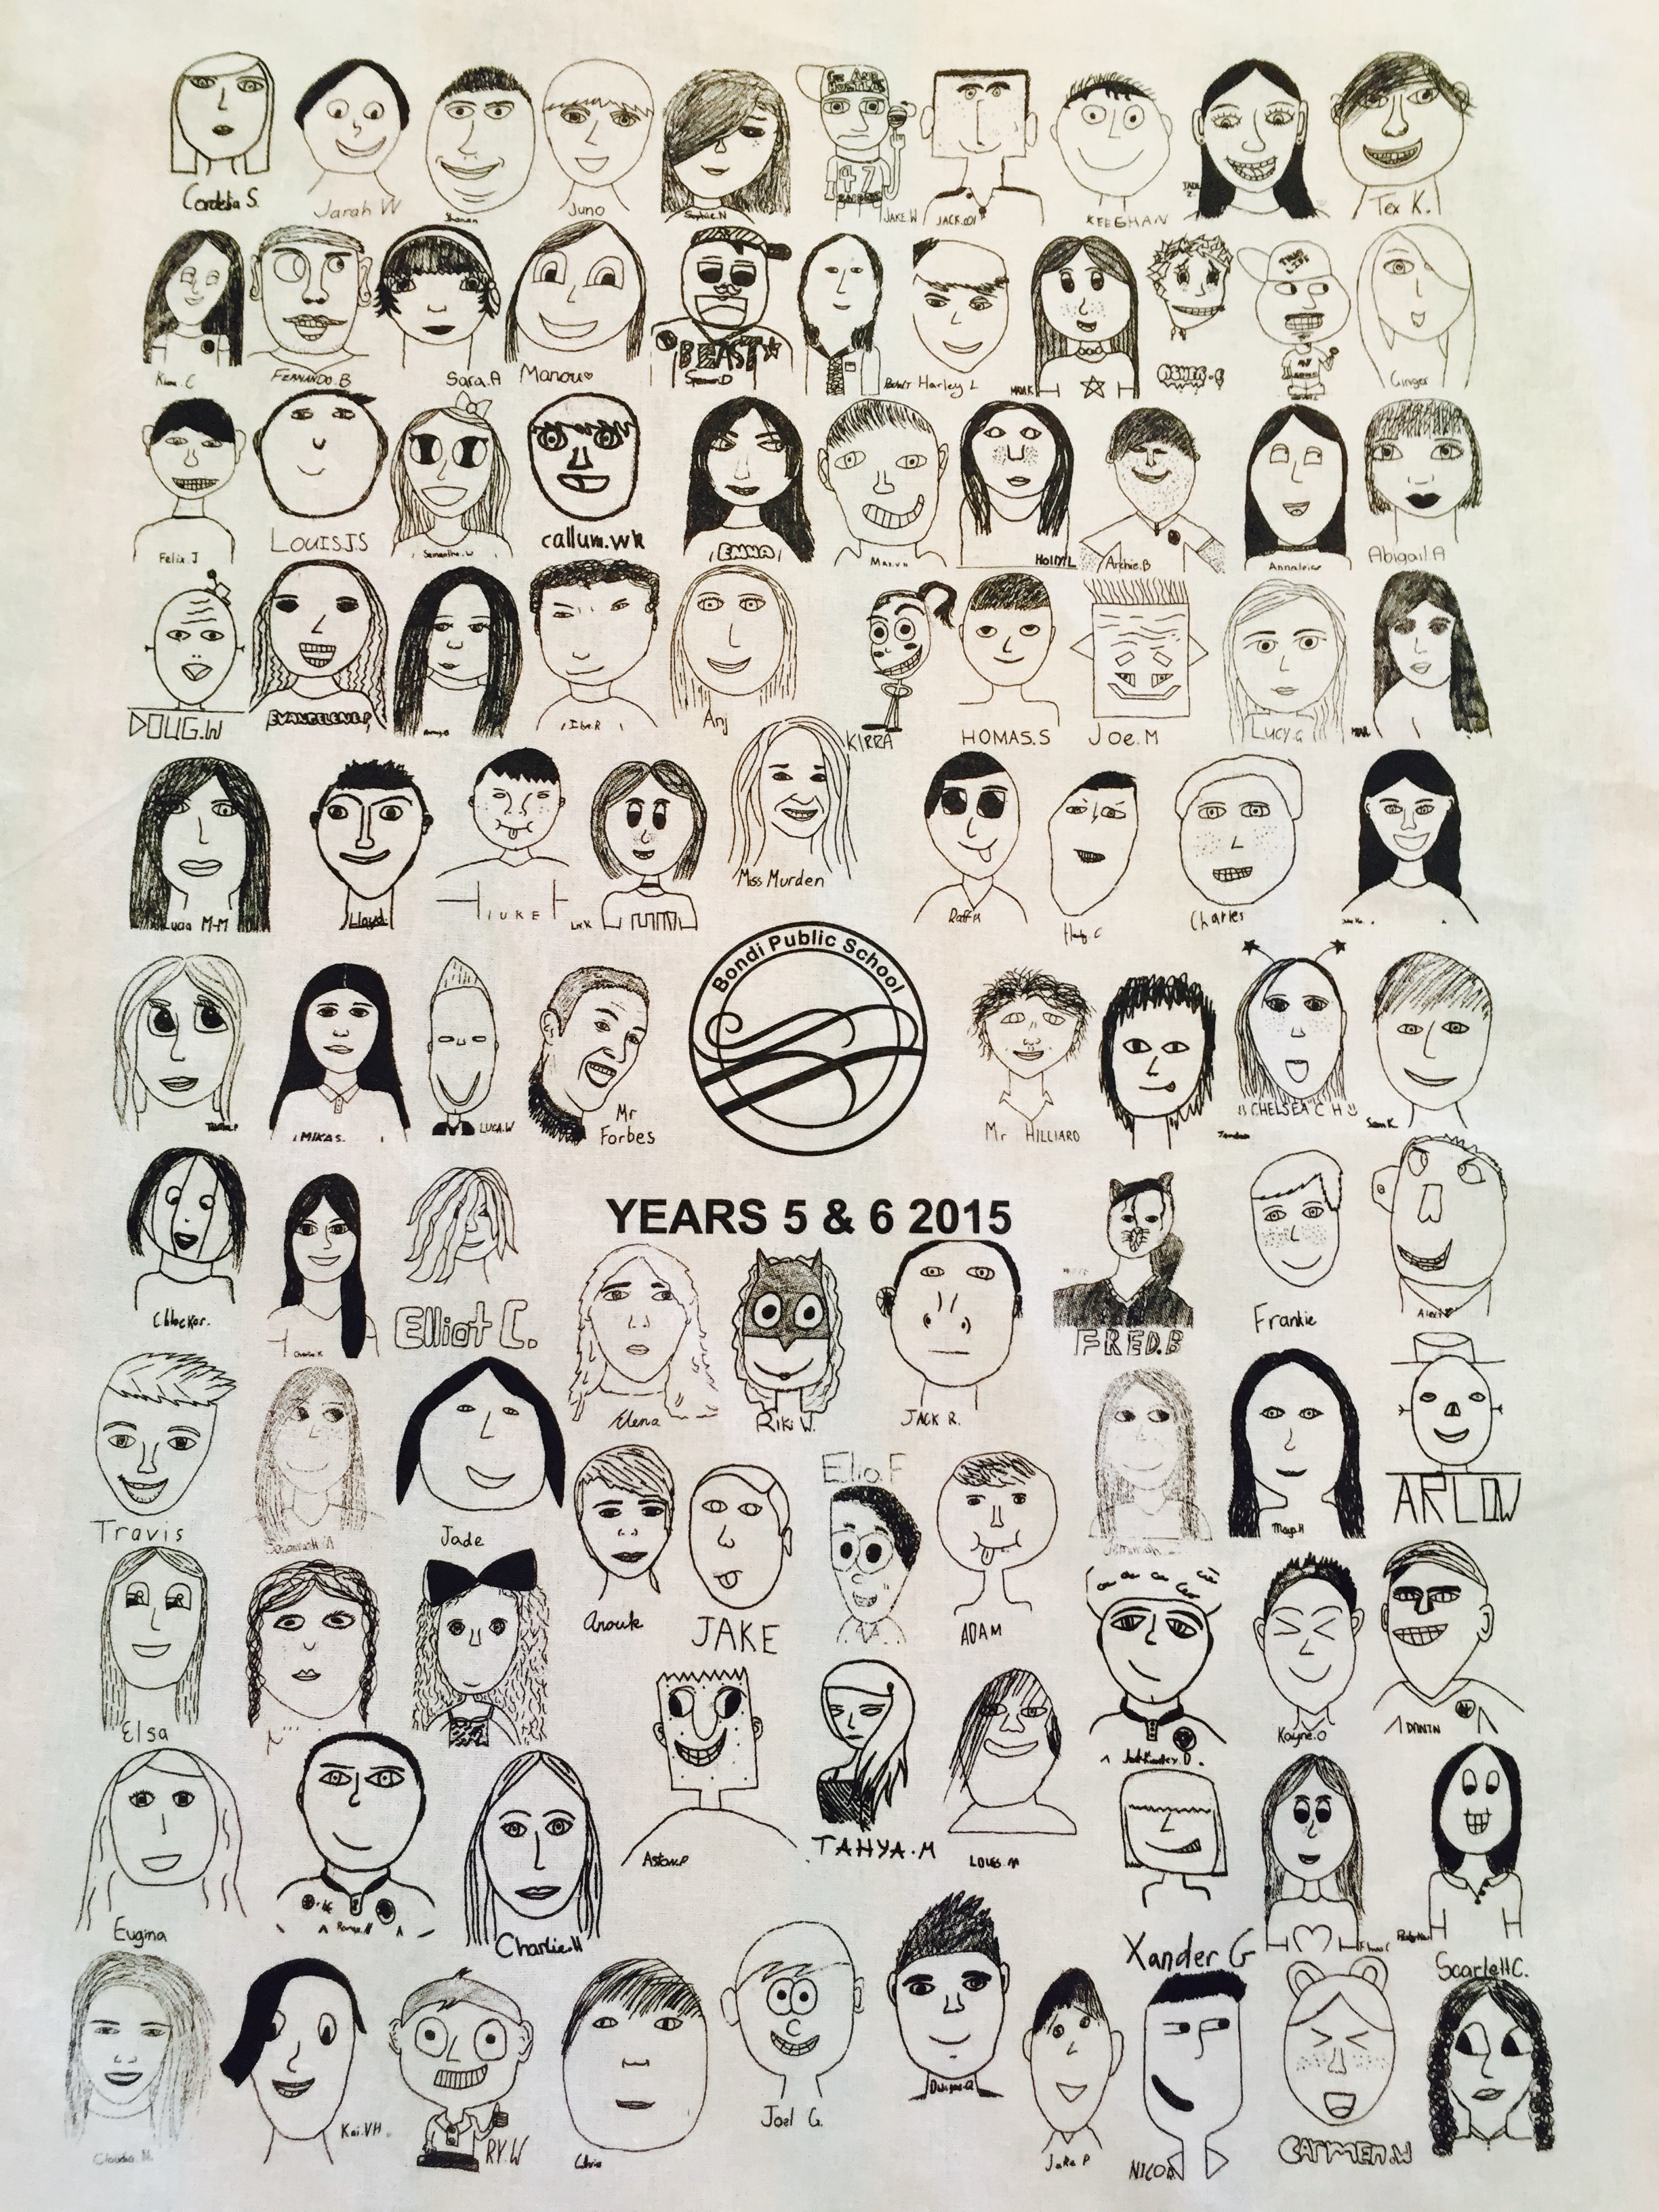
*Tea towels! If you have been out of the loop this week you may have missed out on the tea towel story… All our students by year – all the way through from K to 5/6 – have illustrated their face and are included on a beautiful and present-worthy tea towel (75% linen, 25% cotton!). They are $15 each and will be sold on Monday and Friday mornings from 8.45am before school. Look out for us around the office and form an orderly queue please!

ourkitchengarden.net                       ourkitchengarden.net

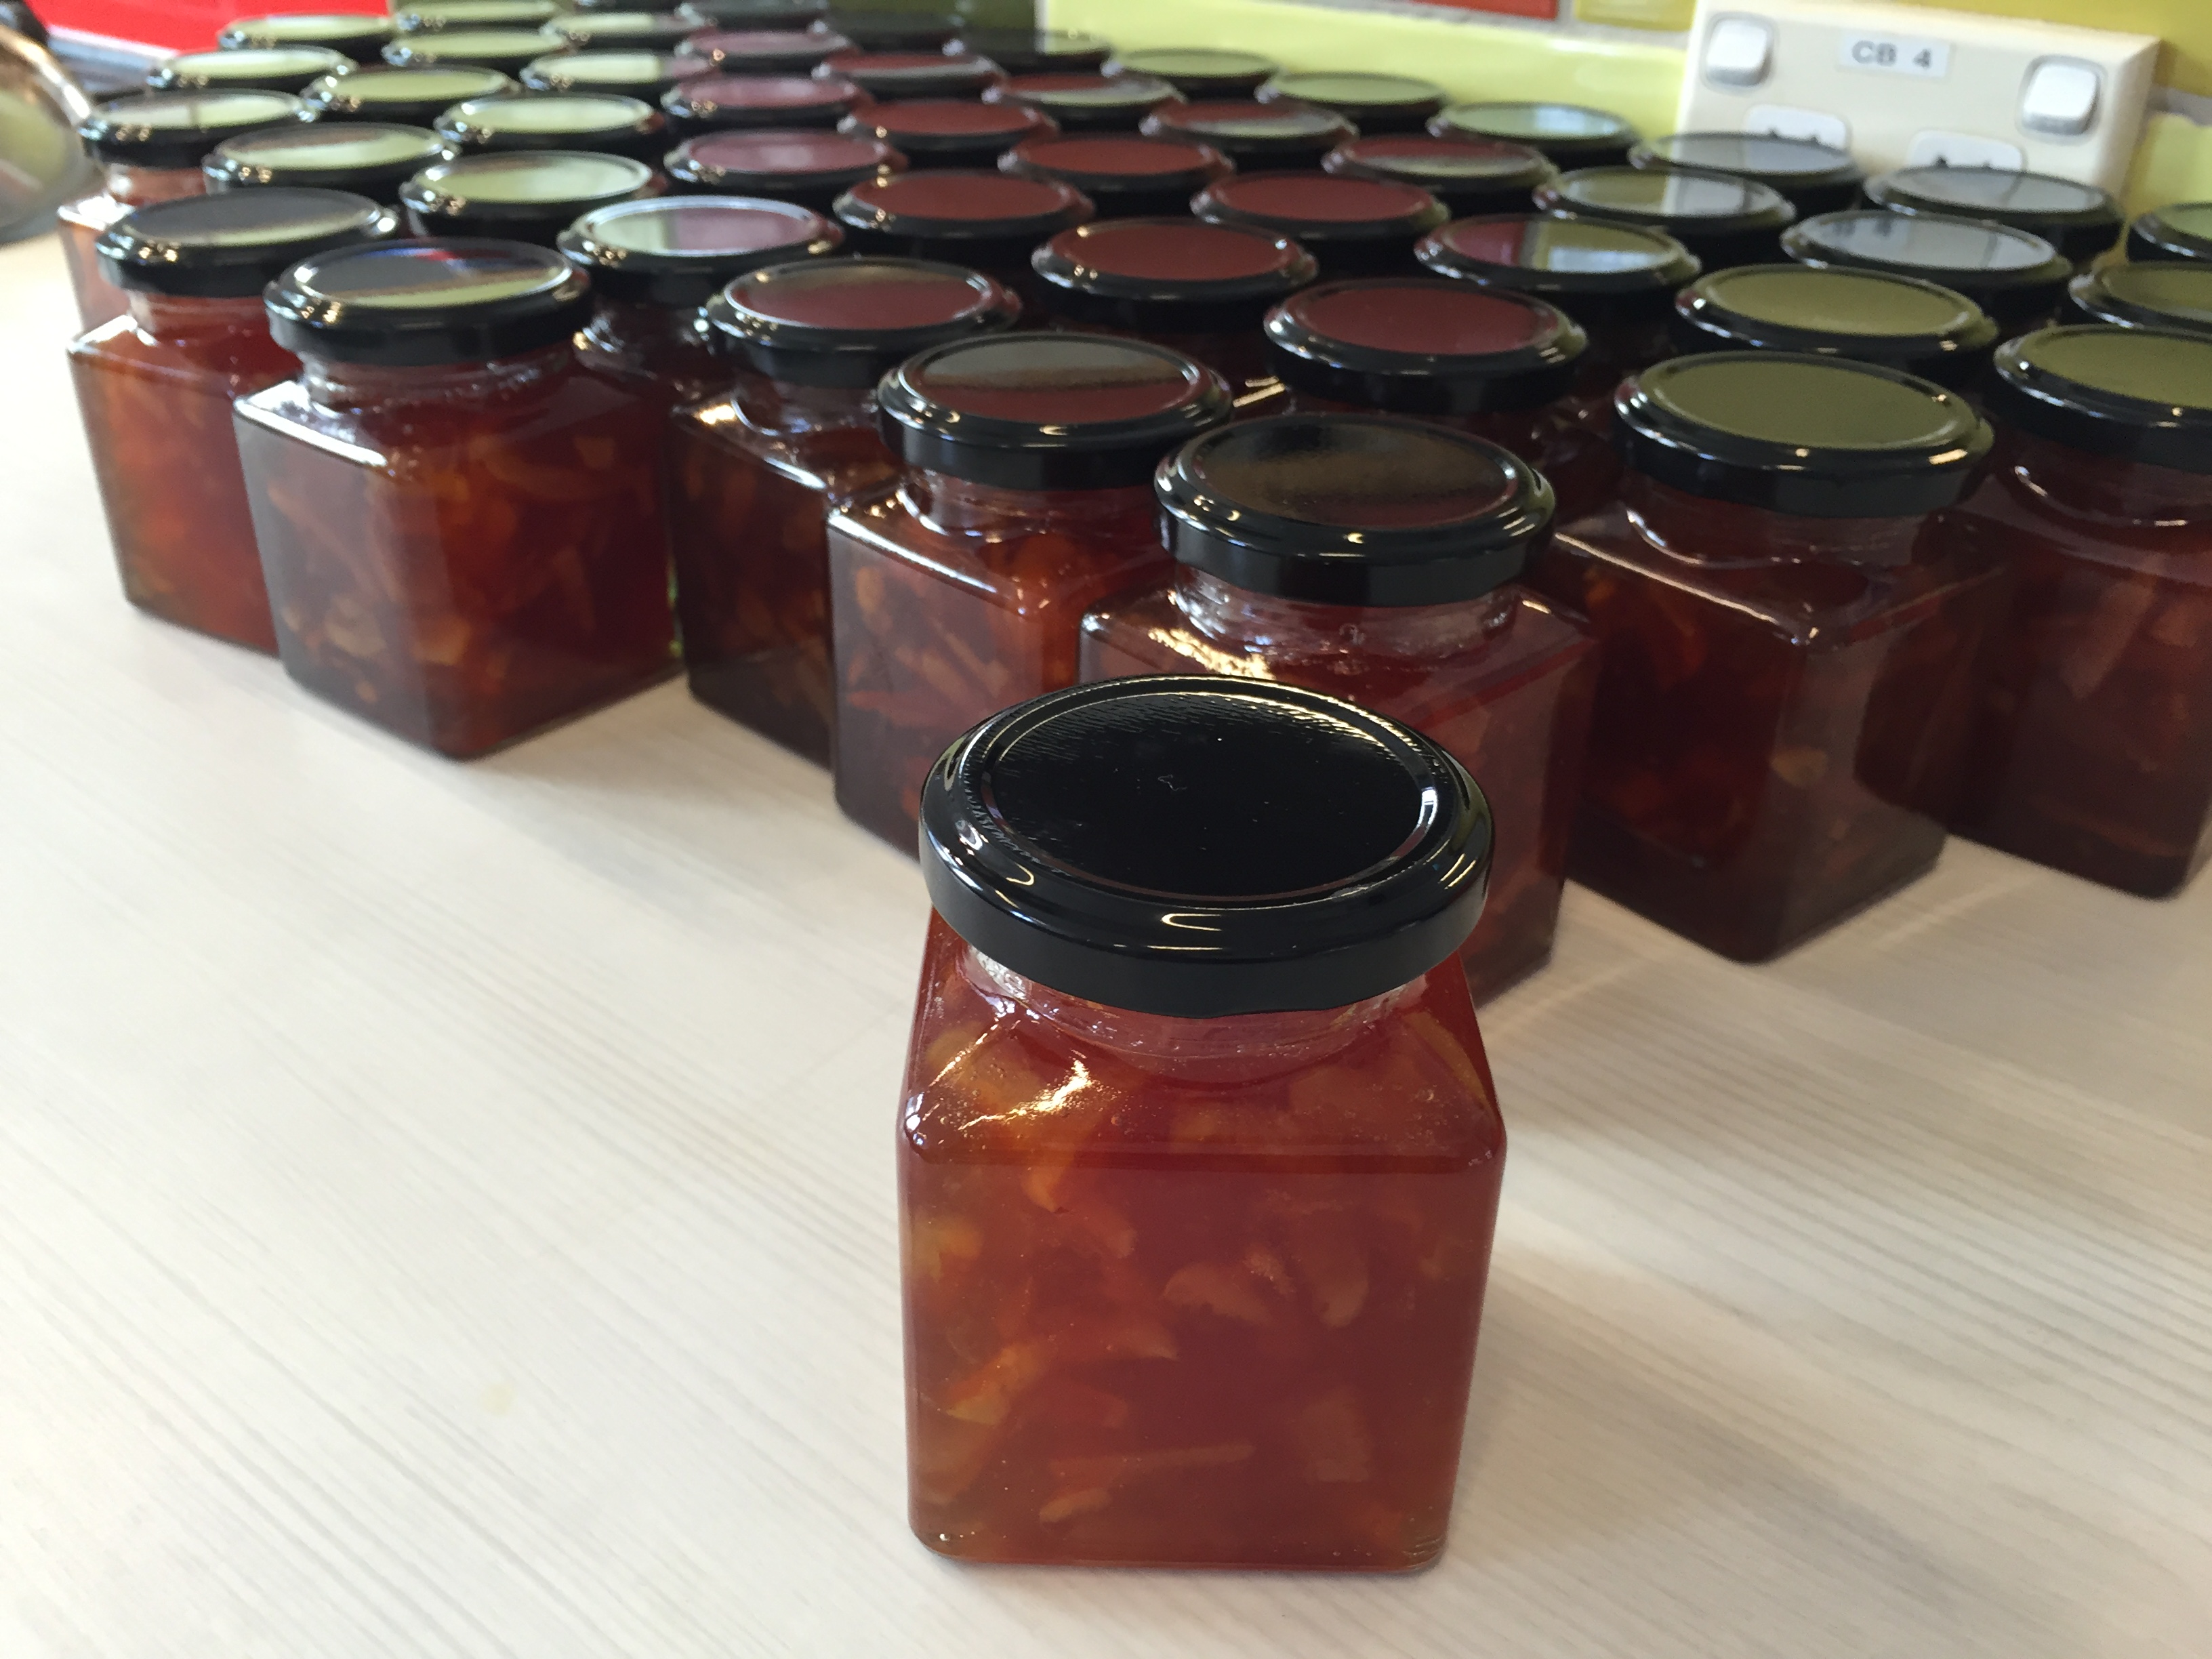
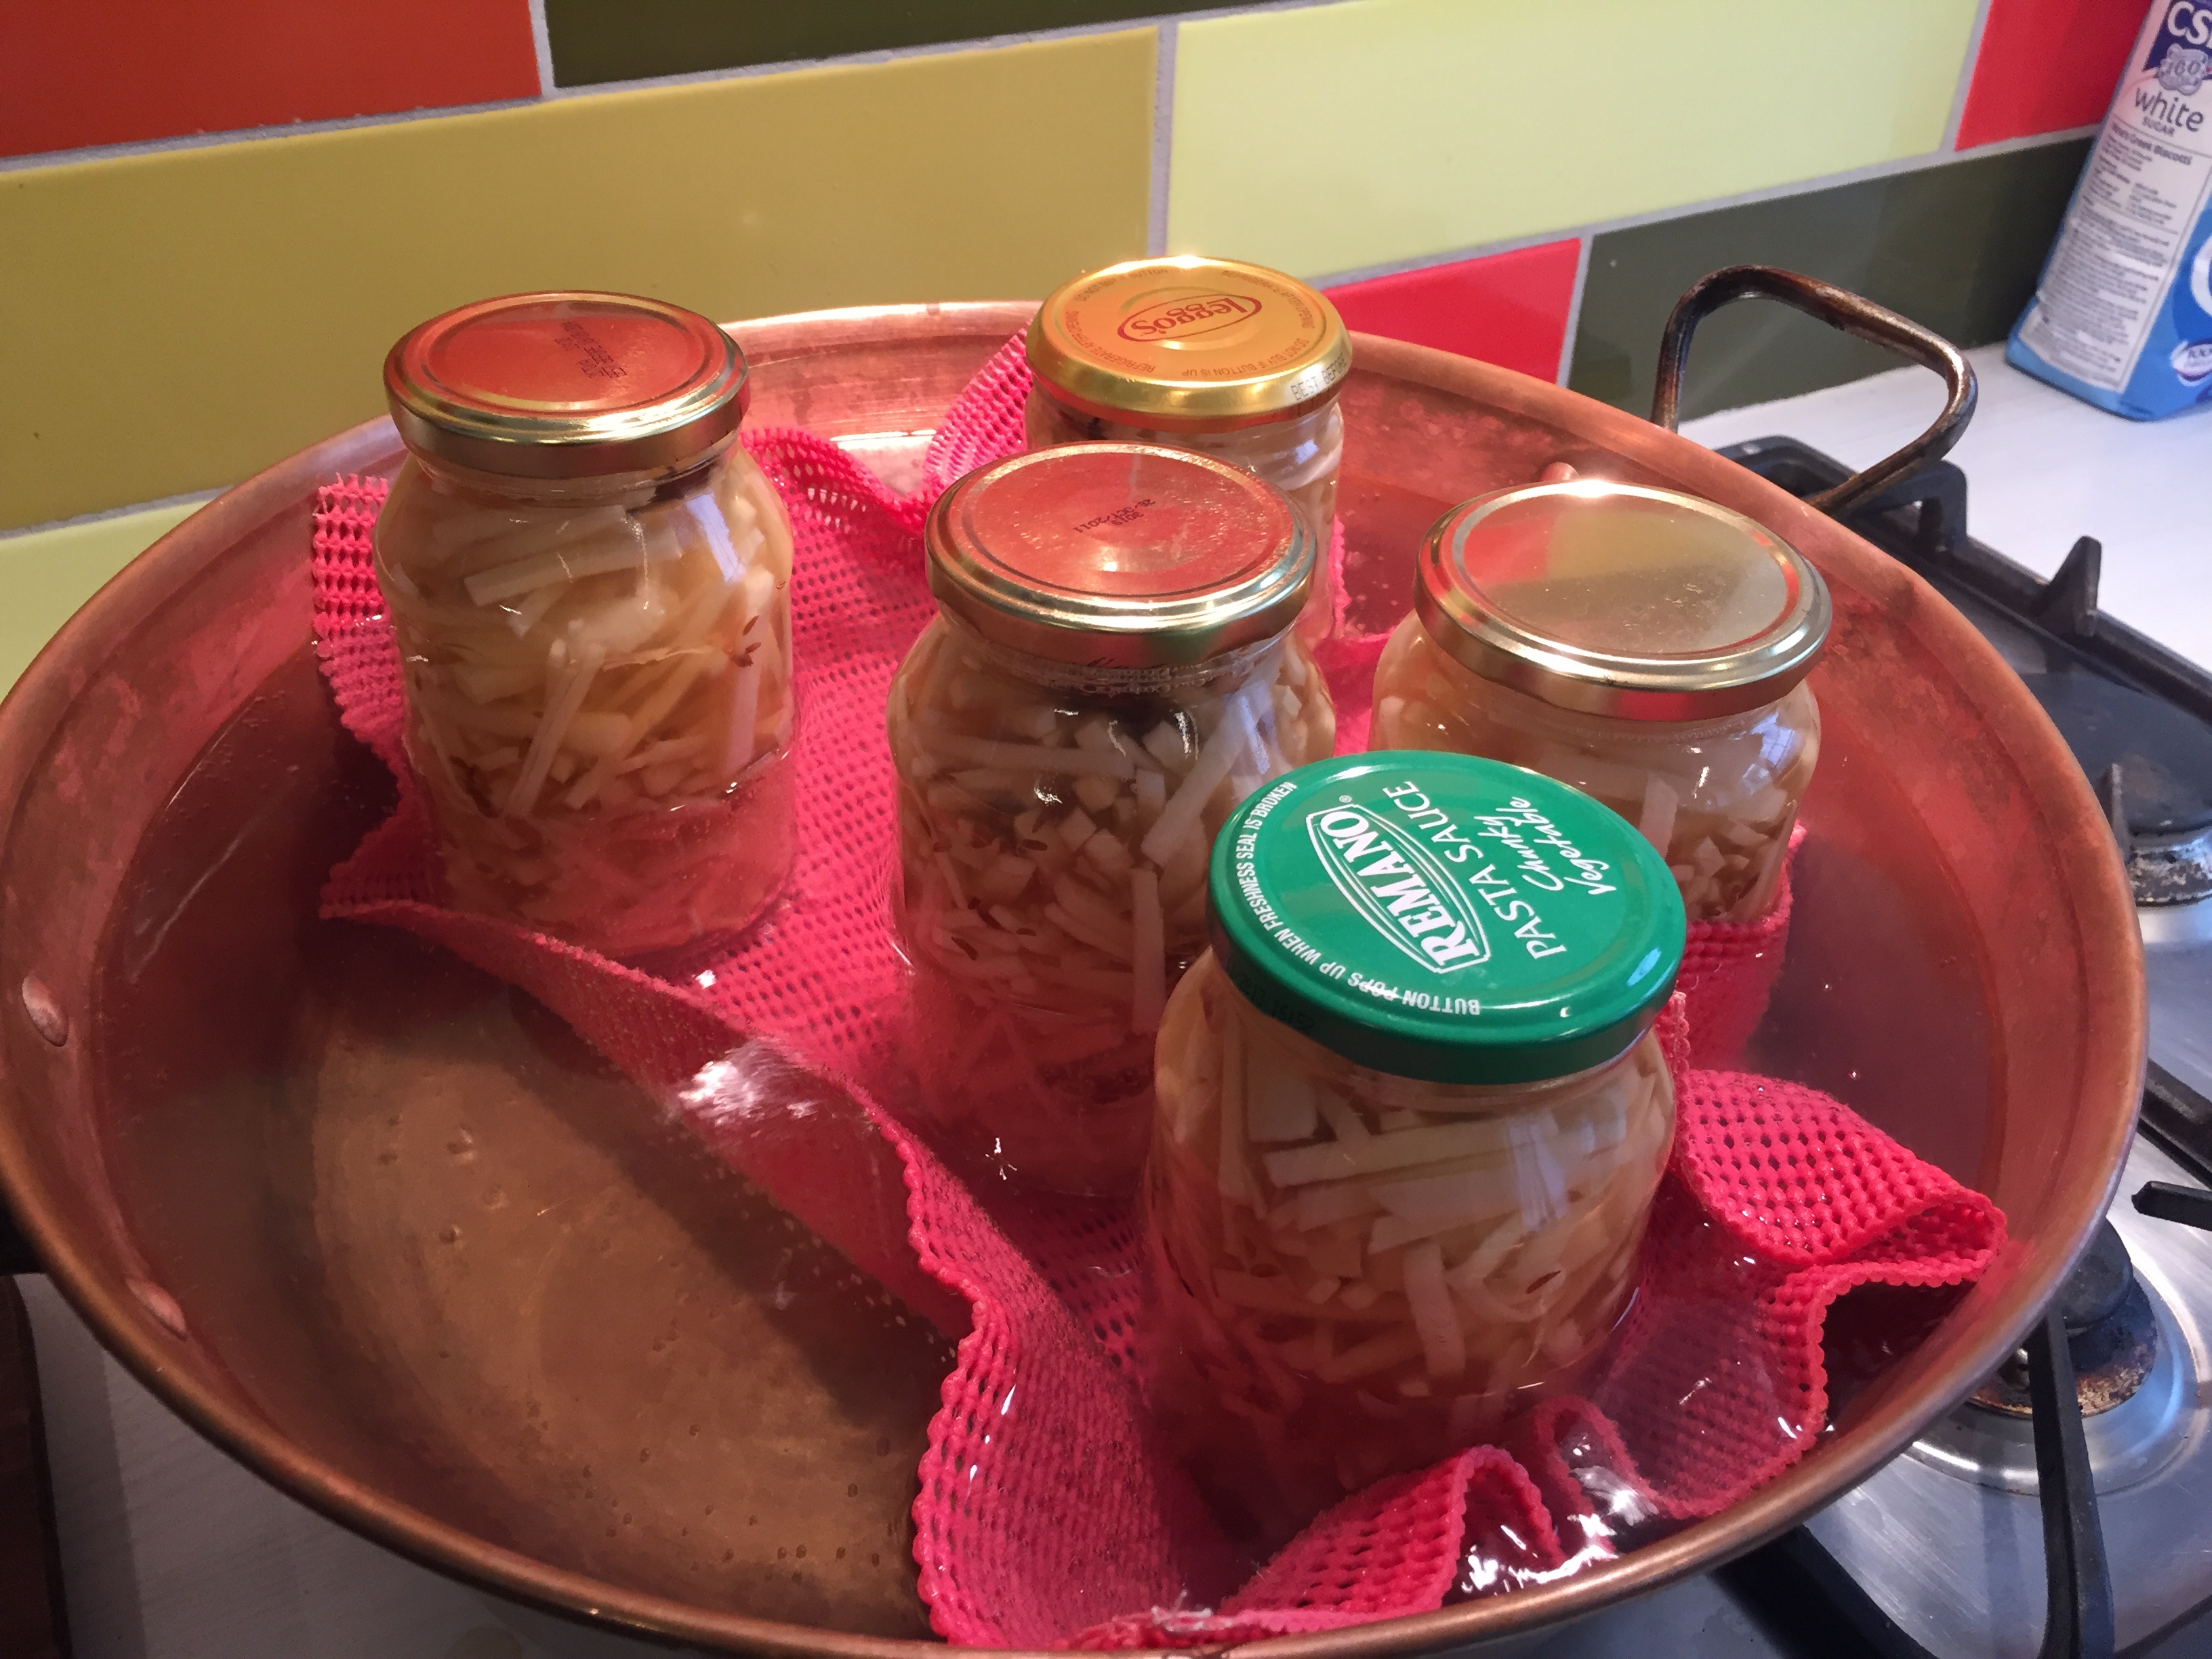
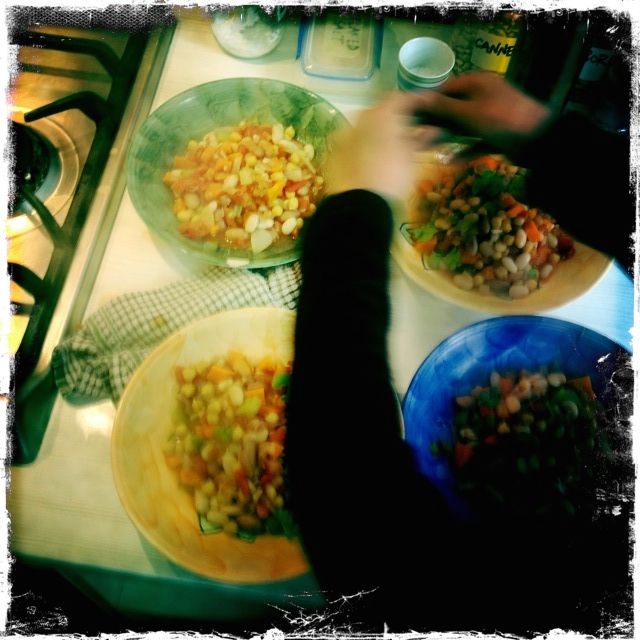
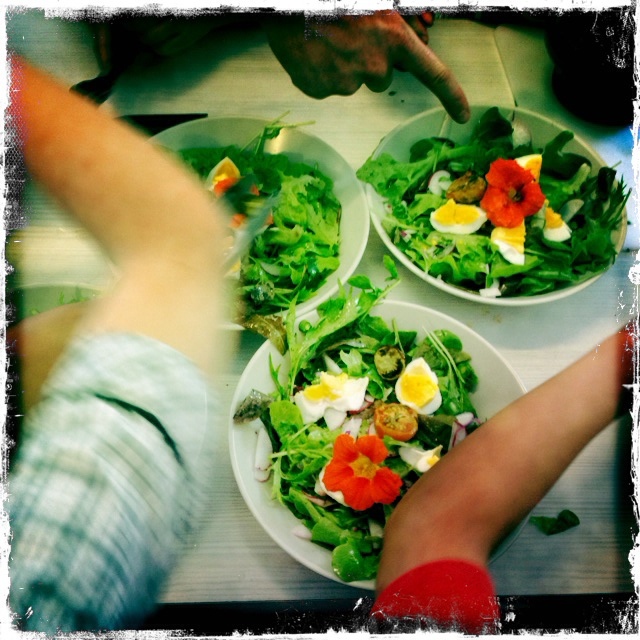
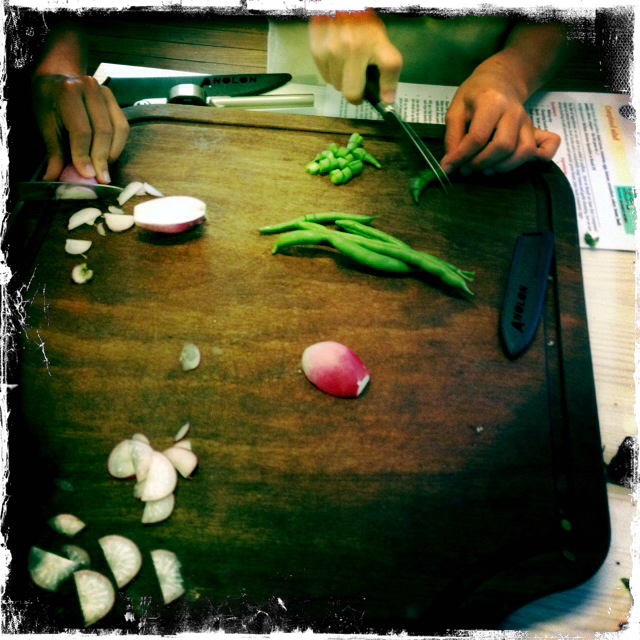
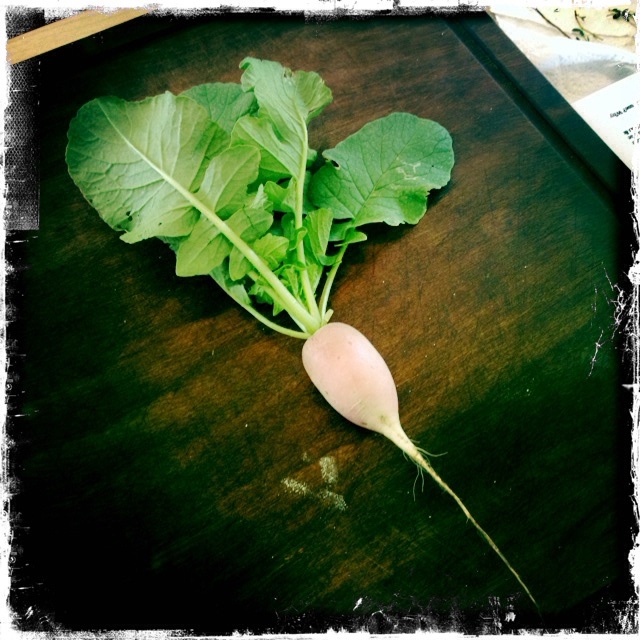
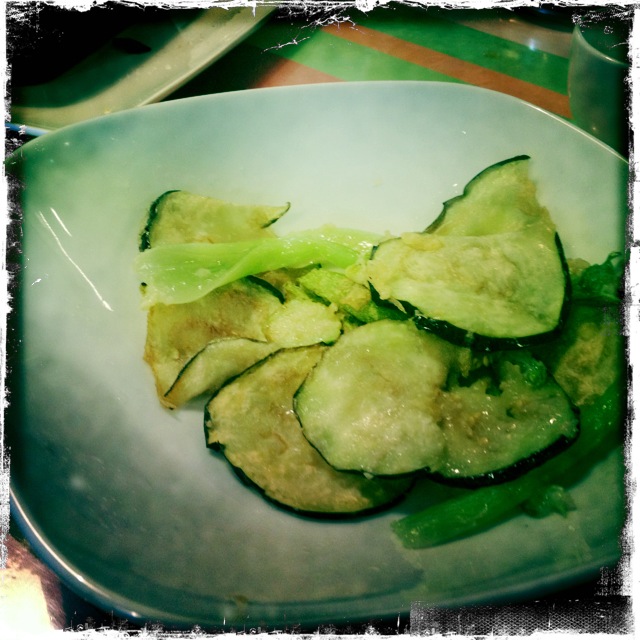
So last week we had some of the groups chopping, pickling, sterilising and canning beetroot and kohrabi and rhubarb and blood oranges to get jars shop-ready, so this week the pressure is off and it’s back to B.A.U… Spinach and ricotta calzone, Silverbeet soup with curry spices and coriander, Leafy poached egg salad with kale & herby mayo and even a new recipe with yet another way to spell tabouleh, tabboulleh etc: Green tabule salad for spring. So there you go!

ourkitchengarden.net

Term 4 is a busy time of year and historically volunteer numbers always drop off, even though we still really need you. A glance at VolunteerSpot and you will see – we had no parent helpers for one of our classes this week, only one for another and just two parents for another. We are set-up to run five groups for every class – with ingredients bought and vegetables harvested – but in most stages are only able to run as many groups as there are adults, for obvious safety reasons. It’s such a pity for the children to be prepped for a dish and then to realise they are not able to make it due to low adult attendance. Please, if you can come and help please do! There are not many lessons left til the end of the year so we’d love to see you if you can spare the time. Thanks

Love Mx

ourkitchengarden.net

Advertisement
Categories: Kitchen Garden, News | Tags: , , , , , | Leave a comment

Eggplant and rosemary pizza with rocket

I had a few children telling me that they really didn’t like eggplant at all, so I made a deal that if they tried this pizza and really didn’t like the eggplant they wouldn’t have to eat a whole piece. Do you think there was any left? Nooooo! This pizza is delicious – and if you cook off the thin slices of eggplant first before you compile and bake the pizza,  like in the recipe below they simply melt into the cheesy tomato heavenliness…

ourkitchengarden.net

Fresh from the garden: eggplant, rosemary, rocket, onion, garlic, oregano, thyme
Recipe source: Melissa
Serves: 8 or 24 tastes

Equipment:

  •       2 large oven trays
  •       4 rolling pins
  •       Chopping boards & knives
  •       2 frying pans
  •       Salad spinner
  •       Mandoline
  •       Measures: ¼ cup
  •       Selection of mixing bowls
  •       Scales
  •       Kitchen paper
  •       Large plate
  •       Grater
  •       Wide egg lifter
  •       Large boards for cutting pizza
  •       Pizza cutter
  •       Serving plates
Ingredients:

Pizza sauce:

  •       1 onion
  •       2 cloves garlic
  •       5 sprigs each oregano & thyme
  •       1/4 cup extra-virgin olive oil
  •       1 tin diced tomatoes
  •       Flaked salt and black pepper

For the pizza topping:

  •       A selection of small, medium or large eggplant
  •       A large sprig of rosemary
  •       1/4 cup extra-virgin olive oil
  •       75g parmesan cheese
  •       A tub of bocconcini
  •      A handful of rocket

What to do:

  1. Preheat the oven to 250C.
  2. Scatter a little flour on the workbench, divide the dough in two and roll to form four large rectangles to fit two each onto the baking trays.
  3. Lightly flour the trays and then assemble the pizzas directly onto the trays.

For the tomato sauce:

  1. Peel and finely chop the onion and garlic.
  2. Heat the olive oil in the first frying pan & gently cook the onion and garlic until translucent but not brown.
  3. Open the tin of tomato and add to the frying pan with a pinch of salt and a grind of pepper.
  4. Wash, dry and strip the herbs from the stalks, then add to the tomatoes.
  5. Simmer gently for 10 minutes, stirring occasionally, until quite reduced.

For the topping:

  1. Wash the eggplant and pat them dry, then using the mandoline carefully slice into thin whole rounds, then tip the sliced eggplant into the large bowl and drizzle with most of the oil.
  2. Wash the rosemary and pat dry, then strip the needles from the stalks and chop them using a large knife.
  3. Add the rosemary and a sprinkle of salt and pepper to the eggplant slices, then mix together so that all the slices are lightly oiled.
  4. Heat the other frying pan and cook half the eggplant for 3 to 4 minutes each side, then place a piece of paper towel onto the large plate and slide the eggplant onto the plate to drain. Cook the remaining eggplant.
  5. Weigh the parmesan first and cut and weigh again to make sure you have the right amount, thengrate the piece.
  6. Cut each mozzarella ball onto thin slices.
  7. Rinse the rocket leaves in several changes of cold water and dry them in the salad spinner.

Assembling the pizza:

  1. Divide the tomato sauce between the pizzas and spread, leaving a border on each pizza. Dot the mozzarella over.
  2. Arrange the slices of eggplant on the pizzas.
  3. Sprinkle most of the parmesan over the eggplant, keeping some aside.
  4. Drizzle the pizzas with the last of the oil, then place the pizzas in the oven for about 10 minutes or until the edges are very crusty and the cheese is bubbling.

Finishing off:

  1. While the pizza is baking you can make the dough for the next class.
  2. You may want to slip the pizza off the tray onto the rack for the last few minutes, so that you get a really crusty base.
  3. Once the pizzas are done, transfer them to the wooden chopping boards using the wide egg lifter.
  4. Cut the pizzas in half, and then into small squares and then slide half a pizza onto each plate.
  5. Top each with a handful of the rocket leaves and remaining parmesan.

Notes: Which country does pizza come from? Why do we weigh the parmesan before we grate it? What other sort of vegetables could you use in a pizza? What sort of other pizzas are there?

ourkitchengarden.net

Categories: Kitchen Garden, Recipe | Tags: , , , , , | Leave a comment

Magic bean stew

Why magic? Have you heard the story of Jack and the Beanstalk? These could be the same beans… anyway this stew certainly warms you up magically, and is great wrapped in a flour tortilla, burrito-style – or simply served with a slice of crusty bruschetta on the side.

ourkitchengarden.net

From the garden: garlic, onion, celery, carrots, coriander
Recipe source: Melissa
Serves: 6 or 24 tastes

Equipment:
  • Large glass bowl
  • Scales
  • Measures: tablespoon, teaspoon
  • Colander
  • A medium saucepan & a large heavy-based saucepan
  • Chopping boards & knives
  • Potato peelers
  • Salad spinner
  • Garlic press
  • Wooden spoon
  • Ladle
  • Serving bowls

Ingredients:

  • 100g dried cannellini beans
  • 100g dried borlotti beans
  • 100g black eyed beans
  • 100g dried chickpeas
  • 2 teaspoons bicarbonate of soda
  • 5 garlic cloves
  • 1 red onion
  • Olive oil
  • 2 stalks of celery
  • 2 carrots
  • 1 tin chopped tomatoes
  • 1 bunch coriander
  • Flaked salt & black pepper

What to do:

  • The night before, place your dried beans in the glass bowl and fill the bowl with cold water and the bicarb.
  • The next day, rinse and drain the beans, then put them into the medium saucepan with lots of fresh cold water to cover. Add 3 garlic cloves & grind of pepper. Set on a medium heat and simmer until beans are soft – should be around 20-30 minutes.
  • Meanwhile, peel and finely chop the onions.Wash and shake the celery dry then slice down the stalks, then chop the thin strips and leaves into small dice.
  • Wash and peel the carrots, slice into lengths then chop the lengths into small pieces.
  • Wash and spin dry the coriander and chop finely, keeping the stalks separate from the leaves.
  • Peel and squeeze the remaining garlic cloves through the press.
  • Heat a couple of tablespoons of oil in the large saucepan and fry the onion gently for 2 minutes, then add in the garlic, celery, carrot and chopped coriander stalks (not leaves, keep thewm for later) for about 5 minutes until the flavours combine.
  • Add the tomatoes and continue to cook on a gentle heat for a further 5 minutes, and then scoop out the beans and in to the tomato with a little liquid to moisten. Simmer for another 10 minutes.
  • Add a grind of pepper and a sprinkle of salt and taste to check seasoning.
  • Ladle into serving bowls, sprinkle with chopped coriander leaves and eat!

Notes: Why do we soak the beans overnight? What is another name for stew? What is coriander also known as?

Categories: Kitchen Garden, Recipe | Tags: , , , , , , | Leave a comment

Sharon’s broccoli soup

Sharon is my very good friend who cooks this soup for her kids, and mine too when they stay over. It was the first soup ever that my children specifically requested! Happy birthday Mrs!

ourkitchengarden.net

Fresh from the garden: broccoli, potatoes, spring onions, basil
Recipe source: adapted from a recipe by Sharon Quill
Serves: 6 or 24 tastes

Equipment:

  • Kettle
  • Chopping boards & knives
  • Mixing bowls
  • Colander
  • Salad spinner
  • Large stockpot
  • Wooden spoon
  • Measures: tablespoon
  • Scales
  • Handheld mixer
  • Ladle
  • Serving bowls
Ingredients:

  • 1.5 litres water & 1.5 tablespoons bouillon (or 1.5lt stock)
  • 500g waxy potatoes
  • A large onion
  • 4 spring onions
  • A large head broccoli & leaves
  • 4 garlic cloves
  • 25g unsalted butter
  • 2 bay leaves
  • A bunch of basil (or ready-made pesto)
  • Flaked salt and black pepper

What to do:

  • Fill the kettle up to the 1.5 litre mark and set to boil.
  • Wash and scrub potatoes & cut into 2cm cubes – do not peel. Peel and finely chop the onion.
  • Wash and trim spring onions, removing & discarding the tough outer layer. Slice into 1cm bits.
  • Wash the broccoli & shake dry. Cut off the florets leaving them walnut-sized, and chop up the stems into pieces about 1cm cubes, trimming off any hard edges. Strip any leaves from the stalks (discarding the stalks) and slice the leaves into strips.
  • Peel garlic cloves and finely slice.
  • Meltthe butter in the large stockpot over medium heat and gently sauté the chopped onion and spring onion for 2 minutes.
  • Add potato, garlic and bay leaves and turn with the wooden spoon so that the potato sweats in the butter. Add the hot water and bouillon or stock, bring to the boil then cover and simmer over low heat for 10 minutes.
  • Meanwhile, if you’re using fresh basil, pick the basil leaves from the stalks and wash them, then spin dry. Using your fingers, tear them into smaller pieces.
  • After the potatoes have simmered for 10 minutes, add the broccoli and cook for another 5 minutes. Remove the bay leaves and turn heat off. Drop the torn basil leaves, if using, into the soup or dollop in a tablespoon or two of pesto.
  • With dry hands, plug in the handheld mixer and carefully whizz the soup until it is silky smooth. Add salt to taste and a good grind of pepper and ladle into bowls to serve.

Notes: What is bouillon and where do we keep it? Why do we tear the basil with our fingers?

Categories: Uncategorized | Tags: , , , , , , , | Leave a comment

Green leaves and potato soup

These sunny-but-cool days & lengthening nights sing to me of soup, soup and more soup – and this is a great way to use up any bolting rocket or snaily kale!

Fresh from the garden: rocket, silverbeet, kale, potatoes, basil
Recipe source: Melissa
Serves: 6 or 24 tastes

ourkitchengarden.net

Equipment:

  • Kettle
  • Scales
  • Chopping boards & knives, scissors
  • Peelers, garlic press
  • Bowls – big
  • Salad spinner
  • Large stockpot
  • Wooden spoon
  • Measures –jug, tablespoon
  • Stick blender/ handheld mixer
  • Ladle
  • Serving bowls
Ingredients:

  • 500g waxy potatoes like Kipflers
  • A small bunch of spring onions
  • A small bunch of rocket
  • A handful silverbeet
  • A handful kale
  • 4 cloves garlic
  • 50g unsalted butter
  • 1 litre water
  • 1 tablespoon bouillon
  • Black pepper
  • A bunch of basil

What to do:

  • Fill the kettle and, making sure you have dry hands, set it to boil.
  • Scrub the potatoes under running cold water (do not peel!) & cut into 2cm cubes.
  • Peel the garlic cloves and squeeze them through the garlic press. Wash & trim the spring onions and slice into finger-width pieces.
  • Melt butter in the large stockpot over medium heat and sauté the spring onion and garlic for a minute, and then add the potato cubes and turn so that the potato cubes sweat in the butter.
  • Meanwhile wash the rocket in several changes of water and spin dry. Roll up and slice into thin ribbons. Wash the silverbeet in several changes of water and shake dry. Slice or cut the leaves up the middle to remove the stems, then chop them into 1cm pieces. Roll up the leaves and finely slice them into ribbons.
  • Wash the kale leaves and shake dry. Cut or tear the leaves from the stalks, chop the stalks into half-finger-width pieces, and slice up the leaves into ribbons.
  • Carefully measure the boiling water and the bouillon into the pot of potatoes and stir. Bring it to a boil, then turn down to a simmer, cover and cook gently over low heat for 10 minutes, then add the silverbeet and kale stalks.
  • Cook for 2 minutes – check that the potato is tender, then stir in rocket, silverbeet and kale leaves. Increase heat to medium and simmer for another 2 minutes. If it’s really thick you may need to add another cup of hot water and pinch of salt.
  • Wash the basil and pick the leaves from the stalks, spin dry.
  • With dry hands, plug in the stick blender and carefully blitz the soup until it is silky smooth. Add the basil leaves and blitz again.
  • Taste for correct seasoning and ladle into bowls to serve.

Notes: How many different procedures are there here? Why do we want the potato to ‘sweat’?

Categories: Kitchen Garden, Recipe | Tags: , , , , , , , , , , | Leave a comment

Moroccan chickpea hotpot

As soon as the weather starts to chill, our thoughts turn to hearty veggie soups and stews…

ourkitchengarden.net

From the garden: onion, garlic, celery, carrot, coriander
Recipe source: Melissa
Serves: 6 at home or 24 tastes

Equipment:

  • Kettle
  • Chopping boards and knives
  • Stockpot
  • Wooden spoon
  • Measures – jug, tablespoon, teaspoon, ¼ teaspoon
  • C0lander
  • Paper towel
  • Scissors
  • Serving bowls
  • Ladle


Ingredients:

  • 1 litre boiling water and a tablespoon of bouillon (or 1 litre stock)
  • 1 brown onion
  • 2 garlic cloves
  • 2 celery sticks
  • 1 large carrot
  • 1 tablespoon olive oil
  • 2 teaspoons ground cumin
  • 1 teaspoon sweet paprika
  • 1/4 teaspoon ground ginger
  • A pinch of ground cinnamon
  • 2 tins diced tomatoes
  • 1 tin chickpeas
  • A small handful fresh coriander

What to do:

  • Fill the kettle and set it to boil.
  • Peel and coarsely chop the onion. Peel and crush the garlic.
  • Wash and trim the ends from the celery and thinly slice. Wash, peel and finely chop the carrot.
  • Heat the oil in the stockpot over medium-low heat. Add the onion, celery and carrot and cook, stirring occasionally, for 7 minutes or until the onion is soft. Add the garlic, ground cumin, sweet paprika, ground ginger and the ground cinnamon and cook, stirring, for 1 minute or until aromatic.
  • Add the tomato and hot water and bouillon (or stock) and bring to the boil over high heat. Reduce the heat to medium and simmer, partially covered, for 10 minutes.
  • Rinse and drain the chickpeas and add to the pot, cooking for 2 minutes or until heated through. Season with salt and pepper.
  • Wash and pat the coriander dry and finely snip with scissors into tiny pieces.
  • Ladle the soup among serving bowls. Sprinkle with coriander and serve immediately.

Notes: What does cumin smell like? Where does the bouillon live? What is a hotpot?

Categories: Kitchen Garden | Tags: , , , , , , , | Leave a comment

Composed salad

The list of ingredients we can add to a salad is endless… here at Bondi we base this Composed Salad on lettuce leaves, fresh herbs and a wonderfully zingy lemon and garlic dressing, but we are always looking to add something new and special: green beans; juicy bush tomatoes, eggs…

ourkitchengarden.net

Fresh from the garden: Salad leaves, tomatoes, eggs, lemons, cucumbers, celery, beans, basil, parsley, chives, oregano – the list goes on…!
Serves: 6 or 24 tastes

Equipment:

  • Baking tray
  • Chopping boards & knife
  • Bowls – large, medium, small
  • Small saucepan & lid
  • 2 salad spinners
  • Tea towel, paper towel
  • Mortar & pestle
  • Citrus juicer
  • Measures: 1/3 cup, teaspoon
  • Whisk, tongs
  • Serving bowls
Ingredients:

  • A handful of cherry or bush tomatoes
  • A small handful of thyme
  • A big bunch salad leaves (lettuces, rocket, tatsoi)
  • A few garnishing flowers & leaves
  • Bush tomatoes, green beans, spring onions, eggs etc

Marjoram vinaigrette dressing

  • 1 clove garlic
  • Flaked salt & black pepper
  • 1 lemon
  • 1/3 cup extra virgin olive oil
  • 2 sprigs marjoram

ourkitchengarden.net

What to do:

  • Preheat the oven to 150C. Wash and slice the tomatoes in half and place on the baking tray. Wash and pat the thyme stalks dry and strip the leaves onto the tomatoes. Drizzle with a teaspoon or two of olive oil and a pinch of salt and roast for 30 minutes.
  • Place the eggs carefully into the saucepan and fill with cold water. Set them to boil with the lid on, then once the water starts boiling, time them for 4 minutes. Drain and run cold water over them until cool, then peel and quarter.
  • Fill up 2 big bowls with cold water & wash the salad leaves in several changes of water. Spin dry and wipe the bowls dry. Wash then top-and-tail the beans.
  • Lay out the tea towel and line it with paper towel. Spread the salad leaves over the paper and roll the whole lot up like a log. Keep the rolled parcel of leaves in the fridge until needed.
  • Fill up the medium bowl with water and wash the herbs and small garnishing leaves. Dry on a piece of paper towel andreserve in a small bowl.
  • Peel the garlic clove and put it in the mortar with a large pinch of salt. Pound to a paste. Juice the lemon and add the juice to the mortar (without pips) then stir the lot with ateaspoon and scrape it into a large mixing bowl. Stir in the oil and grind some pepper, then whisk the dressing lightly. Wash and pat the marjoram dry and pick off the leaves, and add to the dressing.
  • Unwrap the parcel of salad leaves & tip them into the bowl with the dressing. Gently turn the leaves in the dressing using your hands or tongs, and then transfer the dressed leaves to the serving bowls. Add the eggs, the tomatoes, beans and any other extras and the garnishing petals & leaves and serve immediately with a last drizzle of the dressing.

Notes: Where does the word vinaigrette come from? What other salad dressings could you use? Why do we wash the leaves so well? Why do we roll the leaves up to put them in the fridge?

ourkitchengarden.net

Categories: Kitchen Garden, Recipe | Tags: , , , , , , , | Leave a comment

Rice paper rolls

Once you have mastered the art of cutting the veggies thin and short, and then soaking the rice paper wrappers for just enough time, the rest is easy! And they’re delicious served with Kylie Kwong’s home made Sweet Chilli Sauce!

ourkitchengarden.net

Fresh from the garden: cucumber, carrots, capsicum, avocado, sprouts, coriander, mint
Recipe source: adapted from a recipe on kidspot.com.au
Makes: 32

Equipment:

  • Peelers
  • Chopping board and knife
  • Bowls – large, medium, small
  • Large metal spoon
  • Scissors
  • Salad spinner
  • Measures – cup
  • Tea towel
  • Servingplates
Ingredients:

  • 1 large cucumber
  • 2 large carrots
  • 1 large red capsicum
  • 1 ripe avocado
  • A large handful bean & pea sprouts
  • A small bunch of coriander
  • A small bunch of mint
  • 32 x 22cm round rice paper wrappers

What to do:

  • Wash and peel the cucumber and carrots. Cut into short, thin strips and place in a bowl.
  • Wash the capsicum, shake dry and cut into short thin strips, discarding the seeds and membrane, and place in another bowl.
  • Cut the avocado in half length-ways and remove the stone. Using a large metal spoon, scoop out a half at a time, place on a chopping board and cut into thin slices.
  • Wash and drain the sprouts and trim the ends if needed.
  • Wash and spin-dry the coriander and mint, picking off the leaves and reserving. Finely chop the coriander stalks. You should have about 2 cups’ worth.
  • Half-fill a large bowl with hand-hot water.
  • Dip one wrapper at a time in the water for 5 seconds, until it is just soft.
  • Drain off excess water and place on a clean surface.
  • Place a few pieces of each of the ingredients on the wrapper, about 3cm from the base. Do not overfill!
  • Fold the bottom of the wrapper up over the ingredients.
  • Fold in the sides and roll up to enclose filling, keeping the wrapper tight.
  • Place on a tray and cover with damp tea towel.
  • Repeat with the remaining wrappers and ingredients, and divide among serving plates – slicing in half if needed.

Notes: Where do rice paper rolls come from? What other foods could you wrap up in a rice paper roll?

ourkitchengarden.net

Categories: Kitchen Garden, Recipe | Tags: , , , , , , , , , | Leave a comment

Tempura veggies

These crunchy, crispy and delicious veggies are easy to make as long as you are super-careful with the hot oil… Please read the warning below before you start!

ourkitchengarden.net

Fresh from the garden: zucchini, zucchini flowers, capsicum, eggplant, carrot
Recipe source: adapted from a recipe by Damian Heads in Ready Steady Cook

Equipment:

  • Bowls – big, small
  • Chopping board & knife
  • Paper towel, plate
  • Zip-lock freezer bag
  • Rolling pin
  • Tea towel
  • Measures –  jug, cup
  • Whisk
  • Saucepan
  • Tongs, slotted spoon
  • Serving plates
Ingredients:

  • Vegetable or Rice Bran oil, for deep frying
  • 1 cup self-raising flour
  • 3 ice cubes
  • 200-300ml soda water
  • A selection of veggies: bokchoy, zucchini, zucchini flowers, capsicum, eggplant etc


What to do:

  • Pre-heat the oven to 150C and line a baking tray with paper towel.
  • Wash the vegetables thoroughly, separating any leaves and drying well. Slice any firm vegetables into thin strips or slices. If using zucchini flowers, check to make sure there aren’t any ants or bugs inside each flower & remove the stamen.
  • Take 3 ice cubes from the freezer and zip into a plastic freezer bag.  Place the bag onto the chopping board, cover with the tea towel and bash a few times with the rolling pin to form crystals.
  • Measure the flour and 200ml soda water into a big bowl, add the crushed ice and then whisk to make a batter – do not over mix, the flour should still be a little lumpy. If it’s too thick then add a little more soda water but you’ll need it to be thick enough to cling!
  • Pour the oil into a medium saucepan until one-third full. Heat over medium-high heat until hot. SEE WARNING!
  • Using tongs, dip each vegetable piece into the batter allowing excess to run off, then carefully lower one at a time into the pan to deep fry, until a few are cooking at the same time in batches. Fry for a minute or two, then scoop out with the slotted spoon on to the lined baking tray and place back in the oven with the door slightly ajar.
  • Finish all the veggies – then divide among serving plates & eat hot!

Warning:

  • Whenever working with hot oil, take extreme care and keep small children and pets well away.
  • Never leave hot oil unattended. Never fill the pan more than half way with oil.
  • Make sure any saucepan handle is turned in & not overhanging the stove.
  • Drop food to fry in carefully, using tongs – and make sure the food isn’t wet or the water will make the oil spit!

Notes: Why do we need to take care around hot oil and never leave the pan unattended? Why can we not fill the pan more than half full? Why should the handle be turned in?

ourkitchengarden.net

Bashing out the ice-cubes for tempura

Categories: Kitchen Garden, Recipe | Tags: , , , , , , | Leave a comment

Only 3 places available!


Two spots free on Tuesday 2nd October and one available on Wednesday 3rd – jump to it! Text your email address to 0414 978 957 & I’ll shoot you through a booking form right away…

I’m finalising the program’s menus in the next few days and I can’t wait to use all the beautiful spring produce that’s available: I’ve seen fat broad beans, juicy strawberries, crunchy beetroot, aromatic marjoram and so much more – yum yum – watch this space!

Mx

ourkitchengarden.net


Categories: Kitchen Garden, School Holiday Program | Tags: , , , , , , , | Leave a comment

Create a free website or blog at WordPress.com.

%d bloggers like this: