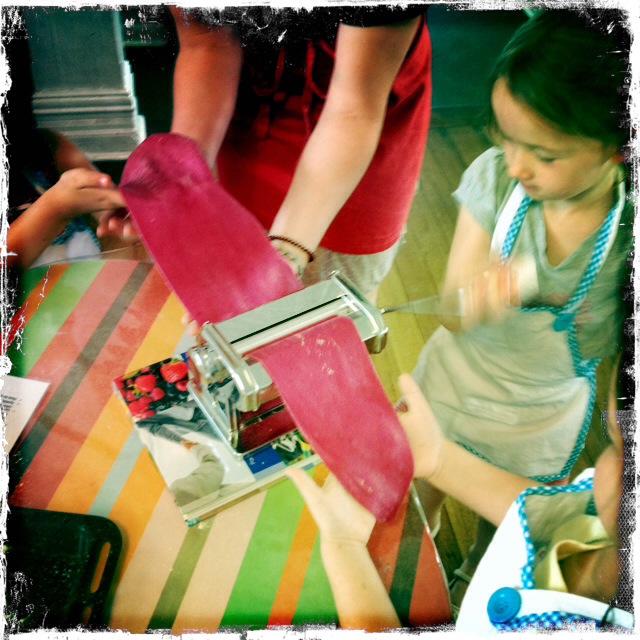
We love every kind of pizza, even with more savoury toppings… and we absolutely adore making as much noise as possible throwing the dough!

Fresh from the garden: rosemary, rocket, onion, garlic, marjoram, olives
Recipe source: Melissa
Serves: 8 or 24 tastes
Equipment:
|
Ingredients:
Tomato sauce:
For the pizza topping:
|
What to do:
- Preheat the oven to 220C.
For the tomato sauce:
- Peel and finely chop the onion and garlic, reserving half of the garlic for the topping.
- Heat 2 tablespoons of olive oil in the frying pan & gently cook the onion and garlic until translucent but not brown.
- Open the tin of tomato and add to the frying pan with a pinch of salt and a grind of pepper.
- Wash, dry and pick the marjoram and thyme. Roughly chop then add to the tomatoes.
- Simmer gently for 10 minutes, stirring occasionally, until quite reduced.
For the topping:
- Wash the rosemary stalk and wipe dry. Strip the leaves and chop quite small.
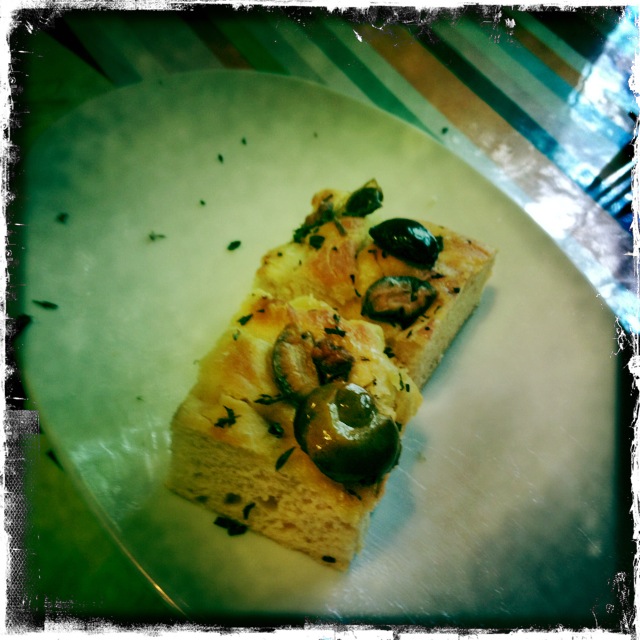
- Pit the olives, press the garlic clove then combine with the rosemary and 2 tablespoons olive oil in a small bowl.
- Open the tub of bocconcini and cut each ball into 3 or 4 slices.
- Wash and spin the rocket dry and then reserve in another large bowl.
- Grate the parmesan and reserve in a small bowl.
Assembling the pizza:
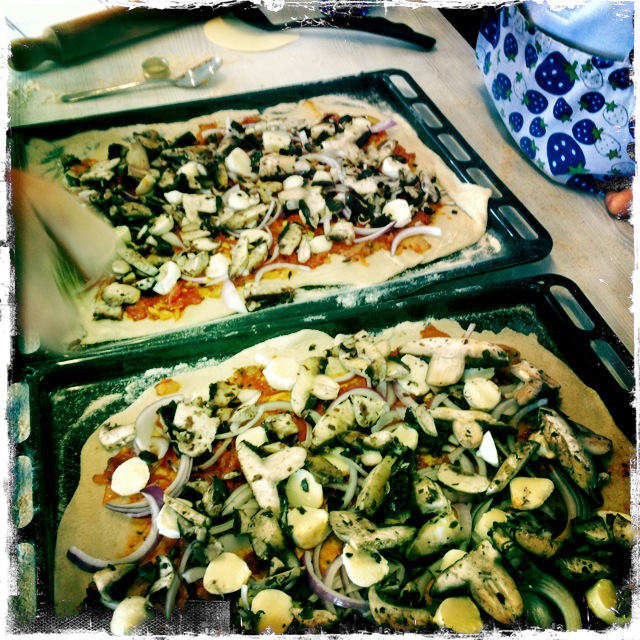
- Scatter some flour on the workbench, divide the dough into four and roll to form four thin ovals– you will fit two pizzas side-by-side on one oven tray.
- Flour the trays first and then assemble the ovals onto the trays.
- Usingthe metal spoons, swirl a couple of spoonfuls of tomato sauce onto the pizza bases, spreading so that they become totally covered with a clean border.
- Layer the bocconcini on top, spoon on the garlicky olives, then slide the pizza trays into the oven.
- Wash and dry the wooden chopping boards and set them out ready.
Baking the pizza:
- Bake the pizzas for about 12 minutes or until the edges are very crusty and the cheese is bubbling.
- Use this time to make the dough for the next class if needed.
- You may want to slip the pizza off the tray onto the rack for the last few minutes, so that you get a really crusty base.
- Once the pizzasare done, transfer them to the wooden boards using the wide egg lifter.
- Cut the pizzas in half first, and then each half into squares for each plate.
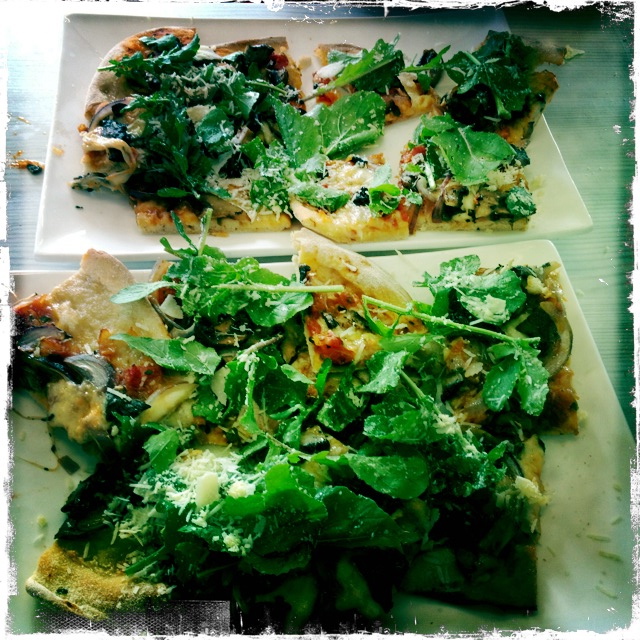
- Lift onto serving plates and sprinkle with the rocket and parmesan.
- Eat!
Notes: Where does pizza come from? What other sort of vegetables could you use in a pizza? What sort of other pizza could we make? What other cheeses could we use?