Kitchen Garden

Green tabule salad for spring

Sarit Packer and Itamar Srulovich used to be the head chefs for Yotam Ottolenghi and now own their own restaurant in London called Honey and Co. They wrote a book of their delicious recipes, and this tabule is one of their favourites. They say: This (recipe) is the closest to original tabule salad. The dominant flavours are herby and green, and the taste of the olive oil should really shine through, so use the good stuff here.

We say: Get the kids chopping their little hearts out! Smart strong chops, no fiddling around. You want the parsley cut, not tickled!

ourkitchengarden.net

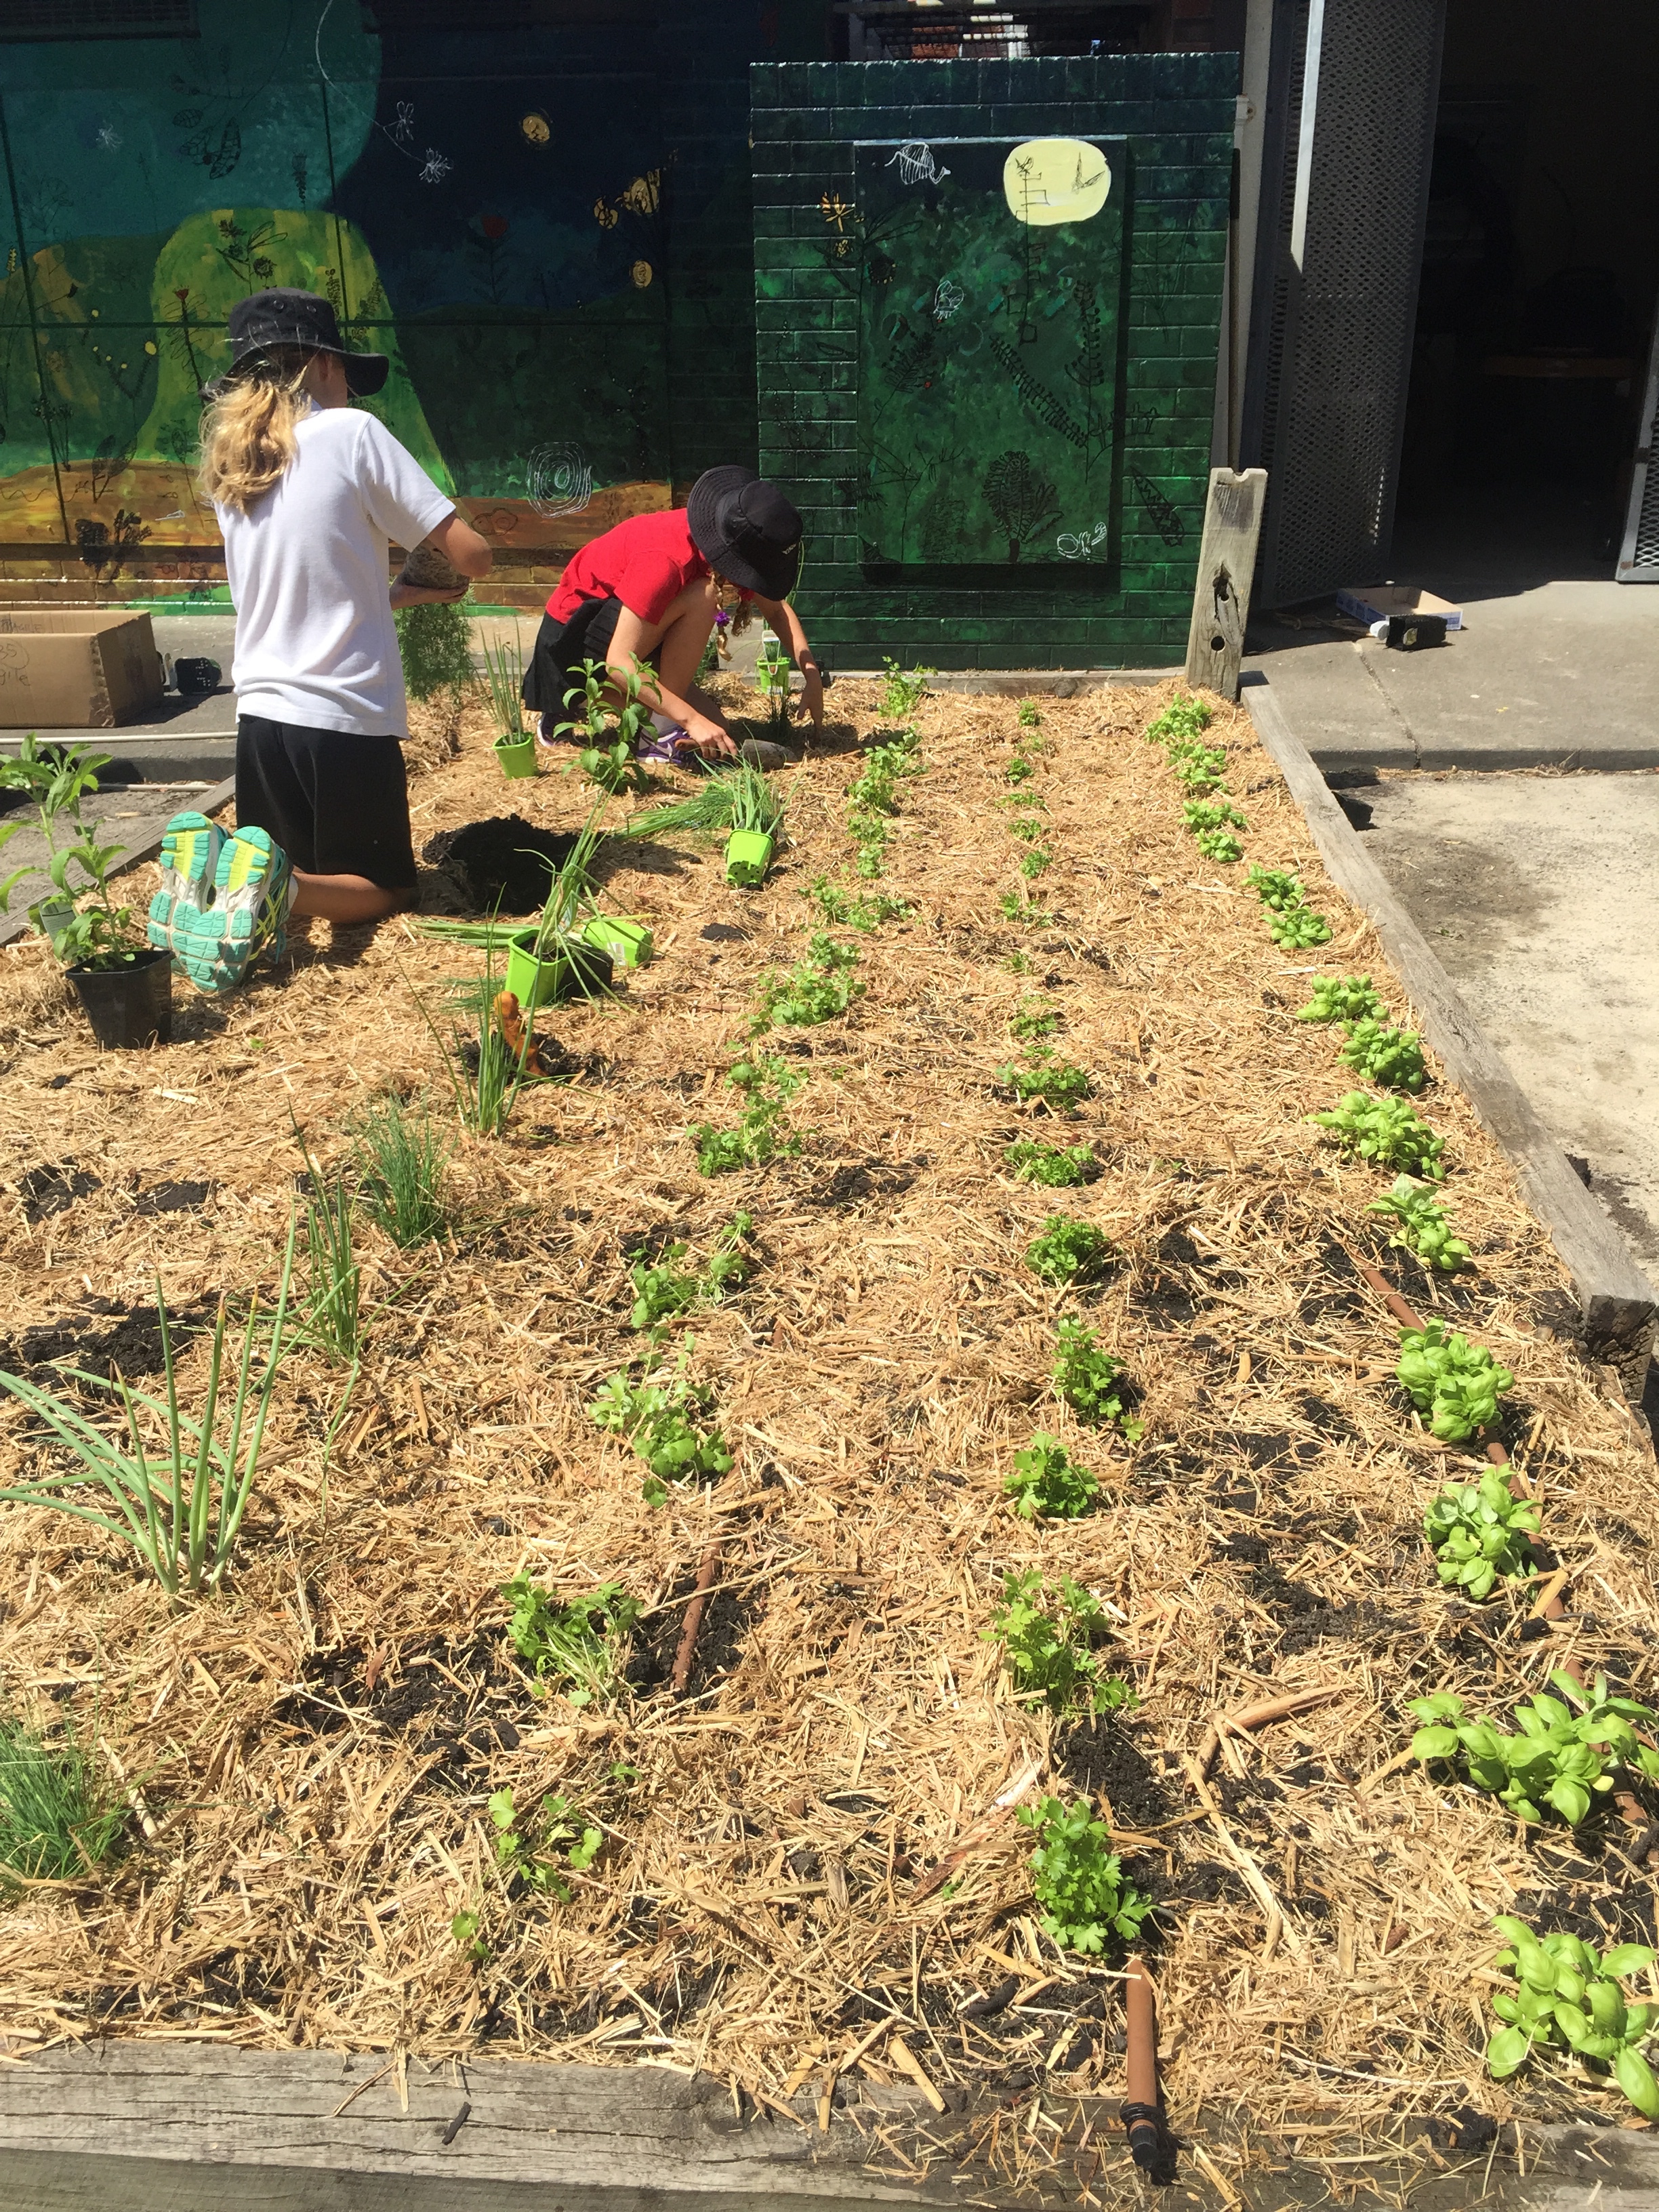
Fresh from the garden: cucumbers, spring onions, parsley, mint, lemon

Recipe source: adapted from a recipe in Honey and Co, Food From the Middle East

Equipment:

  • Kettle
  • Scales
  • Selection of mixing bowls
  • Plastic wrap/ cling film
  • Fork
  • Measures: jug, tablespoon, teaspoon
  • Salad spinner
  • Chopping boards and knives
  • Citrus juicer
  • Serving bowls
Ingredients:

·       75g bulgar wheat

·       2 spring onions

·       2 Lebanese cucumbers

·       1 bunch of parsley

·       6 sprigs of mint

·       1 teaspoon cooking salt plus a pinch

·       4 tablespoons best quality olive oil

·       1 lemon

What to do:

Basic bulgar wheat:

  1. For every 75g of bulgar wheat you will need a pinch of cooking salt, a splash of good olive oil and 75ml of boiling water (90ml for coarse bulgar wheat).
  2. Place the bulgar wheat, oil and salt into a bowl and stir well til the grains are all coated in the oil. Pour over the just boiled water and quickly cling-film the bowl to seal in the steam.
  3. Leave for 5 minutes and then carefully uncover. Use a fork to fluff the bulgar wheat up and break the mass into individual grains (or rub it between your palms to break it up). Allow to cool uncovered and then it is ready to use. It will keep like this for 3 days in an airtight container in the fridge.

To prepare the salad:

  1. Wash the spring onions and then peeling the first layer off, trim off the roots and discard. Finely chop.
  2. Wash the cucumber and then finely dice it.
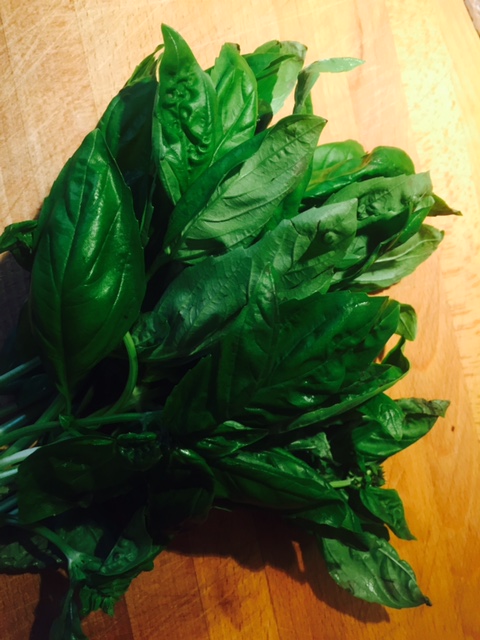
  3. Wash the parsley and spin it dry, and finely chop the leaves and soft stalks.
  4. Wash the mint, spin it dry and pick off the leaves and finely chop them. You should have about 3 tablespoons’ worth.
  5. Cut the lemon in half and juice one half.

To finish the salad:

  1. Mix everything together as close to eating as possible for the best flavour and to stop it going soggy.
  2. They say: I recommend that you just add the juice of half the lemon to begin with and taste to see what you think. We love this sharp and would always add more lemon, but you may find that this is enough for you.

Notes: What is bulgar wheat? How many other ways can you spell tabule?

Categories: Kitchen Garden, Recipe | Tags: , , , , , , | Leave a comment

Spinach and ricotta calzone

ourkitchengarden.net

These folded pizzas are great with a homemade Napoli sauce served with – and you can even add prosciutto, ham or roasted chicken to the filling at home if you like. 

Fresh from the garden: spinach, garlic

Recipe source: Melissa

Makes: 4 calzone

Equipment:

·       Chopping boards & knives

·       Large frying pan or wok

·       Garlic press

·       Microplane zester

·       2 large bowls

·       Grater

·       Baking paper

·       Scales

·       Measuring cup

·       Metal spoon

·       Serving plates

Ingredients:

·       Plain flour, for rolling out dough

·       1 recipe Hugh’s Magic Dough

·       500g spinach or silverbeet

·       2 garlic cloves

·       2 cups ricotta

·       1 tub bocconcini

·       50g parmesan or grana padano

·       1 lemon

·       Flaked salt & black pepper

·       Coarse polenta for dusting baking sheet

·       Extra-virgin olive oil

What to do:

  1. Preheat oven to 200C.
  2. Lightly dust your work surface and rolling pin with flour. Divide the dough into 4 equal balls, then roll each out into large & long rectangles. Dust the baking sheets with a sprinkle of polenta and drape 2 dough rectangles over each tray, leaving half off the edge to fold over later.
  3. Wash the spinach, shake dry over the sink and slice the leaves into thin strips and the stalks into small squares.
  4. Squeeze the garlic through the press and add to the spinach. Using the fine microplane grater, zest only the fine yellow outer covering of the lemon.
  5. Heat the wok with 2 tablespoons of olive oil and add the spinach, the garlic & a pinch of salt to wilt. Cook, tossing for 3 or 4 minutes until cooked through. Squeeze moisture out with the back of a wooden spoon and place spinach in the large bowl.
  6. Drain the bocconcini & pull each ball apart into little pieces, add to the spinach with the measured ricotta and season with salt and pepper. Weigh the parmesan and then grate what you need and add to the spinach.
  7. Place the filling on the tray half of each oval leaving a 2cm border along the edge.
  8. Fold the remaining dough over the filling until the edges line up and pinch the edges together to seal. Gently roll the pinched edges under to form a decorative rim and brush the tops with olive oil.
  9. Bake for about 15 minutes until golden brown and the centre is hot and melted, rotating midway through cooking.
  10. Remove from the oven and allow to cool for a few minutes. Slice then gobble!

ourkitchengarden.net

Categories: Kitchen Garden, Recipe | Tags: , , , , , , , | 1 Comment

Kitchen News October 20th 2015

ourkitchengarden.net

Goodness, so much on! A ripper of a GPs Day with all Farmer Rob’s sausages gone, loads of tea towels* sold and most of the jars of pickles, jams and marmalade… Congratulations to all who bought the Honey Pickled Kohlrabi too – please let me know what you do with it and there will be a prize for the best answer! Thanks as always to the small army of wonderful ladies (and grandad Johnny) who gave their valuable time on a hot day to raise funds for the SAKGP, and especially Christina (Maia and Juno) who was with me ALL DAY helping Farmer Rob & Miss Toole, I mean Mrs Lawlor! Thank you!

ourkitchengarden.netouritchengarden.netourkitchengarden.net ourkitchengarden.net ourkitchengarden.net ourkitchengarden.net

*Tea towels! If you have been out of the loop this week you may have missed out on the tea towel story… All our students by year – all the way through from K to 5/6 – have illustrated their face and are included on a beautiful and present-worthy tea towel (75% linen, 25% cotton!). They are $15 each and will be sold on Monday and Friday mornings from 8.45am before school. Look out for us around the office and form an orderly queue please!

ourkitchengarden.net                       ourkitchengarden.net

So last week we had some of the groups chopping, pickling, sterilising and canning beetroot and kohrabi and rhubarb and blood oranges to get jars shop-ready, so this week the pressure is off and it’s back to B.A.U… Spinach and ricotta calzone, Silverbeet soup with curry spices and coriander, Leafy poached egg salad with kale & herby mayo and even a new recipe with yet another way to spell tabouleh, tabboulleh etc: Green tabule salad for spring. So there you go!

ourkitchengarden.net

Term 4 is a busy time of year and historically volunteer numbers always drop off, even though we still really need you. A glance at VolunteerSpot and you will see – we had no parent helpers for one of our classes this week, only one for another and just two parents for another. We are set-up to run five groups for every class – with ingredients bought and vegetables harvested – but in most stages are only able to run as many groups as there are adults, for obvious safety reasons. It’s such a pity for the children to be prepped for a dish and then to realise they are not able to make it due to low adult attendance. Please, if you can come and help please do! There are not many lessons left til the end of the year so we’d love to see you if you can spare the time. Thanks

Love Mx

ourkitchengarden.net

Categories: Kitchen Garden, News | Tags: , , , , , | Leave a comment

Quick pesto for the roasted pumpkin

This quantity of sauce is perfect for the roasted pumpkin recipe – but don’t stop there! Also wonderful with steaming hot pasta or as part of an antipasto plate with feta or goats’ cheese, roasted capsicum and garlicky bruschetta – or even added to toasted cheese sandwiches!

ourkitchengarden.net

Basil!

Fresh from the garden: basil, garlic
Recipe source: Melissa
Makes: about 1 1/2 cups

Equipment:

  • Scales
  • Bowls – big, medium
  • Salad spinner
  • Grater
  • Small frying pan
  • Food processor
  • Chopping board and small knife
  • Spatula
  • Measuring jug
  • Tablespoon & jar if needed
  • Serving bowls if needed
Ingredients:

  • 1 bunch basil, to yield about 50g
  • 25g parmesan or grana padano
  • 40g pine nuts
  • 1 clove garlic
  • Flaked salt
  • 100ml extra-virgin olive oil plus extra

What to do:

  1. Pick the basil leaves from the stalks and weigh before you wash them!
  2. Then wash the basilin several changes of water, pick off the leaves and thoroughly spin-dry.
  3. Weigh then grate the parmesan.
  4. Heat the frying pan on a medium heat and lightly dry-toast the pine nuts, shaking regularly so that they don’t burn.
  5. Peel the garlic clove, chop it into small pieces and place in the bowl of the food processor with a good pinch of salt. Blend these to a paste and then add the pine nuts and blend again. Stir in the parmesan.
  6. Tear the basil leaves and put them into the mixture. Blending, gradually pour in all the olive oil. Scrape down with the spatula once or twice.
  7. Taste for salt and adjust if necessary.
  8. Serve, or if using later, spoon into a jar, pour in a thin layer of olive oil to cover, add the lid and refrigerate for up to 3 or 4 days.

Notes: Why do we weigh the basil before we wash it? Why do we weigh the parmesan before we grate it?

Categories: Kitchen Garden, Recipe | Tags: , , , , , , | Leave a comment

Roasted pumpkin with pesto and goats’ cheese

Pumpkin is transformed by a little hot-oven caramelisation and goes especially well with basil and bitey fresh goats cheese… a super-rustic dish perfect for these cooler nights! And instead of shop-bought garam masala (which I love) we used the leftover curry powder from our Curried carrot soup from the last fortnight’s menu. 

ourkitchengarden.net

Fresh from the garden: pumpkin, onions, basil
Recipe source: Melissa
Serves: 6 as a side order or 24 tastes

Equipment:

  •       Kitchen towel
  •       Chopping board & knife
  •       Baking tray
  •       Bowls – large
  •       Tongs
  •       Spoon
  •       Serving bowls
Ingredients:

  •       1kg pumpkin (Kent, Jap or Butternut)
  •       1 large onion
  •       1/4 cup extra-virgin olive oil
  •       1 teaspoon garam masala
  •       Flaked salt & black pepper
  •       1 quantity quick pesto
  •       100g goats’ cheese

What to do:

  1. Preheat oven to 220°C.
  2. Wash the pumpkin, scrubbing the skin clean, and wipe dry with some paper towel.
  3. If whole, carefully cut in half – you may need to ask an adult to help. Scrape out the seeds and membrane with the spoon and reserve for drying out (or the chooks!).
  4. Cut into cubes about 2cm square: you might find it easier to cut the pumpkin into slices first and then into smaller pieces. Be careful!
  5. Peel the onions and slice in half, then thinly slice.
  6. Drop the pumpkin pieces & onion slices into the large bowl, drizzle with the olive oil, a sprinkle of the garam masala & a good pinch of salt & grind of pepper. Toss to combine with your fingers then spread out onto the baking tray. Wash the bowl.
  7. Bake for 20 minutes until caramelised and tender but with little crispy black tinges.
  8. Meanwhile make the pesto – refer to separate recipe.
  9. Remove pumpkin from oven and using the tongs, place the pumpkin mixture into your serving bowls.
  10. Dribble or dob the pesto over the pumpkin.
  11. Open the packet of goats’ cheese and crumble off small pieces over the pumpkin.
  12. Serve immediately.

Notes: Why do we have to be careful when cutting up the pumpkin? What does caramelised mean? What does garam masala mean?

ourkitchengarden.net

Categories: Kitchen Garden, Recipe | Tags: , , , , , , | Leave a comment

Silverbeet soup with sour cream and chives

Slurpy, slinky soup chock-full of healthy stuff like silverbeet (or Swiss chard as it’s known in other parts), and a bit of creamy goodness too. Heaven.

ourkitchengarden.net

Fresh from the garden: onion, potatoes, celery, chives, silverbeet, garlic
Recipe source: Melissa
Serves: 6 or 24 tastes

Equipment:

  • Kettle
  • Chopping boards and knives
  • Peelers
  • Paper towel
  • Scissors
  • Stockpot, wooden spoon
  • Scales
  • Measures: jug, ½ cup, tablespoons, teaspoons
  • Garlic press, ladle
  • Stick blender
  • Serving bowls
  • Teaspoons
Ingredients:

  • 1 brown onion
  • 500g potatoes
  • 2 large or 3 small stalks celery
  • Small handful chives
  • 4 or 5 large silverbeet stalks
  • 2 tablespoons olive oil
  • 2 garlic cloves
  • 2 teaspoons ground cumin
  • 1.5 litres boiling water
  • 1.5 tablespoons bouillon
  • Salt & freshly ground black pepper
  • 1/2 tub crème fraîche or sour cream

What to do:

  1. Fill the kettle to the 1.5 litre mark and set it to boil.
  2. Peel and coarsely chop the onion.
  3. Peel and coarsely chop the potatoes into 2cm cubes.
  4. Wash and finely chop the celery, including leaves.
  5. Wash the chives and then roll them in a piece of paper towel. Snip into tiny pieces and reserve.
  6. Meanwhile wash the silverbeet stalks and shake dry. Slice off the stalks and finely chop, then roll up the leaves into a cigar shape and finely slice into ribbons.
  7. Heat the oil in the stockpot over medium heat. Add the onion and cook, stirring, for 5 minutes and then add the chopped celery and cook for another few minutes.
  8. Meanwhile peel and crush the garlic, and then add the garlic and ground cumin and cook, stirring, for 30 seconds or until aromatic.
  9. Increase heat to high. Add the stock (or hot water and bouillon) and bring to the boil. Add the potato and reduce heat to medium. Simmer, uncovered, for 10 minutes or until potato is almost tender.
  10. Add the chopped silverbeet stalks and cook for a few minutes and then add the sliced ribbons and simmer for a further 5 minutes.
  11. Remove from heat and blitz with the stick blender. (If you have time you may want to pass the soup through a mouli to make it super-smooth.)
  12. Taste and season with salt and pepper if needed.
  13. Ladle soup among serving bowls. Using 2 teaspoons, top with a wee dollop of crème fraîche and sprinkle with chives.
Categories: Kitchen Garden, Recipe | Tags: , , , , , , , | Leave a comment

Watermelon, pomegranate and feta salad

Fruits such as watermelon, melon or pomegranate have a myriad of uses – and not all of them sweet! This salad is perfect example of mixing fruit with savoury ingredients.

ourkitchengarden.net

Fresh from the garden: watermelon, pomegranates, mint, rocket
Recipe source: Melissa
Serves: 6 or 24 tastes

Equipment:

  •       Chopping boards & knives
  •       A selection of mixing bowls
  •       Kitchen towel
  •       Salad spinner
  •       Scales
  •       Measuring jug
  •       Fork
  •       Serving bowls
Ingredients:

  •       A large wedge of watermelon
  •       1 small red onion
  •       1 pomegranate
  •       5 sprigs of fresh mint
  •       A handful of rocket
  •       80 – 100g Danish feta
  •       Flaked salt and black pepper

Dressing ingredients

  •       60ml extra virgin olive oil
  •       30ml white balsamic vinegar

What to do:

  1. Wash the watermelon and then carefully cut into 1-2cm slices – you may need to ask a grown up to help. Slice off the peel and then cut each slice into thick bite-sized triangles. Reserve in a large bowl.
  2. Remove the seeds from the pomegranate by cutting it in half. Hold one half over a bowl and smash it with a wooden spoon from the outside. This will capture the juice and seeds for the salad, and add to the watermelon.
  3. Peel the red onion and finely chop. Add it to the salad.
  4. Wash and spin-dry the mint leaves, then pick from the stalks and tear up into tiny pieces into the salad.
  5. Wash and spin-dry the rocket and add it into the bowl too.
  6. Measure the olive oil and balsamic into a small bowl and whisk with a fork to combine. Crumble the feta over the salad and then pour the dressing over with a grind of pepper and a sprinkle of flaked salt.
  7. Toss gently to combine then divide into your serving bowls.

Notes: What is a pomegranate? What other savoury ingredients go well with fruit?

ourkitchengarden.net

Categories: Kitchen Garden, Recipe | Tags: , , , , , | Leave a comment

Eggplant and rosemary pizza with rocket

I had a few children telling me that they really didn’t like eggplant at all, so I made a deal that if they tried this pizza and really didn’t like the eggplant they wouldn’t have to eat a whole piece. Do you think there was any left? Nooooo! This pizza is delicious – and if you cook off the thin slices of eggplant first before you compile and bake the pizza,  like in the recipe below they simply melt into the cheesy tomato heavenliness…

ourkitchengarden.net

Fresh from the garden: eggplant, rosemary, rocket, onion, garlic, oregano, thyme
Recipe source: Melissa
Serves: 8 or 24 tastes

Equipment:

  •       2 large oven trays
  •       4 rolling pins
  •       Chopping boards & knives
  •       2 frying pans
  •       Salad spinner
  •       Mandoline
  •       Measures: ¼ cup
  •       Selection of mixing bowls
  •       Scales
  •       Kitchen paper
  •       Large plate
  •       Grater
  •       Wide egg lifter
  •       Large boards for cutting pizza
  •       Pizza cutter
  •       Serving plates
Ingredients:

Pizza sauce:

  •       1 onion
  •       2 cloves garlic
  •       5 sprigs each oregano & thyme
  •       1/4 cup extra-virgin olive oil
  •       1 tin diced tomatoes
  •       Flaked salt and black pepper

For the pizza topping:

  •       A selection of small, medium or large eggplant
  •       A large sprig of rosemary
  •       1/4 cup extra-virgin olive oil
  •       75g parmesan cheese
  •       A tub of bocconcini
  •      A handful of rocket

What to do:

  1. Preheat the oven to 250C.
  2. Scatter a little flour on the workbench, divide the dough in two and roll to form four large rectangles to fit two each onto the baking trays.
  3. Lightly flour the trays and then assemble the pizzas directly onto the trays.

For the tomato sauce:

  1. Peel and finely chop the onion and garlic.
  2. Heat the olive oil in the first frying pan & gently cook the onion and garlic until translucent but not brown.
  3. Open the tin of tomato and add to the frying pan with a pinch of salt and a grind of pepper.
  4. Wash, dry and strip the herbs from the stalks, then add to the tomatoes.
  5. Simmer gently for 10 minutes, stirring occasionally, until quite reduced.

For the topping:

  1. Wash the eggplant and pat them dry, then using the mandoline carefully slice into thin whole rounds, then tip the sliced eggplant into the large bowl and drizzle with most of the oil.
  2. Wash the rosemary and pat dry, then strip the needles from the stalks and chop them using a large knife.
  3. Add the rosemary and a sprinkle of salt and pepper to the eggplant slices, then mix together so that all the slices are lightly oiled.
  4. Heat the other frying pan and cook half the eggplant for 3 to 4 minutes each side, then place a piece of paper towel onto the large plate and slide the eggplant onto the plate to drain. Cook the remaining eggplant.
  5. Weigh the parmesan first and cut and weigh again to make sure you have the right amount, thengrate the piece.
  6. Cut each mozzarella ball onto thin slices.
  7. Rinse the rocket leaves in several changes of cold water and dry them in the salad spinner.

Assembling the pizza:

  1. Divide the tomato sauce between the pizzas and spread, leaving a border on each pizza. Dot the mozzarella over.
  2. Arrange the slices of eggplant on the pizzas.
  3. Sprinkle most of the parmesan over the eggplant, keeping some aside.
  4. Drizzle the pizzas with the last of the oil, then place the pizzas in the oven for about 10 minutes or until the edges are very crusty and the cheese is bubbling.

Finishing off:

  1. While the pizza is baking you can make the dough for the next class.
  2. You may want to slip the pizza off the tray onto the rack for the last few minutes, so that you get a really crusty base.
  3. Once the pizzas are done, transfer them to the wooden chopping boards using the wide egg lifter.
  4. Cut the pizzas in half, and then into small squares and then slide half a pizza onto each plate.
  5. Top each with a handful of the rocket leaves and remaining parmesan.

Notes: Which country does pizza come from? Why do we weigh the parmesan before we grate it? What other sort of vegetables could you use in a pizza? What sort of other pizzas are there?

ourkitchengarden.net

Categories: Kitchen Garden, Recipe | Tags: , , , , , | Leave a comment

Kitchen news 11th March 2015

ourkitchengarden.net

Even with the dusty old summer plants pulled out and new beds filled with soil and tiny seedlings, we have still managed to complete a wonderful menu of delicious dishes… Autumnal pomegranates from the Kindy Playground trees and watermelons from the garden beds; the last of the beautiful basil and late summer blackened eggplants; and vermillion stripes of rainbow silverbeet spiking the air. The children too have been very clever in slicing large clumsy things like watermelons and half-pumpkins, and frenziedly chopping hardy herbs. I love seeing how much initiative they show year by year: asking to help and deftly handling tasks – and even washing up, drying up and packing away everything neatly in the case of the Stage 3 students! Such a joy to watch.

So the menu in full: Watermelon, pomegranate, feta and mint salad, with a handful of finely chopped red onion and white balsamic dressing; our hand-rolled Thyme and rosemary grissini, to dunk into silky Silverbeet soup with sour cream and chives; our old classic of crispy/ creamy Roasted pumpkin with goats’ cheese and pesto – such a wonderful autumn dish, so many delicious mingled flavours and perfect as a veggie lunch or side to roast chicken; and a new fave, a slinky and cheesy Eggplant and rosemary pizza with rocket. Great food.

Why not come along and see what the fuss is about! Classes are a burst of activity followed by fabulous food and time spent with your own gorgeous kids… Cooking real food, with NO artificial colours or additives! Lots of veggies, a little fruit, and good fats: olive oil, cheese, butter. We are so lucky for our children to be experiencing such a wholefood environment in this school: in the meals and snacks and gorgeous natural treats that the Canteen supply in massive demand each day; by being around the gardens and veggie beds and experiencing the wealth of knowledge of our gardeners and learning how to grow and maintain a veggie garden, and by learning in the cottage what to do with fresh produce, and trying it and ultimately enjoying it. Pleeeease respect this unique vision by sending in healthy options for your kids in their lunch boxes and especially at birthday times! Packaged items with artificial food colour numbers (ie frozen coloured icy-poles) are bad news for our kids, but the good news is that there are better options available always. Now endeth the sermon! If you’d like more info please get in touch.

Anyway please let us know if you’re coming along to help so that we can we adequately plan our classes! We need 5 spots filled for every Kitchen and Garden class. It’s easy now – click here to sign up & let us know that you’re coming: VolunteerSpot http://vols.pt/8qCfEY

Cheers lovelies xx

Categories: Kitchen Garden, News | Tags: , , , , | Leave a comment

Kitchen news 25th February 2015

ourkitchengarden.net

THE most delicious food has been produced this last fortnight. Oh my goodness yes!

Our pre-Xmas spuds made great in an Easy potato salad with late summer tomatoes, rocket and basil oil; the most amazingly vibrant and spicy/sweet Asian cabbage slaw you could ever imagine; Handmade linguine pasta squelched with People-Powered Pesto (hand-pestled indeed, TVM!*); and a TBT Curried carrot soup with yoghurt and coriander… and we blitzed our own curry powder for it too, natch.

We were fabulously aided by team of amazing helpers, and we gloriously salute your presence & appreciate you so much… the children have benefitted enormously from your help: your guidance and knowledge, your skills and patience, your humour and Being There-ishness… Thank you!

And on more exciting news, B&G have had a mountain of soil delivered for all the new seeds and seedlings – come and take a look! There is so much going on; beds cleared; chooks furnished; vines trellised; bushes trimmed… and they need help to get our food planted. Can you spare 45 minutes to supervise a small group of children? No experience necessary (but also appreciated!) Come and get some garden expertise for nix… and a whole lot more besides… or just come and say hi. 🙂

And please let us know if you’re coming along to help so that we can we adequately plan our classes! We need 5 spots filled for every Kitchen and Garden class. It’s easy now – click here to sign up & let us know that you’re coming: VolunteerSpot http://vols.pt/8qCfEY

Cheers lovelies xx

*Thanks Very Much!

ourkitchengarden.net

Categories: Kitchen Garden, News | Tags: , | Leave a comment

Blog at WordPress.com.